Planning Guide · Hay Storage · Updated August 2026
Hay Barn Storage Design Guide
A hay barn is the single piece of infrastructure that most directly determines whether the quality produced in the field is preserved through to sale or feeding. Hay stored outdoors without cover loses 15–30% of its dry matter value to weathering over a 6-month storage period. The right barn design — correct roof span, wall height, ventilation, floor type and access — costs less per stored bale than the hay loss it prevents. This guide covers the key design decisions for small farm (1,000–5,000 bale) and commercial (5,000–25,000 bale) hay storage facilities.
Covers: capacity planning · bales per square foot by format · wall height requirements · ventilation design · floor type comparison · drive-through vs end-loading · fire safety · cost per bale of storage
Quick Reference — Hay Barn Design Numbers
Square bales (5 high): 22–28 bales per sq metre of floor area
Round bales (1,250mm): 0.8–1.0 bales per sq metre
Minimum wall height: 4.5m for 5-high square bale stacking
Ventilation: Ridge vent + 150mm eave gap minimum
Floor: Concrete preferred; gravel acceptable; bare soil not recommended
Dry matter loss saved: 15–25% vs outdoor storage
Why Hay Storage Is the Highest-ROI Investment After the Baler
The financial case for a hay storage barn is straightforward: the dry matter loss prevention value exceeds the annual cost of the structure within 3–7 years in most operations. At $150 per tonne hay value, 1,000 bales of 20kg square hay has a total value of $3,000. A 20% outdoor storage loss (within the normal range for outdoor stored small square bales without net wrap) represents $600 in lost hay value per season. A basic 1,000-bale pole barn costs $8,000–$15,000 to construct — a 13–25 year payback on hay value preservation alone, with the additional benefits of quality preservation (maintaining horse hay premium grade) and flexibility in sale timing.
Outdoor (no cover): DM loss 15–30% over 6 months. Color fades in 4–8 weeks. No premium market possible after 60 days outdoors.
Tarped outdoor: DM loss 8–18%. Reduced UV bleaching. But condensation under tarp in temperature swings adds moisture risk.
Covered barn: DM loss 2–5%. Green color retained for 9–12 months. Full premium market window maintained through the season.
Capacity Planning — How Many Bales Per Square Metre
Hay barn capacity depends on the bale format, stacking height and packing efficiency. The figures below assume standard stacking with standard aisle and loading space included.
| Formato de fardo |
Stack Height |
Bales / sq m (floor) |
Tonnes / sq m |
Min Wall Height |
| Small square (460×360mm) |
4 high |
18–22 |
0.36–0.44 |
3.5m eave |
| Small square (460×360mm) |
5 high (standard) |
22–28 |
0.44–0.56 |
4.5m eave (min) |
| Small square — with front loader |
6–7 high |
28–38 |
0.56–0.76 |
5.5–6.0m eave |
| Round bale 870mm diameter |
2 high |
2.4–2.8 |
0.30–0.42 |
2.5m eave (1 high) / 3.5m (2 high) |
| Round bale 1,250mm diameter |
2 high |
0.8–1.0 |
0.24–0.38 |
3.5m eave (1 high) / 5.0m (2 high) |
| Round bale 1,950mm diameter |
1 high only |
0.25–0.33 |
0.12–0.21 |
3.5m eave minimum |
Capacity calculation example: A farm producing 2,000 small square bales per season (20kg each) needs indoor storage for the full season production before it sells through. At 25 bales per sq m (5 high stacking): floor area required = 2,000 ÷ 25 = 80 sq m of net stacking area. Add 25% for aisles and loading access: total floor area = 100 sq m. A 10m × 10m barn (100 sq m) provides the required capacity. A 12m × 9m pole barn (108 sq m) is a standard near-equivalent size from most pole barn suppliers.
Essential Design Features for Hay Storage Barns
Roof DesignStanding seam metal recommended
Standing seam metal roofing on a 4:12 or 5:12 pitch (minimum 4:12 for adequate water runoff) is the standard recommendation for hay barns. The steep pitch sheds snow load efficiently and minimises ponding risk. Corrugated metal roofing (cheaper) is acceptable but has a shorter service life and requires periodic fastener re-tightening as the fasteners work loose from thermal expansion cycles. Avoid flat or low-pitch (below 3:12) roofs for hay storage — ponding and ice dam risk increases significantly, and the reduced airflow above the hay increases condensation risk in cold climates.
Wall Height4.5m eave for 5-high square bale stacking
The most common undersizing error in small farm hay barns is insufficient wall height. A 5-high stack of 460×360mm bales reaches 1.8m, which appears manageable — but this calculation ignores the pallet height (100–150mm), the stagger clearance needed between the top of the stack and the lowest roof structural element (minimum 300mm for manual stacking; 600mm if a front loader is used), and the eave projection beyond the wall post. Minimum eave height for 5-high manual stacking: 4.5m. For front loader stacking to 6–7 high: 5.5–6.0m. Err on the side of more height — the incremental cost of a taller wall post is small relative to the lost stacking capacity of an underheight barn.
VentilationRidge vent + eave gap critical
Hay stored above 18% moisture continues to respire and generate heat and moisture vapour. If this vapour cannot escape the barn, it condenses on the hay surface, on the roof structure and on the top bale layers — creating the conditions for mold even when the initial baling moisture was acceptable. Standard ventilation design: continuous ridge vent (minimum 100mm open on each side of the ridge) combined with a 150mm gap between the top of the side wall cladding and the eave. This stack-effect ventilation path (cool air enters at the eave, rises past the warm hay, and exits at the ridge) provides natural airflow without mechanical fans. In humid climates (SE US, Pacific Coast): consider 200mm eave gaps and open side walls on the prevailing wind face.
Floor TypeConcrete preferred
Bare soil floor: not recommended. Ground moisture wicks up into the bottom bale layer, creating persistent mold in the lowest 1–2 layers regardless of the overall hay quality. At minimum, gravel on a compacted subgrade reduces ground moisture contact significantly. A 100mm reinforced concrete slab on a compacted gravel base is the standard recommendation — it provides a dry, cleanable surface that prevents ground moisture contact entirely and allows fork lift or bale elevator operation without surface deterioration. Concrete cost adds $8,000–$20,000 to a typical small hay barn depending on size, but the bottom layer quality preservation pays back a significant portion of this within the first 3–5 seasons.
Access Design — Drive-Through vs End-Loading
Drive-Through Design
The tractor with bale wagon enters through one end of the barn and exits through the opposite end. Bales are stacked from the inside in full-length runs across the barn width.
Vantagem: Most efficient for large daily bale volumes. Front loader can work the full barn length. Eliminates backing under low eaves.
Requirement: Barn length must allow the tractor-wagon combination to enter and exit — minimum 2× the tractor-wagon combination length plus the bay filling distance.
End-Loading Design
A single large door at one end of the barn provides the only loading access. Bales are moved from the wagon to the barn interior by bale elevator, bale mover or manual carry.
Vantagem: Simpler structure, lower cost. More enclosed for weather protection on side walls.
Requirement: End door must be large enough for the loading equipment (minimum 3.5m wide × 4.0m high for a front loader). Bale elevator is standard for efficient end-loading without front loader.
Small Farm Barn vs Commercial Storage — Key Design Differences
| Recurso |
Small Farm Barn (1,000–3,000 bales) |
Commercial Storage (5,000–25,000 bales) |
| Structure type |
Timber or steel pole barn — most cost-effective for the size range |
Engineered steel rigid frame — required for spans above 15–18m and heights above 6m |
| Footprint |
100–200 sq m (12×9m to 15×13m typical) |
500–2,500 sq m (30×20m to 60×40m typical) |
| Engineering requirement |
Standard building permits; local contractor typically sufficient |
Licensed structural engineer required for permit; snow and wind load calculations mandatory |
| Fire separation |
Locate minimum 15m from occupied structures; check local codes |
Minimum 30m from occupied structures; fire detection system may be required by insurer |
| Typical construction cost |
$10,000–$25,000 (excluding concrete floor) |
$80,000–$400,000 (excluding site preparation and concrete) |
| Cost per stored bale |
$5–$12 per bale (amortized over 20-year structure life) |
$3–$7 per bale (scale economy in larger structures) |
Fire Safety for Hay Storage
Hay is a combustible material and hay barn fires are a significant and preventable farm hazard. Most hay barn fires originate from one of three causes: bales stored above 20% moisture that spontaneously heat and combust (self-heating); electrical faults from barn wiring or equipment; or external ignition from adjacent structures. All three can be substantially mitigated with correct design and management.
Self-heating prevention: Never store hay above 20% moisture. Monitor new-season hay with a hay thermometer probe for the first 21 days of storage. A bale core temperature above 60°C (140°F) requires immediate action — remove the affected bales from the barn. Above 70°C: fire risk is imminent. Call the fire department before moving bales.
Electrical safety: Run only weatherproof, grounded wiring in the hay barn. Keep all wiring at least 300mm above the hay stack top. Do not use extension cords as permanent wiring. Disconnect power from the barn when no personnel are present. Avoid running charging equipment (phone chargers, battery chargers) inside the hay barn.
Separation distance: Locate the hay barn at least 15m (small farm) to 30m (commercial) from any occupied structure, equipment shed or other combustible building. This separation provides time for response if a fire ignites before it spreads to adjacent structures.
Fire detection: Install a smoke detector (heat-type, not ionization — ionization alarms produce false triggers from hay dust) connected to an audible alarm and optionally to a remote monitoring system. Early detection during the self-heating phase — before visible smoke or flame — allows time to respond before a full fire develops.
Equipment and Baler Maintenance for Consistent Barn-Ready Baling
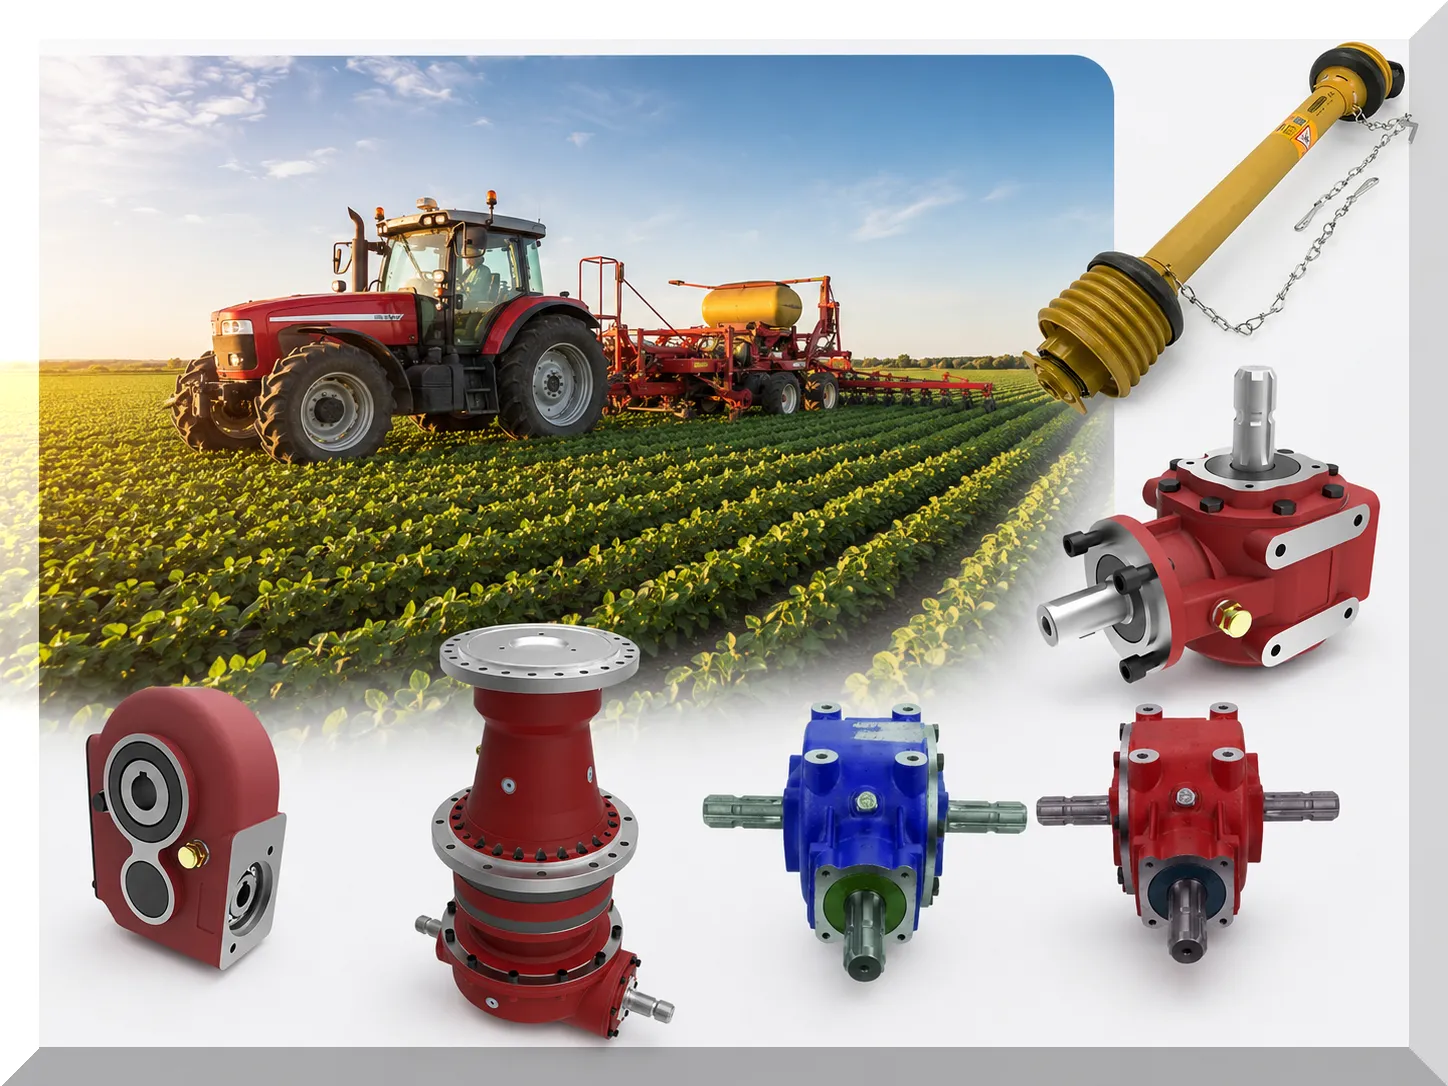
Consistent bale dimensions — consistent length within 20mm across a session — are essential for stable stacking in a hay barn. Bales that vary in length produce uneven stack faces that shift and can collapse, particularly at 5–7 high stacking heights. PTO speed fluctuation (from an undersized tractor or worn CV joint) changes the knotter firing timing relative to the star wheel counter, producing variable bale lengths. Maintaining 540rpm PTO through the session produces the consistent bale lengths that stack reliably and safely. Full specification guide: PTO driveshaft maintenance for consistent bale dimensions in barn storage operations.

Frequently Asked Questions — Hay Barn Storage Design
How big does my hay barn need to be for 500 acres of hay?+
500 acres of hay at typical grass hay yield (2 tonnes/acre/season) produces 1,000 tonnes of hay, or approximately 50,000 small square bales of 20kg each. Storing the full production requires: 50,000 ÷ 25 bales/sq m (5 high stacking) = 2,000 sq m of net stacking area, plus 25% for aisles = 2,500 sq m total floor area. A 50m × 50m barn (2,500 sq m) would store the full 500-acre production simultaneously. In practice, most operations on this scale use a rolling inventory — hay from each cutting is sold or fed before the next cutting arrives, meaning storage at any one time is one or two cutting volumes (approximately 15,000–20,000 bales or 600–800 sq m of floor area). Determine your peak simultaneous storage volume (the largest quantity on hand at any one time during the season) and design to that figure rather than to total annual production.
Should I store small square bales on pallets or directly on a concrete floor?+
On a concrete floor: wooden pallets or pressure-treated timber runners provide an air gap (75–100mm) between the bottom bale layer and the concrete surface. This air gap allows moisture from the concrete to dissipate rather than being absorbed by the bottom bale layer. The benefit is most significant in the first 6–12 months after a new concrete pour, when concrete continues to off-gas moisture as it cures fully. After 24 months of age, a well-drained concrete slab with adequate vapour barrier below has minimal residual moisture transfer — and direct-on-concrete stacking becomes acceptable. For premium hay (horse or export): pallets are always recommended to maximise the quality of the bottom layer. For cattle hay where the bottom layer is typically fed first and its quality is less critical: direct-on-concrete stacking is commonly used after the first year.
Do round bales need to be stored indoors or is outdoor covered storage acceptable?+
Round bales stored outdoors with net wrap in a dry climate can be acceptable for up to 6 months at a DM loss of 5–10%. In humid climates (SE US, Pacific Coast) or for bales stored beyond 6 months: covered storage reduces DM loss to 2–5% and preserves quality significantly better. The economics of indoor round bale storage are less compelling than for small square bales because: round bales use floor space inefficiently compared to small square bales (0.8–1.0 round bales per sq m vs 22–28 small square bales per sq m); round bales for cattle markets have lower value per tonne than horse market small square bales; and net-wrapped round bales have better outdoor weather resistance than twine-tied small square bales. The typical US practice: indoor covered storage for horse market and export small square bales (value justifies the storage cost); outdoor net-wrapped storage for large beef cattle round bales (lower value per tonne and lower marginal storage cost savings make outdoor storage economically appropriate for most operations).
How do I monitor hay temperature in the barn after baling?+
Use a hay temperature probe — a 600–900mm long metal rod with a thermometer (either dial or digital display) at the handle end. Push the probe into the bale interior through the bale end face — not through the side. Take readings at 5–10 representative bales distributed across the new-season lot on day 3, day 7, day 14 and day 21 after baling. Interpretation: below 49°C (120°F) — normal heating, no action needed; 49–60°C (120–140°F) — elevated, increase monitoring frequency to daily; above 60°C (140°F) — remove the hot bales from the barn during daylight hours and spread in the field to cool down; above 70°C (160°F) — immediate fire risk. Contact the fire department before moving. New hay lots should never be stacked on top of or immediately adjacent to the previous season hay — stacking new hot hay against established cool bales creates localised hot zones. Leave a clear gap of at least 500mm between new and old stock.
Is a concrete floor necessary for a hay barn or will compacted gravel work?+
Compacted gravel (100–150mm of road base or clean crushed gravel on a compacted subgrade) is a functional and significantly lower-cost alternative to concrete for hay barns where front loader operation is not required. A well-prepared gravel floor on a drainage-appropriate site provides good ground moisture separation, drains surface water, and supports foot traffic and hand-cart operation without rutting. The limitations of gravel versus concrete: gravel floors cannot be swept clean (dust and debris embed in the surface, creating a residual organic layer that can harbour mold spores and rodent pathways); front loader operation ruts and disturbs the surface over time; and gravel does not provide the smooth surface needed for a bale elevator to operate efficiently. For operations using hand or small equipment stacking with standard cattle hay: gravel is a practical and cost-effective floor choice. For premium horse hay or export hay where cleanliness and the full bottom layer quality matter: concrete is the correct specification.
How do I control rodents in a hay barn?+
Rodents (mice and rats) in hay barns are a persistent management challenge. They nest inside bales, contaminate hay with urine and feces (a serious health concern for horses — rodent contamination of hay is a documented source of botulism), and chew bale twine. Control strategies: (1) Maintain barn tightness — seal gaps along the base of side walls where rodents enter; heavy-gauge hardware cloth (wire mesh) on any ventilation openings below 2m height prevents entry while maintaining airflow. (2) Use a barn cat — an active barn cat is one of the most effective long-term rodent deterrents for a farm building. (3) Bait stations along the outside perimeter of the barn, maintained monthly. Never place rodent bait inside the barn where it can contaminate hay or be accessible to farm animals. (4) Stack bales with the smooth face outward and leave the bottom pallet layer slightly separated from the wall — this eliminates the dark cavity between the wall and bale stack that rodents use as a travel corridor. (5) Rotate inventory regularly — bales that remain in the same position for more than 6 months develop established rodent pathways through and around them.
How wide should a hay barn be for front loader operation?+
A hay barn designed for front loader stacking requires a minimum internal clear width of 9m to allow the tractor to manoeuvre while stacking toward the side walls. A tractor with front loader is typically 2.2–2.8m wide — stacking to the side wall requires the tractor to be within approximately 1.5m of the wall face while lifting a load 3–4m high. The internal clear width must accommodate the tractor width plus the safe operating margin on each side (0.5m minimum) plus the approach distance from the wall (1.5m for front loader reach to the stack face). Total: 2.8m (tractor) + 1.0m (both side margins) + 1.5m (front loader reach from outside the stack) + 3.5m (stack width) = approximately 8.8m — which rounds to a 9m clear interior width as the practical minimum for one-side stacking with front loader. For drive-through with stacking on both sides: 12m clear internal width is the minimum that allows comfortable operation.
Should I insulate my hay barn roof?+
Roof insulation in a hay barn is generally not recommended and can actually worsen condensation problems. An uninsulated metal roof conducts heat rapidly — in winter, the roof surface is cold and moisture from the hay condenses on the interior of the roof rather than rising through the ventilation path. However, adding insulation without improving ventilation traps the moisture between the hay and the insulation layer, creating worse condensation than an uninsulated design. If condensation is a problem in an existing barn: the correct fix is to improve ventilation (wider ridge vent, wider eave gap, open side walls on the windward face) rather than adding insulation. Insulation is appropriate in hay barns only when the barn is also used as a workspace that requires temperature regulation for worker comfort — in which case, insulation combined with a well-designed vapour control layer and adequate mechanical ventilation is the correct engineering approach. For hay-only storage: no insulation, maximum passive ventilation.
Planning a Hay Storage Barn for Your Operation?
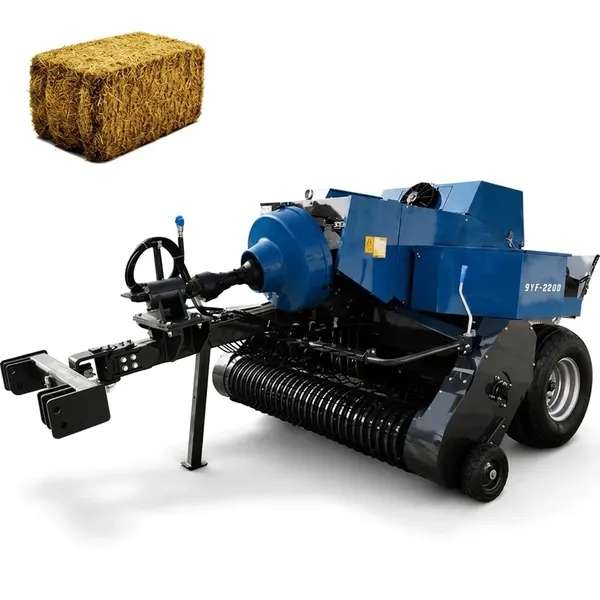
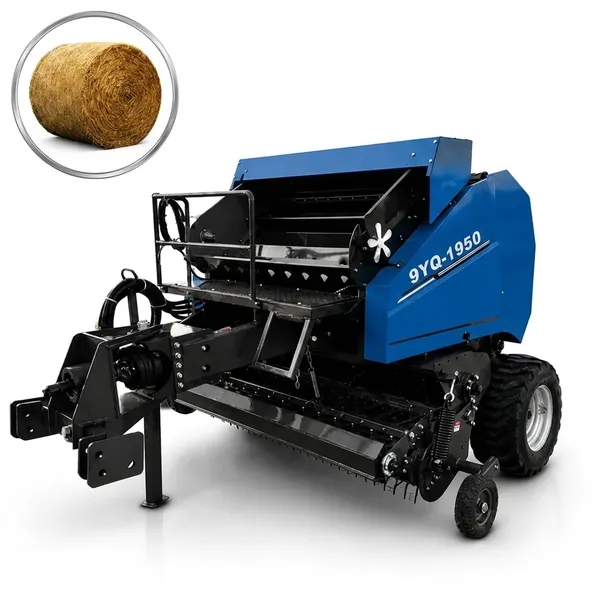
Tell us your annual bale volume, bale format and primary market and we will help you calculate the correct barn size to store your 9YF square baler ou 9YQ round baler production correctly.
America Ever-Power Forage Baler Equipment INC. · 1401 21st ST STE R, Sacramento, CA 95811
Editor: Cxm