
Why Pre-Season Inspection Matters
Square balers sit unused for 8–10 months between seasons in most regions. During that period, lubricants migrate away from bearing surfaces, seals dry and crack, tine springs lose set, rodents nest in accessible cavities and condensation cycles corrode unprotected metal surfaces. A machine that tied reliably through last season is not guaranteed to start this season without problems — especially in the knotter mechanism, where small clearance changes from wear and rust buildup have an outsized effect on performance.
The other practical reason: a mid-season failure during a hay cutting window — when weather is cooperating, the windrows are ready and the entire season schedule depends on getting bales off the field — is the highest-cost possible time for a problem. An inspection that takes 3–5 hours in the barn before the season starts eliminates the majority of these field failures. This checklist is organized from hitch point to bale chute, covering all standard 9YF models plus the shredder and fan additions on the 9YF-2200S and 9YFS-2.2.
1. Hitch and PTO Shaft
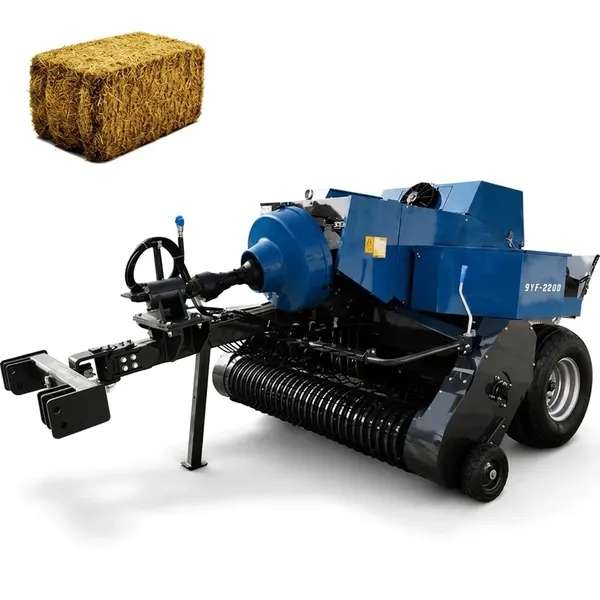
Hitch and Drawbar
- ☐Inspect drawbar pin and clevis or ball hitch for wear — the hitch must be tight with no perceptible play under the weight of the machine
- ☐Check that safety chain and hitch retention device are present and functional
- ☐Lubricate hitch pin and any swivel points per the operator manual
PTO Shaft
- ☐Verify PTO shaft length: with the baler hitched at working depth and the tractor at maximum turn angle, the telescoping joint must not bottom out and must retain at least one-third overlap — measure and confirm
- ☐Inspect the PTO safety shield for cracks, missing end guards and any section that does not rotate freely — a damaged shield is a serious injury risk and must be replaced before operation
- ☐Lubricate all shaft universal joints with the grease specified in the operator manual — not all-purpose grease, which may not meet the speed and pressure rating of the joint
- ☐Check the slip clutch or shear bolt specification against the baler input torque specification — replace shear bolts that were used during last season with new bolts of the correct rating
2. Gear Drive and Gearbox
- ☐Check gearbox oil level via the sight glass or dipstick — top up with the grade specified in the operator manual if below the minimum mark. If the oil has been in service more than two seasons, change it before the new season regardless of visual condition
- ☐Inspect the gearbox input shaft seal for weeping or leakage — an oil-stained area below the seal face on the gearbox housing indicates the seal needs replacement before the season
- ☐Check all main drive chain or belt tension and condition — chains that stretched or belts that cracked during last season should be replaced before the new season
- ☐Lubricate all chain runs per the operator manual schedule — most square baler chains require a specific chain lubricant rather than general-purpose oil for adequate wear protection at operating speed
3. Plunger and Bale Chamber
- ☐Clean the full bale chamber interior — remove all crop residue, debris and nesting material from inside the chamber, the plunger guide rails and the bale chute area
- ☐Lubricate plunger slide rails per the operator manual — these wear strips bear the full plunger load on every bale cycle and must be well-lubricated before the season
- ☐Inspect plunger face for cracks or warping — a cracked plunger face concentrates stress and can fail progressively during the season
- ☐Check the plunger crank bearing for play — take up any slack per the operator manual, or schedule replacement if play exceeds specification
- ☐Inspect wear strips in the bale chamber walls — worn strips allow plunger side-play that produces bales with uneven density across the width
4. Knotter System — The Most Critical Inspection
Perform This Inspection Last After All Other Checks
The knotter inspection deserves dedicated time — do not rush through it at the end of a long pre-season service. Each step is specific and can be confirmed only by hands-on inspection of the mechanism itself.
- ☐Remove both knotter cover plates and thoroughly clean the full mechanism — crop debris and dust embedded in the knotter after last season changes the timing and feel of the mechanism without being visible from outside
- ☐Inspect both bill tips — run your thumb along each tip face and verify the hook geometry is sharp and unbroken. Replace bills showing any chipping, rounding or flat sections on the tip face
- ☐Replace both knife blades as a pre-season routine — knife blades are inexpensive and starting with sharp knives eliminates the most common source of ragged rope ends and poor cut quality
- ☐Inspect both cam lobe faces for flat spots or polished wear zones — rotate the main shaft slowly by hand and observe the follower arm movement for smooth lift-and-return on both sides
- ☐Lubricate all knotter pivot points, cam follower arms and needle pivot bearings per the operator manual schedule — use only the lubricant specified, applied in the specified quantity
- ☐Thread the full twine path on both knotters with new spool twine — verify smooth passage through every guide eyelet and the needle eye before engaging the PTO for the first test run
- ☐Set both tension discs to the starting specification in the operator manual — verify equal tension on both sides before the calibration run
5. Pickup System
Spring-Tooth Models (9YF-1700, 1900, 2200)
- ☐Inspect all spring tines for bending — any tine deviating more than 5 degrees from its correct working angle should be replaced. A bent tine lifts less material and can dig into the ground on the down stroke
- ☐Check the tine reel hub bearings for roughness — the hub must spin smoothly by hand with no grinding or binding
- ☐Set the pickup height to working position and verify the height adjustment linkage moves freely and locks at the correct field height for your typical windrow
Hammer-Claw Models (9YF-2200S, 9YFS-2.2)
- ☐Inspect all hammer-claw tine tips for wear — replace tines showing more than 3–4mm of tip wear. A full set of worn tips on the hammer-claw drum causes a measurable reduction in recovery rate before the impact energy loss becomes visible in the windrow
- ☐Check that no tines are cracked or chipped — a cracked tine can fail and become a projectile hazard during high-speed rotation
- ☐Lubricate the hammer-claw drum bearings and verify that the drum balance is correct — a missing or replaced tine on one side without replacing the tine at the opposite position on the drum changes the rotational balance and generates vibration
6. Shredder System — 9YF-2200S and 9YFS-2.2 Only
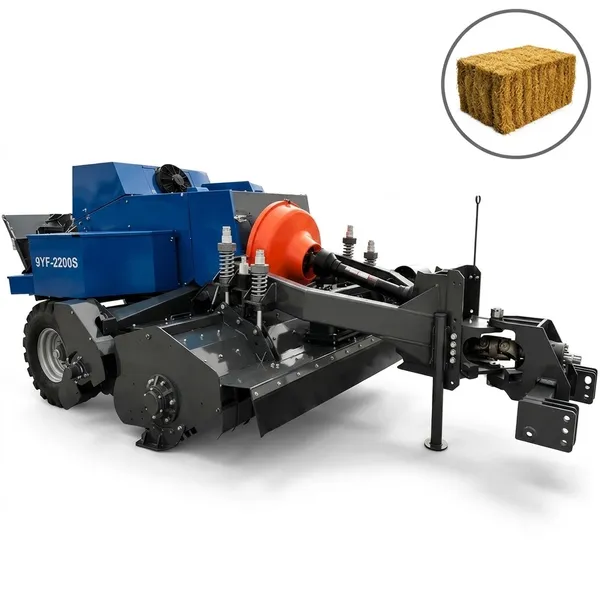
- ☐Inspect all shredder blade edges for rounding, notching or chipping — replace blade sets showing visible edge wear before the season rather than mid-season in the field
- ☐Set the blade-to-counter-blade clearance per the operator manual specification for the primary crop to be baled — document the setting before first use so it can be reproduced if the machine is serviced mid-season
- ☐Check the shredder drive belt tension and condition — replace a belt showing cracking, fraying or glazing before the season
- ☐Clear the full inter-stage material path (on the 9YFS-2.2) of compacted crop residue from last season — a partially blocked inter-stage passage reduces throughput and can cause material to back up into the first stage
- ☐Lubricate the shredder shaft bearings per the manual schedule and verify smooth rotation by hand
7. Fan System — 9YFS-2.2 Only
- ☐Clean the fan housing interior fully — fine material from last season compacts on the inner surfaces and on the impeller blades, changing the aerodynamic balance and reducing airflow efficiency
- ☐Inspect the impeller blades for wear, cracking or material buildup — any blade that is asymmetrically worn or cracked should be replaced before operation to prevent imbalance-induced vibration
- ☐Check the fan drive belt tension and condition — the same belt inspection criteria as the shredder belt apply
- ☐Lubricate the fan shaft bearings per the manual specification
- ☐Verify that the inlet duct seals cleanly against the material flow zone — any gap in the duct reduces the negative pressure available for impurity separation and degrades fan cleaning effectiveness
8. Twine and Spool System
- ☐Confirm that twine has been removed from both spool holders over the off-season — twine left on the machine during storage absorbs moisture, may be degraded by UV through transparent housing covers, and should not be used for the new season even if visually intact
- ☐Load new spool twine of the correct strength rating for your intended density setting — verify spool size fits the holder before purchasing in bulk
- ☐Thread the full path on both knotters per the diagram in the operator manual — a mis-threading produces intermittent missed knots that appear mechanical but are actually a path issue
- ☐Check both spool holders rotate freely and that the twine feeds off the spool without tangling or kinking — a spool holder that catches or sticks adds intermittent tension spikes that produce variable knot quality
9. Fork Feeder and Material Flow Path
- ☐Inspect all fork feeder tines for bending — straighten any bent tines or replace those that cannot be straightened to within 5 degrees of correct position
- ☐Check the feeder drive mechanism (cam, crank and linkage) for wear and correct timing — a worn feeder cam produces inconsistent material delivery into the chamber, causing variable bale density even with correct plunger settings
- ☐Lubricate all feeder pivot points per the operator manual
PTO Driveline Pre-Season Reference
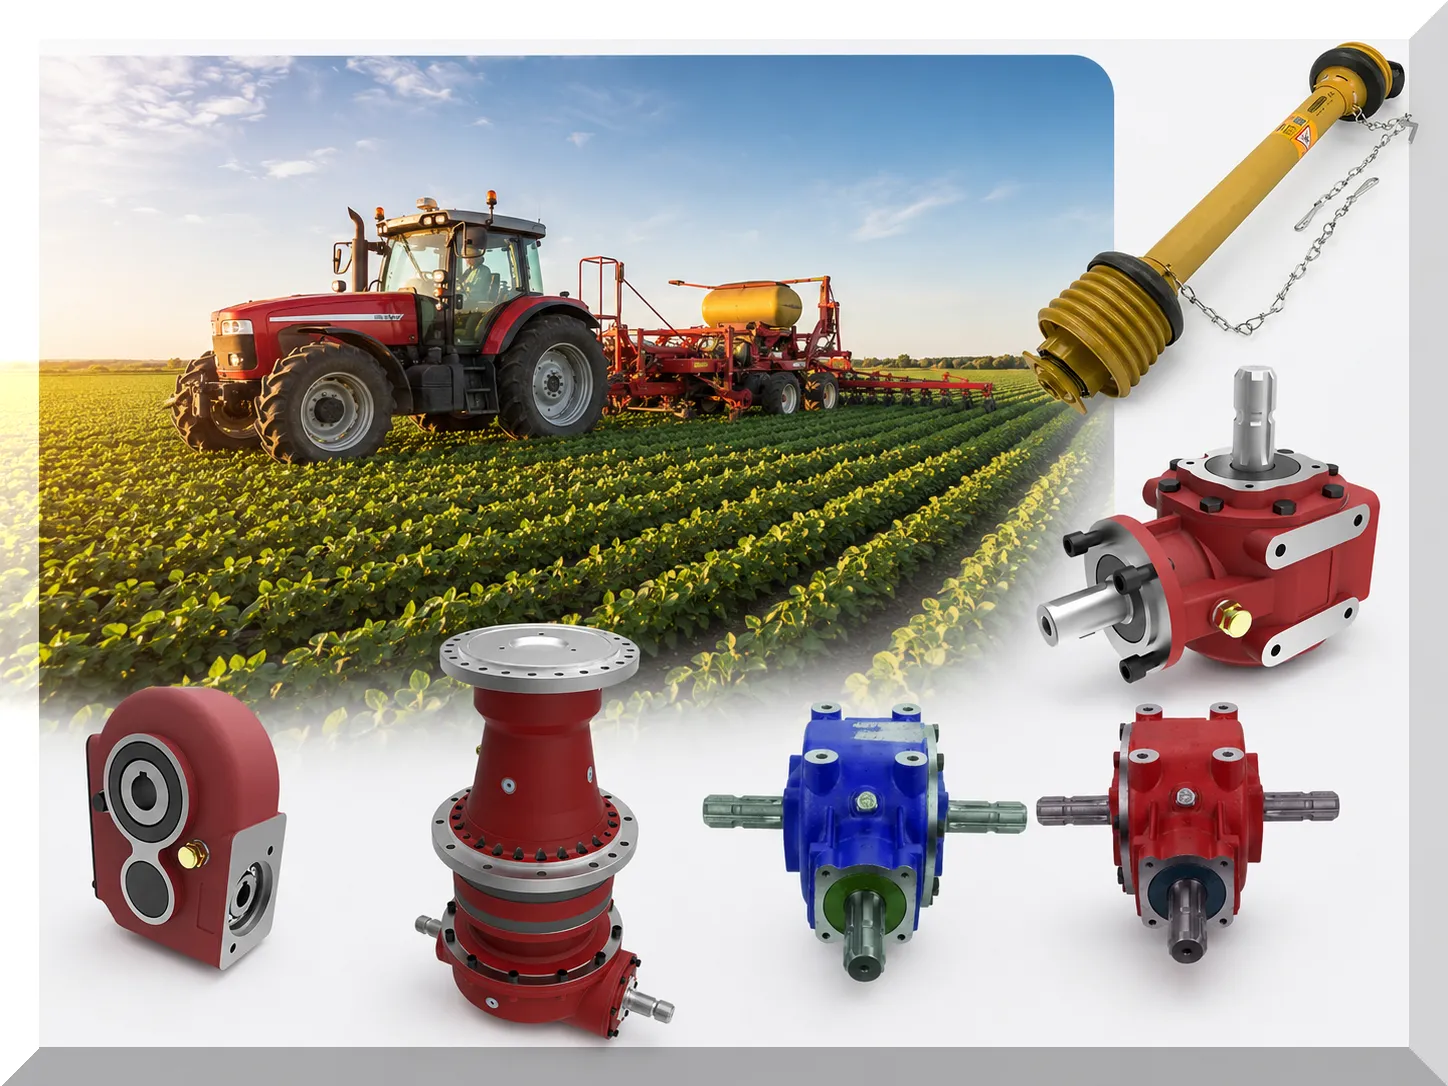
Gearbox oil grades, torque specs and PTO shaft standards: tarımsal şanzıman ve PTO şaftı özellikleri
PTO driveshaft length, CV joint angle verification and safety shield replacement specifications: PTO tahrik mili ve CV mafsalı boyutlandırma kılavuzu.
10. First-Session Startup Test
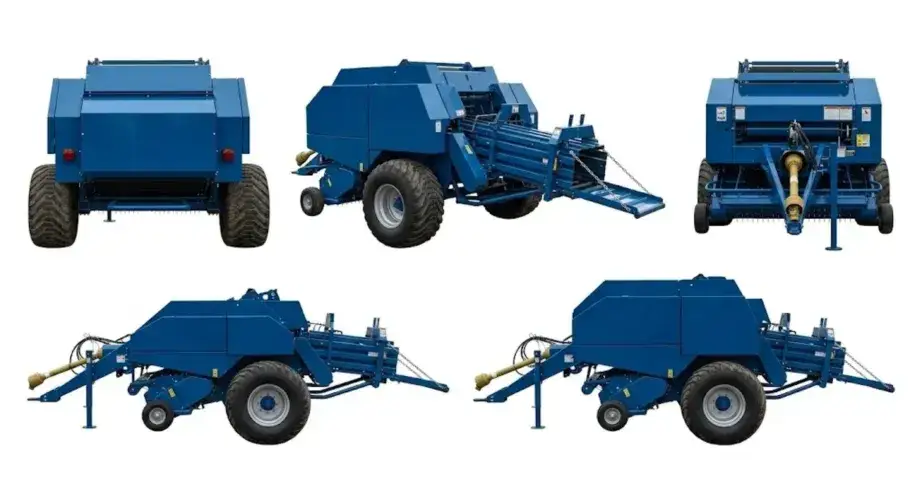
After completing the full checklist, connect the baler to the tractor and perform a bench test before entering the first windrow:
- ☐Engage PTO at low speed and cycle the machine through 3–5 full plunger strokes — listen for unusual noise from the gearbox, knotter drive or feeder mechanism. Any grinding, clicking or irregular timing sound indicates an inspection item was missed
- ☐Verify the needle completes its full stroke on both sides — watch through the inspection window if fitted, or cycle slowly by hand after disconnecting PTO
- ☐Bale the first 10 bales at 60% of normal forward speed and inspect all ties — verify both knotters are tying cleanly, knot quality passes the pull test and bale shape is rectangular after ejection
- ☐Only after 10 clean test bales: advance to normal operating forward speed and begin production
Frequently Asked Questions — Square Baler Pre-Season Setup
Start the Season with the Right Equipment
Whether you are servicing an existing 9YF model or evaluating a new square baler for the coming season, we can support both the technical inspection process and the model recommendation. Tell us your setup and we will help.
America Ever-Power Forage Baler Equipment INC. · 1401 21st ST STE R, Sacramento, CA 95811
Editör:Cxm


