Field Diagnostics Reference

Round Baler Troubleshooting: Fix the 12 Most Common Problems

Most round baler problems occur at predictable points in the bale-formation cycle and produce recognizable symptoms — a specific shape defect, a wrap failure pattern, a sound, or a dropped bale count. Diagnosing the symptom correctly puts you at the right component immediately rather than working through every system. This guide covers the 12 problems most frequently encountered in commercial baling operations with their specific causes and step-by-step field fixes.

View Problem Diagnostics

How to Use This Troubleshooting Reference

Each problem below is organized by observable symptom — what you see, hear, or measure — rather than by system component. In the field, you observe a symptom and need to reach a diagnosis quickly; starting from the symptom is faster than starting from a component list. For each problem, the most likely cause is listed first, followed by less-common causes. Fix the most likely cause first before working down the list.

Critical safety note: never perform any adjustment, clearing, or inspection on any part of the baler with the PTO connected and running. Disengage PTO, lower to ground, apply parking brake, and allow all rotating components to fully stop before reaching into the bale chamber, clearing a pickup jam, or adjusting any mechanical component. Rotating belts, chains, and rollers inside the bale chamber are serious injury hazards. The comprehensive seasonal maintenance checklist that prevents many of these problems from occurring is in the round baler maintenance seasonal checklist.

Safety first: All troubleshooting requiring physical access to the bale chamber or drive components must be performed with PTO disconnected, all rotating parts stopped, and tractor in park with brake set.

Problems 1–4: Bale Shape and Formation Defects
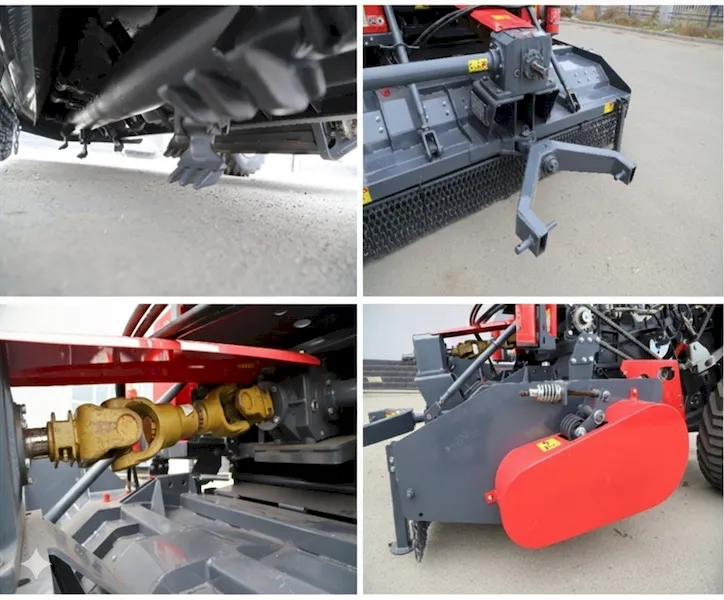
round baler internal structure — bale formation problems including peanut shape, D-shape, and soft cores are diagnosed by examining belt condition, roller alignment, and crop entry symmetry inside the bale chamber

Problem 1: Peanut-shaped or hourglass bale
Shape defect

Symptom: Bale is wider at the ends than in the center, producing a waist or hourglass shape when viewed from the side.

Cause 1 (most likely): Center belts are worn longer than outer belts, creating a concave surface in the bale chamber center. The crop fills the longer-belt zone (center) less aggressively than the sides, producing the hourglass waist. Measure all belt circumferences; replace any belt more than 2% longer than the shortest belt in the set.

Cause 2: Pickup delivery is too narrow — crop is entering the chamber on a narrow center path rather than distributed across the full pickup width. Check that all pickup tines are present and at equal height; clear any partial-width blockage in the crop conveyor.

Cause 3: Center roller wear — if the center chamber roller is worn to a smaller diameter than the outer rollers, crop pressure in the center zone is reduced.

Problem 2: D-shaped or flat-sided bale
Shape defect

Symptom: Bale has a flat face on one side and is rounded on the other — D-shape when viewed from the end.

Cause 1 (most likely): One side of the pickup is consistently delivering less crop than the other — a missing tine section, partial crop lane blockage, or windrow not centered under the pickup. Verify windrow centering; walk the pickup to confirm all tines are present and at equal height across the full width.

Cause 2: Belts on one side of the baler are longer than the other side — the longer-belt side fills faster, creating an asymmetric bale. Measure and sort belts; replace any belt more than 1.5% longer than the shortest belt in the set.

Cause 3: Tailgate hinge is misaligned — if the tailgate does not close symmetrically, one side of the bale chamber is slightly larger than the other, producing asymmetric bale shape.

Problem 3: Soft core with hard outer shell
Density defect

Symptom: Finished bale feels firm on the outside but has a soft, loose core that collapses when the net wrap is removed.

Cause 1 (most likely): Bale started forming before the chamber was producing adequate tension — the initial core was formed under low-tension conditions before density pressure built up. This is common with fixed-chamber balers when the first windrow entry is too light or too narrow. Ensure a full-width, consistent windrow entry at the start of each bale.

Cause 2: Belt tension springs are weakened — insufficient spring tension in the early stage of bale formation allows the bale core to form under insufficient compression. Check spring tension against manufacturer specification; replace springs showing more than 10% compression set.

Cause 3 (variable-chamber only): Density control valve is not applying pressure correctly at the beginning of the formation cycle — the electronic or hydraulic density system may need recalibration.

Problem 4: Bale too light despite maximum density setting
Density defect

Symptom: Bales consistently weigh 15–25% less than the baler’s specification at maximum density setting, even with correct windrow volume.

Cause 1 (most likely): Belts are worn and elongated — a belt set at 2–3% elongation has significantly less tension-generating capacity at equivalent spring compression, producing lower-density bales. Measure all belts; replace the set if average elongation exceeds 2%.

Cause 2: Crop moisture is too low — very dry hay (below 10% moisture) does not compact as efficiently as hay at 14–18% moisture. This is a crop-condition limitation, not a mechanical fault.

Cause 3: Belt tension springs have weakened from age and use — the spring’s free length has shortened, meaning it cannot generate the same force at the same extension point. Replace springs every 3–5 seasons as preventive maintenance.

Problems 5–8: Net Wrap and Wrapping System Failures
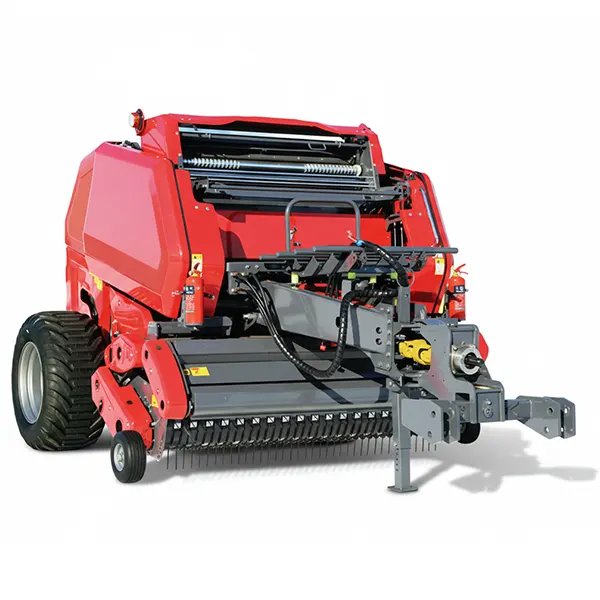
Presse à balles rondes 9YG-1.25A-1

Problem 5: Net wrap not feeding — arm extends but no net enters chamber
Wrap failure

Symptom: Wrap alarm triggers; arm extends to wrap position; bale rotates but no net is feeding into the chamber; bale ejects without wrapping.

Cause 1 (most likely): Net roll end or net feedout jam — a fold, crease, or corner tear in the net has caught in the feedout mechanism. Stop, disengage PTO, open access cover, and manually clear the net path from the roll through the feedout slot.

Cause 2: Net brake tension too high — excessive brake tension prevents the roll from rotating freely when the arm pulls net. Check brake pad pressure; correct specification is in the operator’s manual.

Cause 3: Net roll core slippage — the net has pulled free of the core and is spinning loose inside the roll holder. Replace net roll.

Problem 6: Net feeds but does not cut — arm retracts with net still attached to bale
Wrap failure

Symptom: Net wraps correctly; cut cycle activates; arm retracts but net remains connected between bale and roll — the bale ejects and pulls the remaining net off the roll, jamming the feedout system or tangling in the chamber.

Cause 1 (most likely): Knife blade is dull or chipped. Test with thumbnail — the knife edge should catch clearly on your thumbnail; a smooth-feeling edge is a dull blade. Replace knife blade. The correct knife type and replacement procedure is in the baler parts replacement guide.

Cause 2: Knife stroke is not reaching the net — the knife actuator travel is insufficient to bring the blade across the full net width. Check hydraulic cylinder extension or mechanical cam travel against specification.

Cause 3: Net twist — the net has developed a twist in the feedout path that changes the angle at which it contacts the knife, causing a partial rather than complete cut. Reload the net, ensuring it feeds flat and untwisted through the entire feedout path.

Problem 7: Net wraps on one end only — uneven wrap coverage
Wrap quality

Symptom: Finished bale has good net coverage on one face but poor or missing coverage on the other — the net concentrated at one end rather than distributing across the full bale width.

Cause 1 (most likely): Net feedout arm travel is restricted — the arm is not traveling fully to the opposite end of the bale during the wrap cycle. Check hydraulic cylinder extension or timing cam travel for the full prescribed travel distance.

Cause 2: Net is narrower than the bale width — the net roll being used is not the correct width for this baler model. Confirm net roll width specification for your baler.

Cause 3: Arm travel speed is too fast — if the arm traverses the bale too quickly relative to bale rotation speed, the net spirals tightly at one end before reaching the other. Check hydraulic flow to arm cylinder against specification.

Problem 8: Bale falls apart after ejection — net wrap splitting
Wrap failure

Symptom: Bale appears well-wrapped at ejection but deforms or bursts within minutes to hours as internal spring pressure splits the net.

Cause 1 (most likely): Insufficient wrap revolutions for the crop density and spring-back characteristics — straw bales, very dry hay, and high-density silage all exert higher outward pressure than standard hay. Increase wrap revolutions by 1–2 above current setting.

Cause 2: Net wrap tensile strength is insufficient for the bale density — standard hay net may not hold a high-density straw bale. Switch to a heavier-gauge net specified for high-density baling.

Cause 3: Net brake tension too low — the net is being applied without adequate tension, producing a wrap that is not taut against the bale surface. Increase net brake tension incrementally.

Problems 9–12: Pickup, Belt, and Drive System Failures
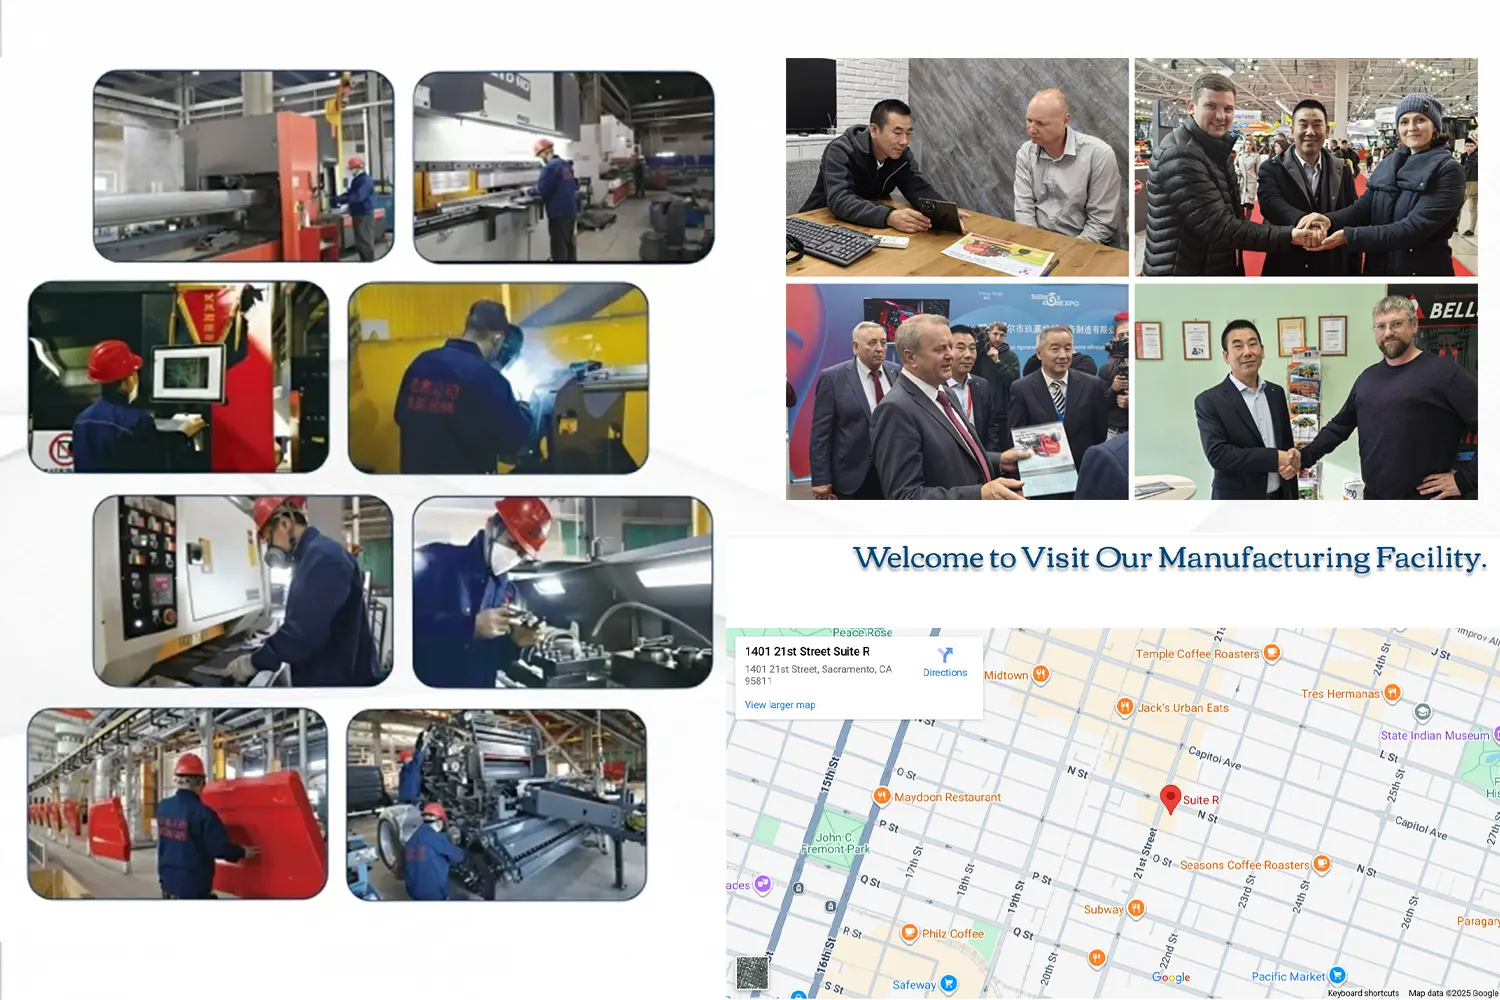
foragebaler.com round baler factory quality testing — pickup system, belt tension, and drive chain inspection are conducted before delivery; field troubleshooting these systems is most effective when the factory-specified baseline settings are known

Problem 9: Pickup plugging — crop not feeding into chamber
Pickup failure

Symptom: Crop piles up in front of or inside the pickup rather than feeding through to the bale chamber; PTO load increases sharply; engine may lug.

Cause 1 (most likely): Crop windrow too wide or too dense for the ground speed — reduce forward speed by 20–30% or split the windrow before the next pass. The pickup can only accept crop at the rate the bale chamber can absorb it.

Cause 2: Missing or bent tines creating irregular pickup lift — inspect all tines; replace any bent by more than 10° from the original angle. A single missing tine leaves a strip of uncollected crop; a bent tine can cause a localized plug.

Cause 3: Pickup floor height is too low — tines are contacting the ground, digging soil into the crop stream and slowing the pickup rotation. Raise pickup height to keep tines 15–20mm above the ground surface during operation.

Problem 10: Belt slippage — belts spinning without engaging crop
Drive failure

Symptom: Belts rotate faster than the bale surface; bale forms slowly or partially; visible slipping between belt inner surface and drive roller.

Cause 1 (most likely): Belt elongation has exceeded the tensioner’s compensation range — when belts stretch beyond 3–4%, the spring tensioners cannot maintain adequate belt-to-roller contact pressure. Measure all belts; replace if average elongation exceeds 2%.

Cause 2: Drive roller surface is glazed — accumulation of rubber residue from belt friction reduces the friction coefficient between belt and roller. Clean rollers with a solvent-dampened cloth; roughen the surface with coarse sandpaper if glazing is severe.

Cause 3: Belt splice failure — a belt splice that has partially separated reduces effective belt tension unevenly, causing the weakened-splice belt to slip while adjacent belts maintain tension. Inspect all splices carefully.

Problem 11: Shear bolt breaking repeatedly
Drive protection

Symptom: Shear bolt at the PTO input hub or flywheel shears frequently — more than once per day in normal operating conditions.

Cause 1 (most likely): Wrong-grade shear bolt installed. Shear bolts have a specific grade and diameter to shear at the correct overload force — substituting a harder bolt allows overload to damage gears and shafts rather than shearing cleanly. Always use the exact grade and diameter specified in the parts manual. Shear bolt grade and diameter specifications are listed in your operator’s manual and confirmed via the dealer parts catalog for your model year.

Cause 2: Overloading the baler — windrow too dense, ground speed too high, or crop too wet for the baler’s rated capacity. Reduce load: lower ground speed, reduce windrow density, or both.

Cause 3: Debris in the crop — rocks, wire fragments, or metal objects in the windrow create instantaneous overload spikes when they enter the baler mechanism. Inspect the windrow ahead of the baler before each pass in fields with debris risk.

Problem 12: Excessive noise — grinding, knocking, or unusual vibration
Mechanical warning

Symptom: Metallic grinding, regular knocking rhythm, or unusual vibration at a specific speed that was not present at the start of the season or after recent service.

Cause 1 — Grinding sound: Bearing failure. Use an infrared thermometer to identify which bearing position is running hot; any bearing more than 30°F above ambient after 10 minutes of operation is suspect. The PTO driveline bearing specifications and replacement standards are in spécifications des composants de la boîte de vitesses agricole et de la prise de force.

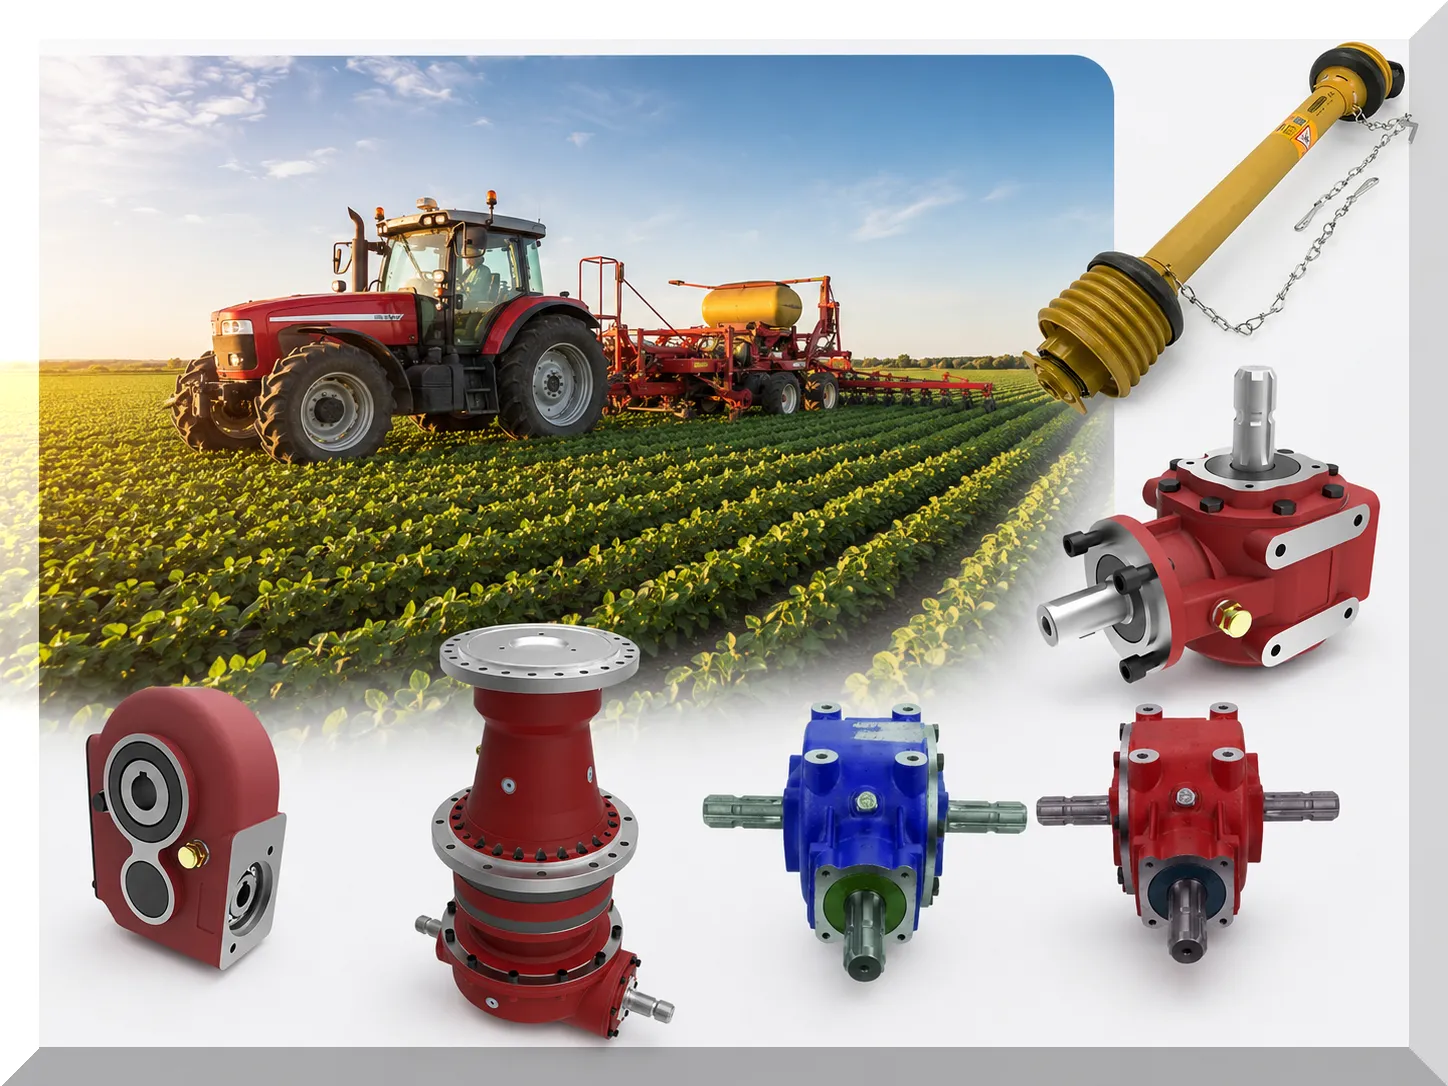
agricultural gearbox and pto shaft

Cause 2 — Regular knock at specific bale rotation speed: A splice in one belt is generating an impact every time it passes over a drive or idler roller. Identify the splice position by marking each belt and observing which splice coincides with the knock timing.

Cause 3 — Vibration at PTO engagement: Drive chain elongation causing chain slap against the chain guard. Measure 12-link chain section; replace any chain exceeding 2% elongation. Also check for a loose chain guard that resonates at operating speed.

When to Call the Dealer vs Fix in the Field

Safe to diagnose and fix in the field
  • Net wrap knife replacement — access panel, simple bolt removal
  • Shear bolt replacement — standard socket, frequent part
  • Belt splice repair — requires splice tools and training but field-practical
  • Pickup tine replacement — most designs allow field tine swap
  • Net wrap loading — operator maintenance task
  • Hydraulic line connection tightening — stop fluid loss
Dealer service recommended
  • Bearing replacement — correct preload requires tools and specifications
  • Drive chain replacement — requires correct tension setting procedure
  • Full belt set replacement — timing of replacement set requires experience
  • Gearbox repair — internal gear damage requires specialized assessment
  • Tailgate hinge misalignment — frame geometry adjustment
  • Electronic density controller recalibration — sensor and controller access

Hydraulic System Problems and Quick Diagnostics

Hydraulic system issues account for a significant share of mid-season baler downtime. Most hydraulic problems produce distinctive symptoms — slow operation, inconsistent cycling, or a specific function that fails while others work normally — that point directly to the cause. The hydraulic system on a round baler typically covers tailgate opening/closing, net wrap arm travel, and pickup height adjustment.

Slow tailgate cycle
Cause: Tractor hydraulic flow below baler’s minimum requirement, or flow-control valve partially closed. Check tractor remote hydraulic flow rate against baler specification. A 2.5–4 second tailgate open-to-fully-open cycle is normal; 6+ seconds indicates insufficient flow.
Tailgate opens partway and stops
Cause: Cylinder rod seal failure allowing fluid bypass inside the cylinder — the rod extends to the seal leak point and stalls. Inspect cylinder rods for visible oil film; a seeping rod needs seal replacement. Also check for external hose kink that restricts flow mid-travel.
Net wrap arm stops mid-travel
If hydraulic-actuated, check cylinder for rod seal leak. If electro-hydraulic, also check solenoid valve function — a sticking solenoid stops flow mid-cycle. On some models, the net wrap arm position sensor triggers mid-cycle stops; check sensor cable continuity.
Hydraulic fluid overheating
Cause: Tractor hydraulic system working harder than designed for sustained baling; flow-control valve partially closed forcing the pump to work at higher pressure; blocked return filter restricting flow. Check tractor hydraulic fluid temperature during baling; replace return filter if overdue.

Proactive Troubleshooting: The Pre-Season Check That Prevents Breakdowns

Most mid-season failures are detectable in a thorough pre-season inspection. The 10 checks that prevent the most common problems:

1. Measure all belt circumferences against new-belt spec
2. Measure 12-link section on all drive chains
3. Heat-test all bearings after 15-min PTO run
4. Thumbnail-test net wrap knife edge
5. Run full net wrap cycle — confirm arm travel, feed, and cut
6. Inspect all pickup tines for length and straightness
7. Cycle tailgate — time open and close against spec
8. Inspect all hydraulic hoses and fittings for seeping
9. Grease all zerks; record any that refuse grease
10. Verify correct shear bolts in stock before first cutting

Round Baler Troubleshooting FAQs

My baler consistently produces bales that are correct shape but break apart when moved — what causes internal bale disintegration?+
Bales that hold shape during transport but fall apart when unwrapped or tipped have insufficient stem-to-stem friction and interlocking — the crop was not forming a cohesive bale structure. Three most common causes: (1) Crop is too short — pre-cut knife engagement at maximum setting produces very short particle lengths that do not interlock well. Reduce knife engagement or bypass the knife entirely to allow longer stems that create better bale cohesion. (2) Crop is too dry — hay below 10% moisture has almost no stem-to-stem adhesion; the bale is essentially held together only by the net wrap tension. Raking at slightly higher moisture (14–16%) before the final dry-down can help if practical. (3) Starting density too low — the initial bale core was formed at insufficient density before the density system engaged fully; soft cores provide weak structural support for the outer shell. Address with fuller windrow entry at the start of each bale as described in Problem 3 above.
The tailgate won’t close fully after ejection — what prevents it from seating?+
A tailgate that does not fully close after bale ejection stops the baling cycle because the density system or the wrap system requires a confirmed closed-gate signal. Three causes: (1) Residual crop caught in the tailgate hinge area — a clump of hay that did not exit cleanly with the bale is wedged between the tailgate and the main frame. Stop PTO, open the tailgate manually, and clear the obstruction before closing. (2) Hydraulic cylinder not fully retracting — the tailgate close cylinder has not completed its stroke. Check hydraulic pressure to the close side of the cylinder. (3) Latch mechanism worn or misaligned — the tailgate latch pins are no longer engaging correctly with the latch receivers. Inspect latch pin alignment; adjust the latch position per the operator’s manual. Running the next bale cycle with the tailgate unlocked is a serious safety risk — do not proceed without confirming the latch is secure.
My monitor shows the bale is full (density alarm triggered) but the bale is visibly smaller than normal. What is wrong?+
The density sensor is triggering the “full” alarm before the bale has reached its rated diameter. This means the sensor is reading higher pressure or size than actual — either the sensor is misaligned, the sensor’s reference position has shifted, or the sensor calibration has drifted. On most monitors, the density readout corresponds to a spring pressure or hydraulic pressure at the density system; if the spring or hydraulic component being measured has lost preload or is damaged, the sensor reads a premature trigger. First check: is the monitor reading consistent with what you see on the density indicator scale on the machine? If the scale shows the density indicator has not reached the normal trigger point when the monitor says “full,” the monitor needs recalibration or the sensor is faulty. Consult the operator’s manual for the sensor calibration procedure or contact the dealer service department for the specific diagnostic procedure on your monitor model.
How do I determine whether my belts need replacement or just retensioning?+
Measure all belt circumferences with a flexible tape measure pulled taut around the full outside circumference of each belt. Record each measurement and compare to the belt’s new-belt specification (from the parts catalog or a new belt of the same part number). If all belts are within 1.5% of new length, retensioning the spring tensioners is adequate. If any belt is more than 2% over new-belt length, replace the entire set — replacing individual belts in a set creates a mixed-elongation condition that produces uneven bale density across the bale width. “Just retensioning” is only a valid solution when elongation is under 1.5% across all belts. Beyond that threshold, tensioners cannot compensate for the length differential and belt replacement is the correct solution.
Crop is wrapping around the pickup shaft rather than feeding through — what causes this?+
Crop wrapping around the pickup shaft or the feed auger shaft (if equipped) indicates that the crop stripper fingers between the tine rows are missing, worn down, or not positioned correctly. Stripper fingers are stationary fingers interleaved between the rotating tine rows that pull the crop off the tines and direct it into the transition zone toward the bale chamber — without them, long-stemmed crop that catches on the tines wraps around the shaft with each revolution. Check all stripper finger positions; any finger that is missing, bent away from the tine path, or worn to less than 60% of its original length allows wrap accumulation. Stripper finger replacement is a routine wear item — it is listed and illustrated in the parts catalog and covered in detail in the parts replacement guide.
After a long season, what should I check before putting the baler into winter storage?+
The end-of-season inspection priorities that will prevent you from discovering problems at the worst moment — the start of next season’s first cutting: measure all belt circumferences and record them (this data tells you how much elongation occurred this season and projects when replacement will be needed); measure all drive chain 12-link lengths and replace any exceeding 2% elongation; heat-test all bearing positions after a 15-minute PTO run at rated speed; inspect the net wrap knife edge and replace if the thumbnail test shows rounding; clean all crop residue from the bale chamber, pickup area, and PTO shaft guard to prevent fire risk during storage; grease all zerks; check hydraulic hose fittings and replace any with visible seepage; and inspect the tailgate latch mechanism for wear. The complete end-of-season and off-season storage procedure is in the full seasonal maintenance checklist.

foragebaler.com round balers with factory service documentation and parts support for rapid field diagnosis and repair

Get Parts and Service Support for Your Baler

Tell us your baler model and the specific symptom you are seeing. We confirm the correct part specification, replacement procedure, and whether dealer service is required for your specific problem.

Get Parts and Service Support

Éditeur : Cxm