
How the Net Wrap System Works — and Where It Can Fail
The net wrap cycle on a round baler is a four-step mechanical sequence: (1) a sensor or counter signals that the bale has reached full diameter; (2) the wrap arm or feed roller advances the net from the roll into the pickup intake; (3) the net feeds into the baler and wraps around the rotating bale for a preset number of revolutions; (4) a knife or cutting bar severs the net at the trailing edge. Each of these four steps can fail independently — and most failures have a specific mechanical fingerprint that points to the component responsible.
The critical point is that net wrap failures are almost never random. A wrap that works reliably one bale and fails the next is almost always caused by inconsistency in crop entry (windrow variation or bale shape affecting the sensing trigger), not by a defective mechanical component. A wrap that fails consistently at the same point in every bale is a mechanical or adjustment issue. Distinguishing between these two patterns is the first step in any wrap failure diagnosis.
The Five Net Wrap Failure Categories at a Glance
| Failure category | What you observe | Most common cause | Urgensi |
|---|---|---|---|
| 1 — Wrap Won’t Start | Full bale; baler signals complete; net never feeds into intake | Broken trigger mechanism, depleted roll not detected, arm actuator failure | High — bale cannot be ejected cleanly |
| 2 — Wrap Won’t Cut | Net wraps correctly but continues wrapping after target count; knife doesn’t engage or tears rather than cuts | Dull/damaged knife, knife cam timing off, knife actuator not completing stroke | High — over-wrap wastes net; bale may not eject |
| 3 — Incomplete Coverage | Bale ends bare or thin; net width narrower than bale width; coverage breaks mid-wrap | Wrong net width, centering misaligned, net tension too high causing tear | Medium — bale stores poorly; shoulder weathering |
| 4 — Net Tears During Application | Net feeds, contacts bale, then tears before completing wrap cycle | Bale surface with protruding stub stems, feed roller pressing too hard, net too thin for crop | Medium — typically resolvable without stopping |
| 5 — Wrap Loosens in Storage | Net is tight at ejection but loose or partially off after 2–7 days of storage | Insufficient wraps applied, high-moisture bale settling, net UV degradation | Low (post-harvest) — increases storage DM loss |
Diagnosing Start and Cut Failures: The Mechanical Sequence
When the Net Won’t Start
The net wrap start sequence is initiated by one of two mechanisms depending on baler design: a mechanical actuator linked to the density gate (the gate opening at full bale pressure triggers the wrap arm), or an electronic sensor (bale diameter sensor or rotation counter reaching a preset value sends a signal to an electric actuator). Both mechanisms have specific failure points:
- Check the connecting rod between density gate and wrap arm — a bent, cracked, or disconnected rod prevents the gate motion from transmitting to the arm
- Inspect the wrap arm pivot bearing — a seized pivot prevents arm extension even when the actuator fires
- Verify the roller or cam that advances the net from the roll is engaging — worn cam follower is the most common single-part failure
- Confirm the net roll holder is correctly seated — a shifted roll prevents the feed roller from contacting the net surface
- Check the bale diameter sensor / proximity switch — a damaged sensor or one with crop residue blocking the sensing face will not trigger the wrap sequence
- Inspect the actuator wiring harness for cuts or corrosion at the connector — field vibration breaks wires at harness bends near the moving tailgate hinge
- Test the electric motor or solenoid that drives the wrap arm — listen for the actuator sound when the baler signals wrap start (it should be audible); silence means no signal reaching the actuator
- Reset or replace the bale counter if it is reading incorrectly — a counter frozen at a wrong value never triggers the wrap sequence
When the Net Won’t Cut
Cutting failures account for more in-season net wrap complaints than starting failures. The cutting mechanism typically consists of a fixed or rotating knife that moves through the net at the end of the wrap cycle. Three components are involved: the knife edge itself, the knife actuator (cam, spring, or electric), and the knife guard clearance relative to the bale surface.
- Stop the baler and disengage PTO. Wait for all rotation to stop completely.
- Open the wrap system access panel (typically on the left side of the baler, behind the net roll housing).
- Manually advance the knife through its cutting stroke by hand — feel for resistance. A correctly operating knife should move through its full arc with moderate resistance and return cleanly to the home position by spring force.
- Inspect the knife edge. Run your thumbnail across the edge — a sharp knife catches the thumbnail firmly; a dull knife slides without catching. Any visible nicks or rolled edge = replacement needed.
- Check knife-to-anvil clearance. A net knife that has drifted out of contact with the anvil bar will not cut — it will deflect the net rather than shear it. Clearance should be 0.5–1.5mm depending on the baler specification.
Coverage Failures and Net Tearing: Causes That Are Often Misdiagnosed
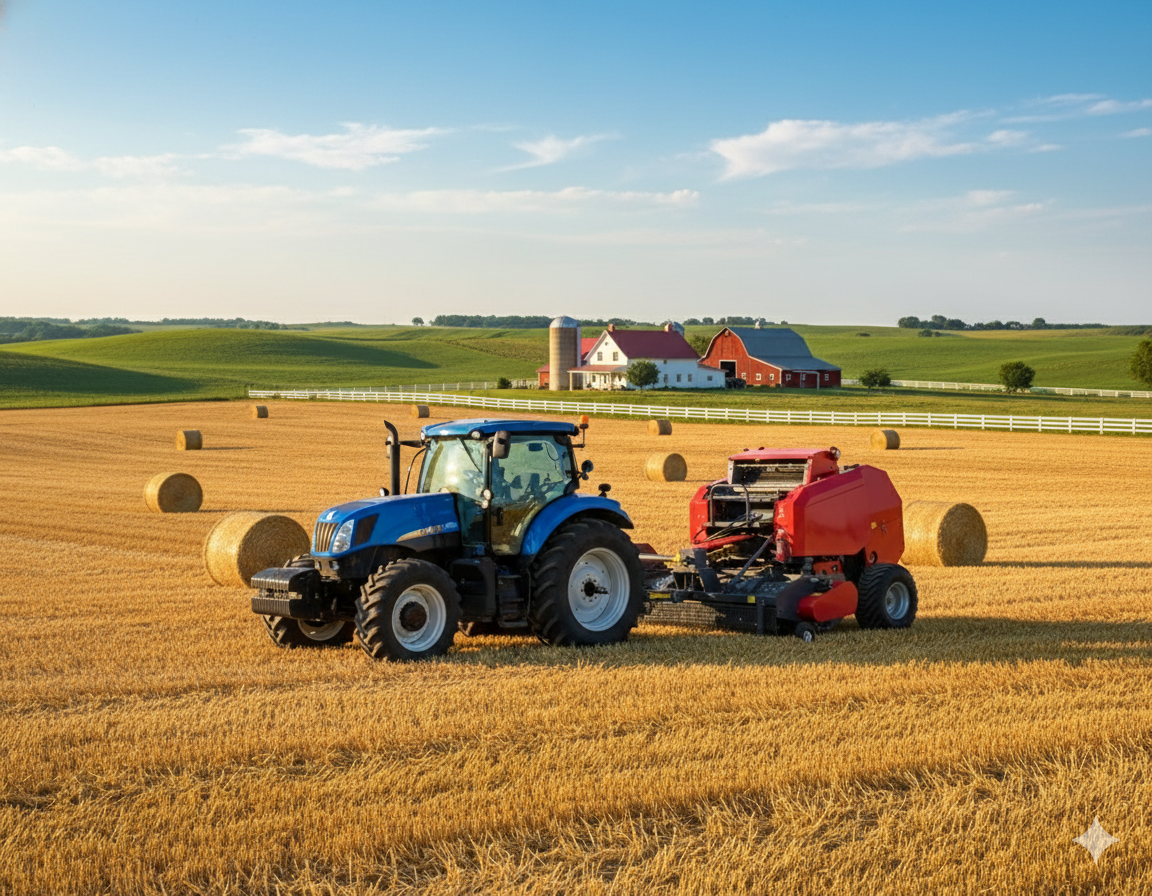
Coverage failures are the most commonly misdiagnosed net wrap problem because operators often blame the wrap product when the actual cause is a machine adjustment issue. A bale with uncovered ends looks like a net-width problem — and it might be — but it might equally be a miscentered arm, a tension setting that is shearing edge threads before the wrap reaches the bale ends, or a bale that is forming non-cylindrically due to pickup alignment issues.
Why Net Wrap Loosens After Ejection — and How to Stop It
A bale that leaves the chamber wrapped tightly but arrives at the storage site partially unwrapped represents a failure mode that is easy to overlook during baling (since everything looked correct at ejection) and costly to discover later. Two mechanisms cause post-ejection wrap loosening:
High-moisture hay bales (above 20% moisture) continue to lose moisture through respiration after baling. As the hay dries, the bale diameter decreases slightly — and if the decrease is sufficient, the wrap that was taut on a 48-inch bale becomes loose on a 46.5-inch bale. This effect is most pronounced in the first 14 days after baling and is most severe in dense, high-moisture legume bales.
The number of wrap revolutions determines the overlap percentage and the number of net-to-net contact points that create the interlocking mesh grip. Standard recommendation is 2 full revolutions minimum for dry hay; 3 revolutions for outdoor long-term storage; 4+ revolutions for bales that will be handled multiple times or transported long distances. A wrap count set at minimum on a baler that is slightly out of adjustment may actually deliver 1.5 revolutions rather than 2.
For the technical specifications on net wrap denier, UV stabilization class, and overlap settings that determine application quality from the product side, the panduan pemilihan pembungkus jaring covers every specification parameter. For the wear items in the net wrap system — knife blades, feed rollers, arm actuator components — and their replacement intervals, the panduan suku cadang aus mesin pengepak provides the full inspection schedule. The Komponen gearbox pertanian dan sistem penggerak PTO on the net wrap system’s drive mechanism should be confirmed for correct torque capacity when replacing the wrap arm actuator or drive cam assembly.
Fast-Track Diagnosis: What the Bale Tells You
Before touching any mechanical component, study the bale that failed. The pattern of the failure on the bale surface is diagnostic information — it tells you whether the problem is in the start sequence, the wrap path, or the cut sequence.
Pre-Season Net Wrap System Maintenance Checklist
Most in-season net wrap failures are preventable with a 20-minute inspection at season start. Run through this list before the first bale of every new season — not after the first failure.
- Test knife sharpness (thumbnail test)
- Verify knife travel completes full arc
- Check knife-to-anvil clearance: 0.5–1.5mm
- Replace knife if edge has nicks or rolled sections
- Inspect guide rollers for flat spots or frozen rotation
- Run fingers along all net guide edges — no burrs
- Clean crop residue from the entire feed path
- Check thread guide fingers for bending
- Test manual trigger: arm extends and retracts freely
- Inspect sensor face: clean of crop debris
- Check electrical connectors: no corrosion or cracked insulation
- Verify bale counter resets correctly on new roll load
- Verify roll holder centering vs. bale chamber centerline
- Check brake tension: roll should have slight drag, not spin free
- Thread test roll: feed net manually through full path
- Confirm net width matches chamber specification
Net Wrap FAQs
Need Help Diagnosing a Specific Net Wrap Problem?
Tell us your baler model, the failure category (start / cut / coverage / tear / storage loosening), and any pattern you’ve observed. Our technical team will confirm the specific component and adjustment for your situation.
Editor: Cxm


