
When to Replace vs Repair: The Three-Level Measurement Criteria
Belt replacement decisions should never be purely visual — a belt that looks functional may be at the end of its useful life by elongation measurement, and a belt that looks severely weathered on the outer surface may have years of productive life remaining in its core structure. Three diagnostic levels determine the correct action, applied in sequence from fastest to most time-consuming.
Mark a reference link on each belt with paint pen or chalk — use the same relative position on each belt (one-third of the way from the lacing joint).
With the belt under zero tension (spring released, tailgate open), measure from the center of the marked link across 12 consecutive links to the center of the 13th link using a rigid steel ruler.
Compare to the new-belt specification in the operator manual. Example: if the manual states new-belt link pitch is 2.00 inches and your 12-link measurement is 24.50 inches (expected new = 24.00 inches), elongation = (24.50 − 24.00) ÷ 24.00 = 2.08% — beyond the 2.0% replacement threshold.
Repeat on all belts and record the results. A belt set where one belt is at 1.9% and others are at 1.0% has a matched set problem developing — the stretched belt is already running at different tension than its partners.
Replace One Belt or the Whole Set? Why the Answer Is Almost Always “Set”
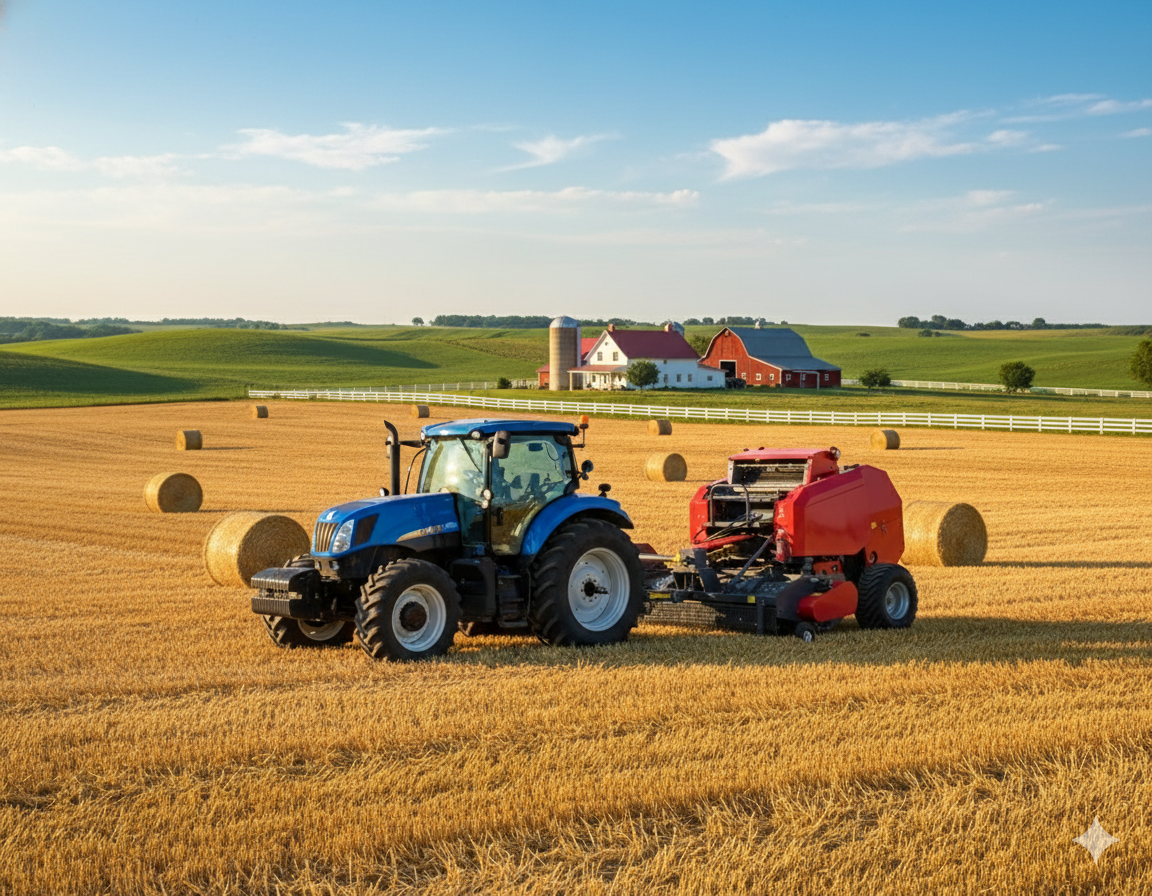
Replacing a single broken or failed belt while retaining the remaining worn belts is the tempting economical option that creates a new set of problems. A new belt and a worn belt operating in the same bale chamber cannot be tensioned to the same load — the new belt, being shorter at equivalent tension, draws more tension than the worn belt at the same spring setting. This asymmetry causes the bale to track toward the tighter-tensioned new belt, producing asymmetric bale shapes and placing differential load on the roller bearings across the chamber width.
The single new belt runs at 15–25% higher tension than the worn belts at the same spring setting. This mismatched load twists the bale as it forms, producing the characteristic “D-shaped” or asymmetric bale. It also places 15–25% higher radial load on the bearings at the tightest belt positions, accelerating bearing failure at those locations. The worn belts, now running at relatively lower tension than the spring provides, may begin slipping under peak loads — causing the bale surface to show winding irregularities and the density sensor to read incorrectly.
A mechanical failure (not elongation-driven failure) on a relatively new belt set where the remaining belts test below 0.8% elongation, all show matching elongation within 0.2% of each other, and the failure mode was a lacing failure rather than belt body fatigue. In this scenario: replace the failed belt with an identical specification belt, ensure the lacing style and length match exactly, and confirm belt-to-belt elongation is within 0.3% after installation. Monitor closely for any bale tracking asymmetry in the first 50 bales after replacement.
| Replacement option | Upfront cost (mid-size baler) | Risk of bearing damage | Bale quality outcome |
|---|---|---|---|
| Single belt (worn set) | $140–$220 | Alto | Asymmetric bales; tracking problems |
| Full belt set replacement | $650–$1,100 | Basso | Uniform tension; consistent cylindrical bales; predictable bearing load |
OEM vs Aftermarket Belts: Where Quality Actually Differs
The OEM vs aftermarket decision for round baler belts is not binary. There are genuinely high-quality aftermarket belt options that match OEM performance in dry hay applications, and there are low-cost imports that fail within 2,000–4,000 bales while OEM belts last 20,000+. The key is understanding which specification differences matter and how to evaluate them before purchasing.
Premium OEM and quality aftermarket belts use high-tensile polyester or aramid fiber fabric layers that resist elongation under sustained load. Low-cost belts use lower-denier polyester that allows greater elongation per thousand bales — visible as rapid early elongation in the first 3,000 bales followed by faster wear in the next phase. Ask the supplier for the tensile strength rating (lbs per inch of width) — quality baler belts typically rate 200–350 lbs/inch of width.
The rubber compound determines the belt’s resistance to the heat generated by friction against the rollers, particularly at the drive roller contact zones. Higher-quality rubber maintains its physical properties (grip, flexibility) through sustained heat exposure. Inferior rubber compounds develop surface hardening (“glazing”) that reduces friction coefficient — glazed belts slip at the drive roller, producing erratic bale density and premature tracking problems.
The junction between the two ends of the belt (the lacing or mechanical splice) is the highest-stress point on the belt — every bale formation cycle applies cyclic tension at the lacing as it passes over the drive roller. OEM and quality aftermarket belts use precision lacing with specified lacing penetration depth and pitch. Low-cost belts often have inconsistent lacing that fails at the belt-lacing interface rather than from belt body wear — the lacing tears through the belt fabric rather than the lacing fastener failing.
Tools and Safety Setup Before the First Bolt Turns
- Belt lacing pliers (Flexco, Martin, or equivalent)
- Lacing rivet driver or pneumatic stapler
- Rigid 12-inch steel ruler
- Belt tension gauge (spring-type, 0–50 lb range)
- Grease gun loaded with EP grease
- PTO safety lock or tagged lockout device
- Hand truck or belt roller stand (for full set changes)
- Belt routing diagram (from operator manual, pre-copied)
- Belt width gauge (confirms correct replacement belt width)
- Marking paint pen (reference mark on each belt)
- Shop rag and solvent (clean roller surfaces before installation)
- Digital caliper (elongation measurement at precision)
- Creeper or mat (comfort during chamber access work)
- Second person (for feeding belt through chamber during installation)
The complete pre-season maintenance checklist — including belt inspection intervals within the broader annual service schedule — is in the lista di controllo per la manutenzione stagionale della rotopressa.
Full Belt Replacement: The Complete Installation Procedure
The following procedure covers full set replacement on a standard variable-chamber round baler with belt-and-roller bale formation. Fixed-chamber (roller-only) models do not use belts. Refer to your operator manual for the specific belt routing diagram for your model — the sequence in which belts wrap around rollers is machine-specific and must be followed exactly.
Release all belt tension by moving the density spring to its minimum-tension or transport position per the operator manual. Confirm all spring tension is released before entering the chamber area.
Open the tailgate to its maximum position and lock with the tailgate safety prop or hook. Confirm the tailgate cannot close accidentally by testing the prop’s engagement before entering the chamber space.
For each belt: use the lacing pliers to open the lacing clip and pull the lacing pin. The belt can then be unwrapped from the roller path. Pull old belts fully out and set aside — do not let old belt material remain in the baler as it can obstruct new belt installation.
Clean all roller surfaces with a stiff brush and dry cloth — remove crop debris, old rubber residue, and any buildup that could cause uneven belt contact. Do not use solvents that could leave a slippery film on the drive roller contact surface.
Spin each roller by hand and listen for roughness, catching, or uneven resistance that indicates bearing wear. This is the single most valuable inspection that belt replacement gives you access to — take 5 minutes to check all accessible bearings while you have the chamber open. A bearing that sounds rough now will seize mid-season.
Grease all accessible bearing zerks in the belt chamber area. With the belts removed, you have better access to zerks normally covered by the belt path — use this opportunity.
Verify belt specification before installing: Width, length, ply count, and lacing style must match the operator manual specification. Width mismatch of even ¼ inch causes the belt to contact the side wall or ride off the roller edge within the first hour of operation.
Install one belt at a time following the belt routing diagram exactly. Feed the belt through the path in the direction specified — most baler belts install from the tailgate side toward the front pickup side. The “grain” of the belt (which side faces the crop) must match the specification.
Center each belt laterally before joining the ends. A belt that installs 1 inch off-center will track toward the closer side wall under tension and cause progressive damage to the belt edge within 500 bales.
Join the belt ends at the lacing. Use the lacing tool as specified by the lacing manufacturer — lacing pliers for clip-type lacing, pneumatic tool for staple-type. Apply uniform lacing force across the full belt width without skipping any position.
Insert the lacing pin completely across the full width without leaving any unsupported section. An incompletely inserted lacing pin creates a stress concentration that fails within the first few bales.
Repeat for remaining belts. On installations with 5+ belts, complete all belts before moving to tension adjustment — this ensures that any routing interference between belts can be identified and corrected before tension is applied.
Manually rotate all accessible rollers by hand to confirm no belt is obstructing roller rotation or is incorrectly routed around any component. Each roller should turn freely with no belt bunching or catching.
Belt Tension Adjustment: The Specification Numbers You Need
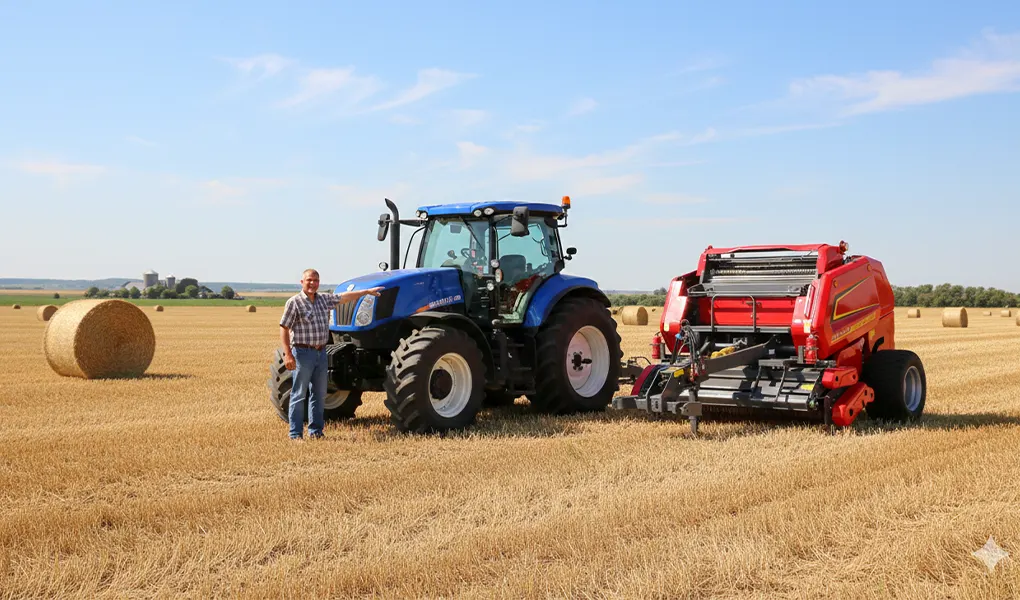
Belt tension is set through the density spring system, not by direct belt adjustment. The spring pre-load determines how much resistance the forming bale encounters as it expands against the belt system, and indirectly sets the tension at which belts operate during bale formation. Too low and belts slip; too high and you’re producing maximum-density bales with every windrow regardless of the density setting selected. After new belt installation, set the spring to the manufacturer’s recommended starting position for normal dry hay baling before the first run.
- Bales feel soft and spongy at the surface
- Bale diameter falls short of the target chamber size
- Belt slippage noise at the drive roller (squealing or rubbing sound)
- Bale core is loose — the center does not firm up through the formation cycle
- Density sensor reads low despite windrow being dense
- PTO torque spike at bale initiation — tractor lugs noticeably
- Every bale is maximum density regardless of density setting adjustment
- Bearing temperatures rise above normal within first hour of baling
- Belt lacing failures within first 500 bales — lacing is failing under the peak tension
- Drive roller surface shows accelerated wear pattern
When symptoms of incorrect tension appear, the diagnostic steps to isolate whether the issue is in the spring setting, the belt installation, or a mechanical resistance in the drive path are in the Guida alla risoluzione dei problemi della rotopressa. The complete wear-item replacement intervals — including belts, tines, net wrap knives, and lacing — are in the round baler parts and wear items guide. The drive roller and belt tension gearbox specifications are in Specifiche dei componenti del cambio agricolo e della presa di forza.
Field Repair vs Workshop Replacement: Which Situation Gets Which Response
A lacing failure (the connector between belt ends fails while the belt body is sound) can be repaired in the field with a lacing repair kit in 20–35 minutes. This repair typically lasts 400–1,200 bales before the repair point or adjacent lacing fails — it is a temporary measure that gets you through the cutting day, not a permanent fix. Have the belt replaced with a full set during the next off-day if the belt is in the scheduled replacement window. The field repair kit should contain: pre-cut lacing sections in your belt’s width, the appropriate lacing tool, replacement lacing pins, and a pin safety clip.
Belt body failure (tear through the belt fabric, a soft spot, edge fraying), elongation exceeding 2.0%, or any failure in a belt that is beyond its replacement interval requires full workshop replacement — not field repair. A field lacing repair on a belt body failure reinforces only the lacing joint while leaving the structural failure point in service; the belt will fail again at the damage location within 100–300 bales. Take the machine out of service, perform the full procedure in this guide, and return to the field with a properly installed belt set. If belt wear indicates the baler is beyond cost-effective repair, browse our modelli di presse rotopresse for replacement options.
After Replacement: First-Bale Verification That Confirms Success
Pre-run visual check: Close the tailgate and visually confirm all belts are tracking centered — no belt is riding against either side wall or showing visible lateral offset from its intended path. Belts that are misrouted show this misalignment clearly when the tailgate is closed and the chamber geometry is apparent.
Run-in at idle PTO: Connect to the tractor, engage PTO at low idle (do not engage at full RPM), and let the baler run empty for 2–3 minutes. Listen for any unusual friction sounds at the belt-roller interface and observe belt tracking through the tailgate observation window if equipped.
First bale shape check: After forming the first complete bale, eject and inspect its cross-section. A properly installed belt set produces a symmetric cylindrical bale with even density across the full width. Asymmetric bale, one heavier side, or an hourglass shape indicates belt routing or tension adjustment issues that require investigation before continuing.
Tension re-check at bale 5 and bale 25: New belts exhibit initial elongation (“break-in stretch”) in the first 20–50 bales. After bales 5 and 25, re-check spring tension setting and adjust if needed. After 100 bales, belt elongation rate typically stabilizes and tension should remain consistent through the remainder of the belt set’s life.
Round Baler Belt Replacement FAQs

Get Belt Specifications and Tension Parameters for Your Baler Model
Tell us your baler model, number of belts in the set, and your typical baling application (dry hay, haylage, silage). We provide the correct belt width and length specification, elongation replacement threshold, and tension spring setting for your configuration.
Redattore: Cxm


