
Troubleshooting Guide · All 9YF Models · 9 Causes Covered
Square Baler Twine Breaking: 9 Causes and How to Fix Each One
Twine breakage is the most disruptive in-field failure a square baler produces — the bale ejects loose, the pickup continues, and by the time the operator realises what happened several bales worth of crop may be on the ground. Every twine break has a specific root cause. The break location tells you where to look first.
Covers: break location diagnosis · tension discs · bill hook geometry · spool condition · twine quality · UV degradation · knot strength ratings
Step 1: Where Did the Twine Break? Your Starting Diagnostic
Before checking any machine component, locate the break point on the failed bale and the free twine end still in the machine. The break location is the most valuable diagnostic indicator available — it eliminates six of the nine possible causes before you open a single cover.
The 9 Causes — In Diagnostic Priority Order
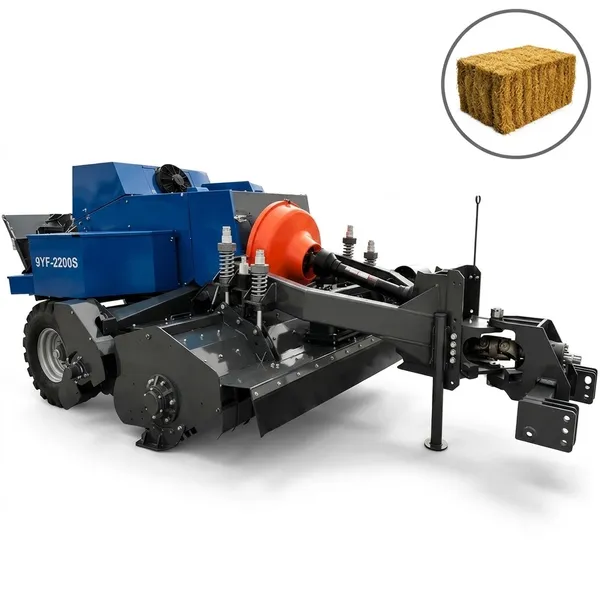
Every polypropylene twine spool is rated by knot strength in kilograms. The knot strength rating must exceed the combined rope load applied at the tightest point of the bale ejection cycle. A bale weighing 30kg is held by two ropes, each carrying approximately 15kg static load — but the dynamic load during ejection can reach 2–3 times this value as the bale is pushed through the chute. A twine rated at 80kg knot strength may consistently fail under a 30kg high-density alfalfa bale.
Match twine knot strength to your maximum bale weight using this rule of thumb: minimum knot strength = 4 times the target bale weight. For 24kg bales, use at minimum 96kg-rated twine. For 35kg high-density bales, use 140kg or above. If you cannot determine the rating from the spool label, contact your supplier — unlabelled or illegibly labelled twine is a risk regardless of other machine settings.
The tension disc mechanism maintains constant back-pressure on the twine as it feeds from the spool toward the knotter. When set too tight, this back-pressure places the twine under continuous tension throughout the entire bale cycle. When the knot then tightens under bale compression load, the combined disc tension plus ejection load exceeds the knot strength rating. This is the single most common cause of knot-point breakage after a twine change or density-setting increase.
Back off the tension disc adjustment nut by one half-turn. Run 5 test bales at your standard density setting. If the break stops, the disc was over-tightened. Note: if reducing disc tension causes the loop to become slack and misshapen — producing a missed knot — the issue is a combined disc-plus-bill-hook problem. Both sides must be adjusted equally; unequal disc tension produces one reliable knot and one consistently weaker knot per bale cycle.
Guide eyelets in the twine routing path develop wear grooves from seasons of twine running through them at speed. A grooved eyelet acts as a saw — each bale cycle abrades the twine surface at that point. The twine weakens progressively until it fails mid-pull. The break typically has a frayed, fibrous appearance rather than the clean parting that tension failure produces. This cause is very frequently overlooked because the eyelet looks undamaged from a distance.
Thread a cloth along the full twine path from spool to needle eye — any snag indicates a rough point that will break twine. Alternatively, run a bare finger around the inside face of each guide eyelet; a groove is clearly felt even when not visible. Smooth minor burrs with fine emery cloth. Replace any eyelet with a groove deeper than 0.5mm — replacement cost is negligible compared to the labour of recovering loose bales from the field.
A twine routed through the wrong guide eyelet or missing one eyelet in the sequence changes the angle of the twine under tension. At certain incorrect angles, the twine bears against a metal edge rather than running through the centre of a guide — this creates a stress concentration that causes the twine to fail at that edge point on the first or second bale after a spool change.
Pull all twine from both sides and re-thread using the operator manual diagram — not from memory. Every operator manual has a threading diagram for a reason: the path is non-intuitive and one wrong guide is enough to cause consistent breakage. After re-threading, pull the twine from needle to spool by hand with the machine stopped — the pull should be smooth and consistent with no tight spots or angle changes that could indicate incorrect routing.
A worn or chipped bill hook tip changes the geometry of how the knot loop is formed and seated. When the knot geometry is slightly wrong — the loop closing around the rope at an incorrect angle — the knot tightens in a way that concentrates tensile force at one strand rather than distributing it across the full knot cross-section. This produces a knot that appears correctly formed but fails at significantly lower loads than a correctly formed knot from the same twine.
Examine the bill hook tip face — run a fingernail across the curved surface. Any flat spot, rounding or chip is reason for replacement. Replace both bills as a matched pair: a new bill against a worn bill produces knots of different geometry on each cycle, making the problem intermittent and harder to diagnose. After replacement, run 10 test bales and pull on each knot firmly — a correctly formed knot tightens under tension without slipping.
Polypropylene twine undergoes photochemical degradation when exposed to ultraviolet radiation. Spools left on the baler outdoors between seasons, stored in a sunny barn, or left in the field during a session absorb UV that breaks polymer chains in the fibre. The tensile strength reduction from one summer of outdoor UV exposure can exceed 30%. Degraded twine is visibly brittle and discoloured but the strength reduction begins well before visible signs appear.
Always store twine spools in a closed, UV-opaque container or in a shaded building. Remove spools from the baler at the end of each season and store indoors. Do not bale with spools that were left on an outdoor machine for more than one week of direct sun exposure. When testing old stock, pull a metre of twine and attempt to break it by hand — fresh twine of the correct rating should be very difficult to break by pulling; twine that breaks with moderate hand tension is degraded and should be replaced.
The cardboard or plastic core that the twine is wound onto can soften and collapse when stored in damp conditions. As the spool empties toward the core, the collapsed core compresses under the remaining twine weight and produces an irregular shape — the twine binds and then releases in jerks as it unwinds over the deformed core surface. Each jerk creates a brief tension spike in the twine that can exceed the knot strength rating and cause a break at the point of highest stress concentration.
Remove the spool and check the core by compressing it between fingers — a good core is firm and resists deformation. A core that compresses easily or has visible deformation should be discarded rather than continued with. Store twine in a dry location off the ground and away from roof condensation. Never stand spools upright on a damp concrete floor — water wicks up through the paper core from the base contact point.
Polypropylene twine absorbs atmospheric moisture and this absorption reduces tensile strength at the knot by 15–25% in high-humidity conditions. Sisal twine — where still used — is more severely affected by moisture. When baling on humid mornings, baling into wet windrows or when the spool was exposed to rain, the effective knot strength available is substantially below the rated value on the label. This is why twine that tied reliably in dry afternoon conditions fails consistently on humid mornings from the same spool.
Allow wet spools to dry completely in a warm, sheltered location before baling — this takes 12–24 hours for a fully saturated spool. If you must bale in humid conditions with borderline-rated twine, upgrade to a higher knot strength rating that provides sufficient margin even at a 20% wet-condition reduction. Cover the spool holder on the machine during overnight sessions to prevent dew absorption. On humid baling days, upgrade twine strength by one grade above your normal dry-weather choice.
Economy-grade twine produced without tight quality control exhibits significant diameter variation within a single spool — sections of higher diameter create increased tension disc resistance during those passes, while thinner sections produce lower tension that allows a slack loop. The thicker sections can temporarily spike the running tension above the knot strength rating, while the thinner sections produce missed knots or poorly formed loops. The result is a random pattern of breaks and misses that is almost impossible to diagnose without first testing a different twine brand on the same machine.
Replace the suspect twine with a named-brand product from an established manufacturer. If the twine breaks stop immediately on the new brand, the old twine was the cause — diameter inconsistency is confirmed. Going forward, purchase twine only from suppliers who can provide the rated knot strength, metres per kg and diameter specification in writing. The cost difference between quality and economy twine per bale is less than $0.05 — the labour and crop cost of a single field breakdown from failed twine far exceeds the seasonal saving from economy purchasing.
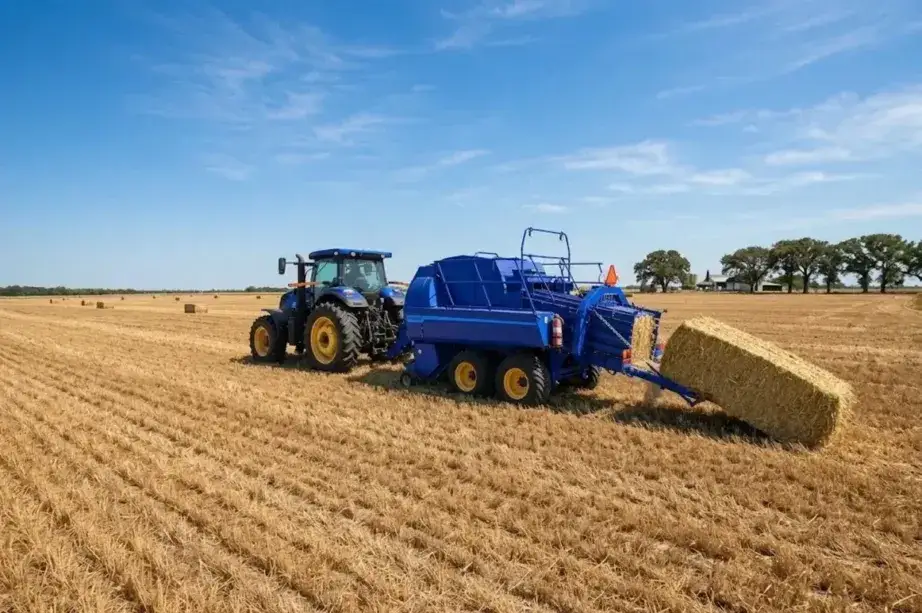
Twine Knot Strength Reference Chart
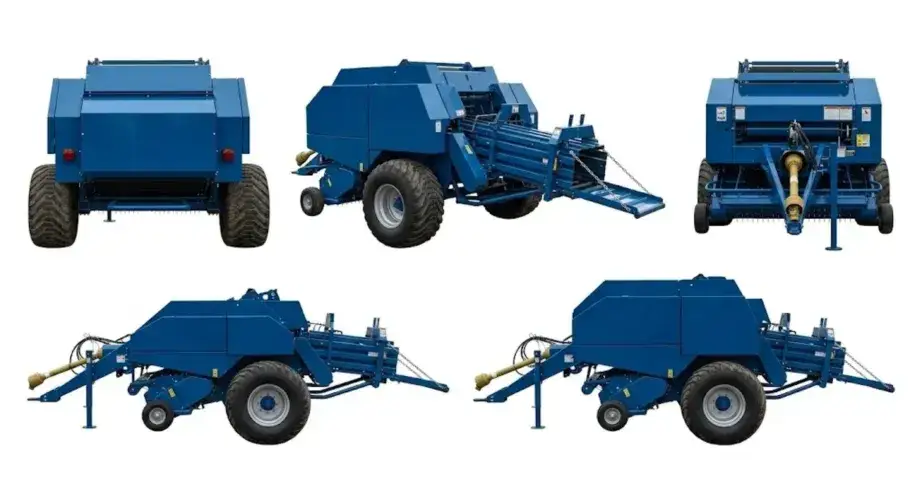
| Application / Bale Weight | Min Knot Strength | Recommended Grade | Notas |
|---|---|---|---|
| Lightweight hay / straw — up to 18kg | 80kg | Standard polyprop | 9YF-1700 typical range. Minimum acceptable grade. |
| Standard hay — 18–26kg | 110kg | Medium polyprop | Most common 9YF-1900 and 9YF-2200 use case. |
| High-density hay — 26–36kg | 140kg | Heavy-duty polyprop | 9YF-2200S at high density. Do not substitute lower grade. |
| Maximum density / shredder models — 30–40kg | 160kg+ | Premium baler twine | 9YFS-2.2 at maximum density. Confirm rated strength before purchasing. |
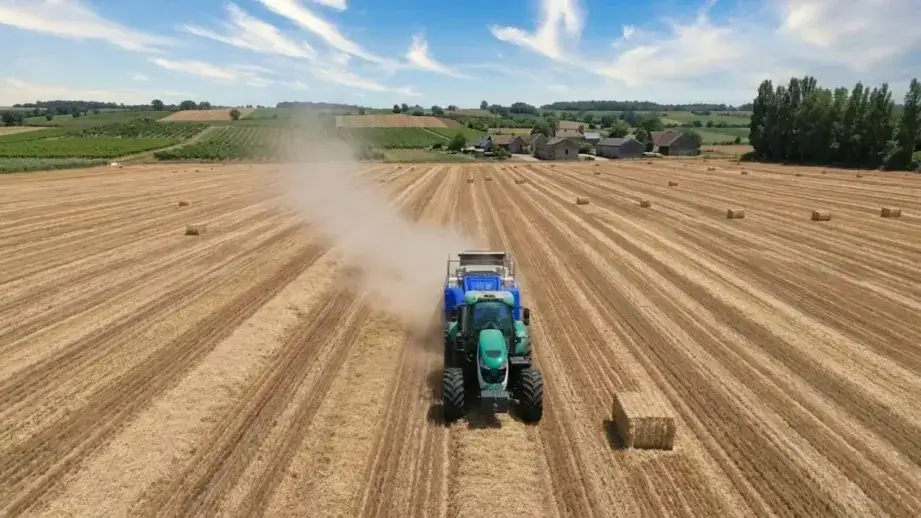
PTO Drive and Gearbox Reference for Twine Tension
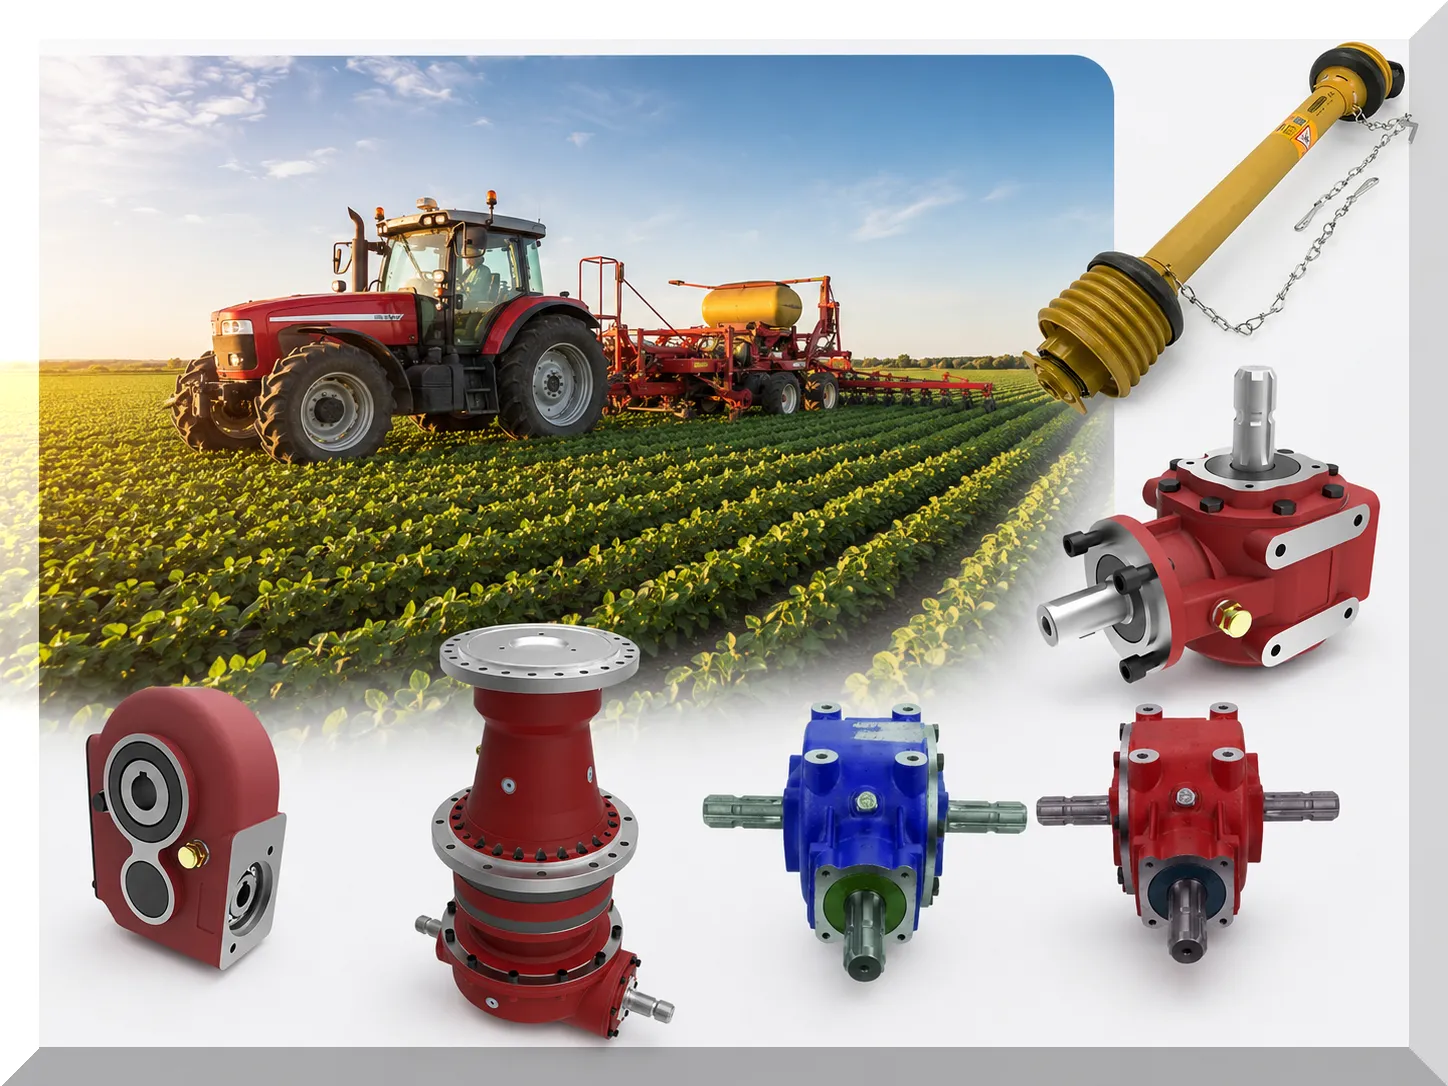
PTO shaft and gearbox specifications for all 9YF baler power classes: Especificações da caixa de engrenagens agrícola e do eixo da tomada de força (TDF)
Inconsistent PTO speed causes twine tension fluctuation that compounds disc and path friction issues — a slipping driveshaft CV joint or worn slip clutch produces load spikes that exceed rated knot strength even when the disc setting is correct. Full driveshaft specifications: Guia de dimensionamento do eixo de transmissão da tomada de força e da junta homocinética.
Frequently Asked Questions — Square Baler Twine Breaking
My twine was working fine and now breaks on every third or fourth bale. What changed?+
Should I use sisal or polypropylene twine in my 9YF baler?+
Can I continue baling when one side keeps breaking twine?+
How do I know what knot strength rating my current twine is?+
The twine breaks but the knot looks perfectly formed on the bale. What does this mean?+
How many metres of twine does a small square baler use per bale?+
Is there a way to prevent twine from tangling on the spool during baling?+
After fixing twine breaks, how many bales should I run before returning to normal production?+
Find the Right Baler and Twine Setup for Your Operation
O enfardadeiras quadradas da série 9YF are matched to specific twine strength grades by model and density setting. Contact us with your bale weight target and crop type and we will confirm the correct twine specification alongside the machine recommendation.
Editor: Cxm


