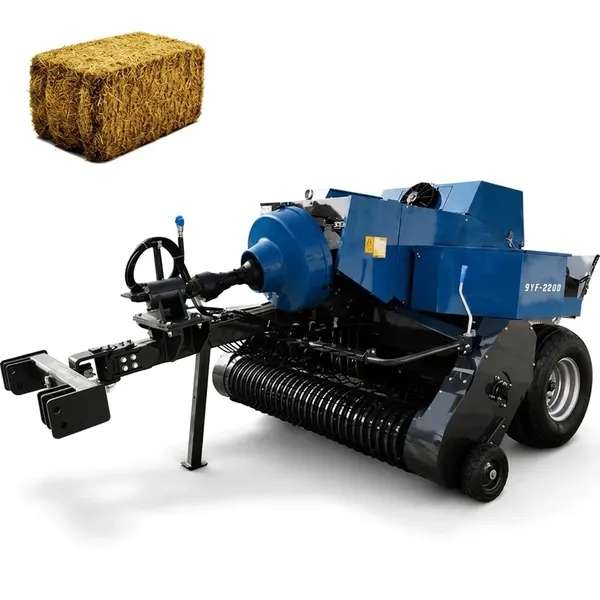
Troubleshooting Guide · 9YF Square Baler · Updated August 2026
Square Baler Shear Bolt Keeps Breaking
The shear bolt is the machine safety mechanism — it fails on purpose to protect the plunger crankshaft and flywheel from a damaging torque spike. A bolt that breaks once is doing its job. A bolt that breaks repeatedly in the same session is telling you that an ongoing condition is creating excess load — and replacing the bolt without addressing that condition will not solve the problem. This guide identifies the five causes of repeated shear bolt failure and how to read the break pattern to determine which one is occurring.
Covers: what a shear bolt does · break pattern diagnosis · 5 cause identification · correct replacement procedure · when to stop and investigate · wrong bolt grade consequences
5 Causes — Quick Identification
1. Foreign object → single sudden clean break
2. Overloaded windrow → multiple breaks in same field sections
3. Wrong bolt grade → breaks too easily or machine damages instead
4. Low PTO speed → breaks in dense sections at low throttle
5. Knotter jam → bolt breaks coincide with twine/knotter fault
What the Shear Bolt Does — The Protection System Explained
The plunger mechanism in a square baler generates very high force on each compression stroke. When the plunger encounters a load it cannot compress through — a rock, a dense plug of wet material or a knotter jam — the crankshaft torque spikes beyond normal operating levels. Without protection, this spike would bend the crankshaft, damage the flywheel hub or fracture the plunger connecting arm — all expensive repairs that take hours to complete in the field.
The shear bolt is positioned at the plunger crankshaft coupling and is calibrated to break at a specific torque threshold — above normal baling load but below the torque that causes machine damage. When it breaks, the crankshaft decouples from the drive and the plunger stops immediately, absorbing the overload event without damage to more expensive components. A broken shear bolt — even a frustrating one mid-field — is a sign the protection system is working correctly. The problem to diagnose is why the overload condition occurred.
Reading the Break Pattern — What the Shear Bolt Tells You
Examine the broken bolt before discarding it. The fracture face and failure location provide specific information about the cause:
| Break Pattern |
What It Indicates |
Action Required |
| Clean 45-degree shear face — bolt body snapped in one event |
Single sudden overload event — most likely a foreign object (rock, metal, wood) or a dense soil plug entering the plunger chamber |
Inspect the bale chamber and plunger face for debris from the object. Remove before replacing bolt and continuing. |
| Rough fibrous break face — bolt fractured progressively rather than snapping cleanly |
Repeated near-overload events fatigued the bolt before it broke — windrow too dense, PTO speed marginal or forward speed too fast for the crop density |
Reduce forward speed, check PTO is at 540rpm, and consider whether the windrow is too heavy for the model. |
| Bolt breaks in the same session multiple times (3 or more within 50 bales) |
Ongoing overload condition — not a single event. Repeated breaks indicate the baling conditions are consistently exceeding the bolt rating. |
Stop baling and identify the root cause before continuing. Check windrow density, PTO speed, bolt specification and knotter function. |
| Bolt breaks at the thread rather than the shank — breaks at the wrong location |
Wrong bolt grade installed — if a standard grade 5 or grade 8 hardware bolt was substituted for the manufacturer shear bolt, it may break at the thread under normal load because the thread is the weakest point on a high-grade bolt |
Replace immediately with the correct manufacturer-specified shear bolt. Never substitute hardware store bolts. |
Cause 1: Foreign Object in the Windrow
A rock, piece of metal, chunk of wood, compressed clod or other rigid foreign object entering the baler inlet is the most common single-event shear bolt cause. The plunger attempts to compress the object on the power stroke and the torque spike — far above the rated bolt shear strength — breaks the bolt cleanly in a fraction of a second. The plunger stops, the flywheel continues spinning briefly on its own inertia, and the operator hears a sharp clunk followed by silence from the plunger.
Required actions after a foreign object break
ステップ1: PTO off and machine fully stopped before approaching the baler.
ステップ2: Open the bale chamber access and inspect the plunger face and the inlet area for the object that caused the break. Remove all debris — a rock lodged between the plunger and the chamber wall will cause an immediate second break if not removed.
ステップ3: Inspect the plunger face and the bale chamber walls for damage from the object. Any gouging or deformation should be assessed before resuming — a sharp protrusion in the chamber wall will abrade every subsequent bale.
ステップ4: Install the replacement shear bolt using the correct specification and torque.
ステップ5: Identify where in the field the object originated. If you are crossing a rocky section or an area with fence post debris: slow down and watch the windrow ahead of the pickup for visible objects before they enter the machine.
Cause 2: Windrow Too Dense for the Operating Speed
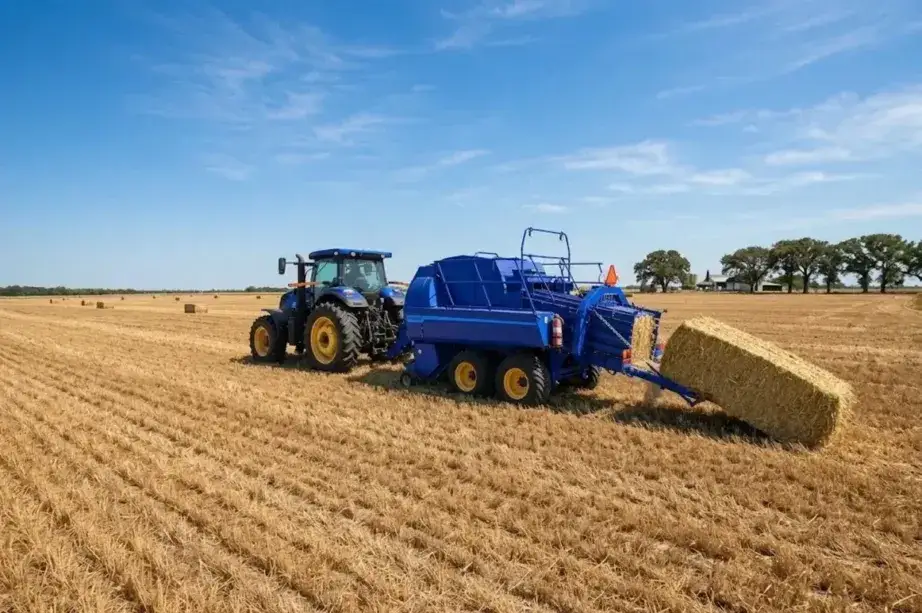
Every forward speed in a given windrow density corresponds to a specific volume of material entering the baler per plunger stroke. When the operator drives too fast through a dense windrow — or when a windrow is significantly heavier than normal due to a thick crop stand or double-raking — each plunger stroke compresses more material than the machine is rated for at that speed. The result is a torque spike on each compression stroke that progressively fatigues the shear bolt until it breaks. The break pattern is a rough, fibrous fracture face — the bolt fatigued progressively rather than failing in a single event.
Solution 1: Reduce forward speed by 20–30%. This reduces the volume entering per stroke and brings the torque demand within the rated range.
Solution 2: Rake windrows narrower or thinner before baling — splitting a very dense double-windrow into two single-windrow passes.
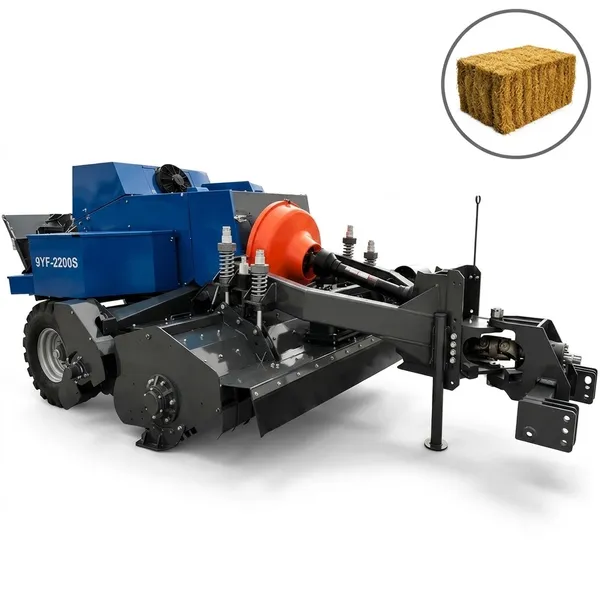
Solution 3: Confirm the model is appropriate for the crop — dense first-cut alfalfa may require the 9YF-2200S with its shredder mechanism, which pre-processes material to reduce the peak plunger load.
Causes 3, 4 and 5: Wrong Bolt Grade, Low PTO Speed and Knotter Jam
Cause 3: Wrong Shear Bolt Grade or Specification
Shear bolts are precision components manufactured to fail at a specific torque range. A standard hardware bolt (grade 5 or grade 8) installed as a shear bolt substitute either breaks far too easily (grade 2, which some operators use mistakenly) or does not break when the machine needs protection (grade 8), allowing the torque spike to damage the crankshaft or flywheel instead. Either outcome is worse than a correctly functioning shear bolt system.
Always use the manufacturer-specified shear bolt only. Carry 10–15 pre-packaged correct-specification bolts in the tractor cab. The cost of the correct bolt is negligible compared to the cost of crankshaft or flywheel repair from a grade-8 substitute that refuses to break at the correct torque threshold.
Cause 4: PTO Speed Too Low
The flywheel stores rotational energy that carries the plunger through the peak compression force of each stroke. This momentum depends on flywheel rotational speed — which depends on PTO speed. At the rated 540rpm PTO, the flywheel is spinning at its designed operating speed and provides full momentum assistance through the peak compression load. At 420rpm PTO (under-throttled tractor), the flywheel has significantly less stored momentum and each compression stroke demands more torque from the crankshaft rather than from flywheel momentum — increasing the torque spikes that trigger shear bolt failure.
Diagnosis: Shear bolt failures are concentrated in the densest windrow sections and at lower tractor throttle settings. Fix: run the tractor at full throttle to maintain 540rpm PTO throughout the session. Do not reduce engine speed to manage fuel use during baling.
Cause 5: Knotter Jam Creating Resistance Against the Plunger
The knotter fires each time the plunger completes its cycle and the metering star wheel triggers. If the knotter jams — a twine tangle, a broken bill hook or a seized twine disc — the twine path locks and the knotter assembly resists the plunger on its next forward stroke. The plunger pushes against both the hay charge and the twine resistance simultaneously, producing a torque spike that breaks the shear bolt. The diagnostic sign: shear bolt failure occurs at the same time as a knotter problem (missing knot on the bale, twine wrapped around the bale instead of knotted, or twine tangles visible at the knotter area).
修理: Resolve the knotter fault before replacing the shear bolt. A shear bolt replaced with a knotter jam still present will break immediately on the next baling stroke.
Correct Shear Bolt Replacement Procedure
1
PTO off, engine off, key removed. Confirm the flywheel has fully stopped spinning — the flywheel stores considerable rotational energy and continues to spin for several seconds after PTO disengagement. Do not approach the crankshaft area until all rotation has stopped.
2
Diagnose before replacing. Remove the broken bolt halves and examine the break face. Identify the cause using the break pattern table above. Address the cause before installing the new bolt.
3
Install the manufacturer-specified shear bolt only. Push through the coupling, thread the nut, and tighten to the torque specified in the operator manual — do not substitute with hardware store bolts of any grade.
4
Test at low throttle before resuming normal operation. Re-engage PTO at 60% throttle and advance slowly through the windrow for the first 20 metres, monitoring for any unusual noise or resistance. Increase to full operating speed only after confirming normal baling.
Time for a typical shear bolt replacement in the field: 5–8 minutes with the correct bolt and wrench already in the tractor cab. Carry at minimum 10 pre-packaged correct-specification bolts and nuts in a clearly labelled container so replacement does not require a return to the farm shed.
PTO Speed — The Hidden Cause of Repeat Shear Bolt Failure
Operators who throttle back the tractor engine to reduce fuel consumption during baling sessions may not realize they are also reducing flywheel rotational speed and the momentum protection that smooth plunger operation depends on. A worn PTO driveshaft CV joint that causes speed oscillation produces the same effect — the flywheel speed fluctuates on each revolution, causing torque spikes that trigger the shear bolt even at correct average PTO speed. If shear bolt failure happens most often when the baler is working hardest (dense sections, high density setting) with no foreign object involvement: verify PTO speed first. Full driveshaft guide: PTO driveshaft CV joint inspection and speed oscillation diagnosis for square baler shear bolt problems.
Frequently Asked Questions — Square Baler Shear Bolt Keeps Breaking
Can I use a regular hardware bolt instead of the shear bolt to get through the season?+
No — substituting a grade 5 or grade 8 hardware bolt for the shear bolt is a serious decision that removes the overload protection from the most expensive components in the machine. A grade 8 bolt will not break at the torque level the shear bolt is designed to fail at — when the next overload event occurs, the torque will instead bend the plunger crankshaft, fracture the flywheel hub or damage the connecting arm. These repairs require the machine to be taken out of service and may cost 10 to 50 times the cost of carrying the correct shear bolts. Carry 10–15 manufacturer-specified shear bolts in the tractor cab and you will never need to improvise. If you have already installed a hardware bolt: replace it with the correct specification before the next baling session, regardless of whether a problem has occurred yet.
How many shear bolt breaks per season is normal?+
On a 1,000-bale season under normal conditions (clean fields, correct PTO speed, appropriate windrow density): 1–3 shear bolt breaks is considered normal and expected. Fields with any rock content, fence line debris or field-crossing infrastructure may produce 5–10 breaks per season without indicating any machine fault. Above 10 breaks per 1,000 bales, or any session with 3 or more breaks within 50 bales: investigate the cause rather than continuing to replace and retry. Multiple breaks in a short period indicate an ongoing condition — the correct response is to stop, diagnose and address the cause. Continuing to replace and bale through a repeated break condition risks a situation where the bolt breaks but the plunger stops in a position that damages the twine needles or knotter mechanism on the next attempt.
Where exactly is the shear bolt located on the 9YF series?+
On the 9YF series, the shear bolt is located at the plunger crankshaft coupling — the connection point between the PTO input drive and the plunger crankshaft. This location is accessible from the right-hand side of the machine (standing at the tractor hitch looking toward the baler) without removing any panels. The bolt passes horizontally through the coupling flange. When it breaks, both halves typically remain in the coupling — one half in the outer flange, one half in the inner flange. Both must be fully removed before the new bolt can be installed. The specific location diagram is in Section 6 of the 9YF operator manual. Familiarise yourself with the exact location before the first baling session of the season — finding it under field conditions for the first time adds unnecessary delay.
The shear bolt broke and now the plunger will not move at all after replacement. Why?+
If the plunger does not move after a correct shear bolt installation and PTO re-engagement, the most likely explanation is that the original overload event caused secondary damage that is now blocking the mechanism. The most common secondary damage from a shear bolt break: (1) a bale that was being compressed when the plunger stopped is now too tight to eject — the bale is jammed in the chamber, preventing plunger forward travel. Open the bale chamber door and check whether the partial bale can be manually removed from the chamber before the plunger can advance. (2) The object that caused the original break is still lodged between the plunger and the chamber wall — a rock or wood chunk that was not found during the post-break inspection. Repeat the chamber inspection with a flashlight, checking behind the plunger face as well as in front. (3) A needle or knotter component shifted position when the plunger stopped and is now in the plunger travel path. Inspect the twine needle position before re-engaging PTO.
Does baling too dry cause shear bolt breaks?+
Very dry crop (below 10% moisture in straw or below 12% in hay) has lower compressibility than the same crop at optimal baling moisture — the fibres are brittle and resist the initial compression before breaking. This means the plunger must exert higher force to compress the first part of the stroke before the crop yields, which produces higher peak torque. In combination with a dense windrow or marginally high forward speed, very dry conditions can increase shear bolt break frequency compared to baling at 15% moisture. However, this effect is modest compared to the impact of foreign objects or severely overloaded windrows. If breaks are increasing as moisture decreases in a session: reduce forward speed by 15–20% and check the density spring setting — a high density setting in combination with very dry brittle hay significantly increases plunger peak torque.
Can a malfunctioning slip clutch cause repeated shear bolt failures?+
Yes — if the machine is fitted with a slip clutch as a secondary overload protection and the slip clutch is set too tight or has seized, the machine has effectively lost that layer of protection. The slip clutch is designed to slip before the shear bolt breaks — if it does not slip at the correct torque, the full overload torque reaches the shear bolt. A seized slip clutch (friction plates rusted together from off-season storage) acts as a rigid connection rather than a torque-limiting device. Symptom: the shear bolt breaks more often than expected for the conditions — break frequency is higher than normal for the windrow and speed. Inspect the slip clutch and, if it has been in service for more than 3 seasons without being exercised, verify the friction plates are not rusted together. Some operators activate the slip clutch manually once per season (by briefly overloading the input) to confirm it slips at the correct point and that the plates are not seized.
What is the torque specification for installing the 9YF shear bolt?+
The shear bolt installation torque specification is provided in the 9YF model operator manual — refer to the fastener specifications section for the specific tightening torque in Nm for your model year. Do not exceed this torque during installation — over-tightening a shear bolt pre-stresses the shank and reduces the effective shear strength, causing the bolt to break at a lower torque than specified. Under-tightening allows the bolt to work loose in the coupling, which can cause vibration and fretting damage at the coupling bore. Use a torque wrench for shear bolt installation if one is available — in the field without a torque wrench, a firm snug by hand plus one quarter turn is a reasonable approximation for the typical 9YF shear bolt torque specification, but verify the exact method in your model manual. Contact technical support if the manual specification is not available for your specific model.
Should I run the 9YF-2200S instead of the 9YF-2200 to reduce shear bolt breaks in dense alfalfa?+
Yes — if shear bolt breaks in dense first-cut alfalfa are a recurring seasonal problem with the 9YF-2200, the 9YF-2200S with its shredder mechanism is the correct model choice. The shredder pre-processes the dense alfalfa stems into shorter, more uniform lengths before they reach the plunger chamber. This reduces the peak plunger compression force required on each stroke — because shorter, more uniform material flows into the bale chamber without bridging and is compressed more evenly than long, variable-length stems. The reduction in peak plunger torque translates directly to fewer shear bolt events in heavy alfalfa. The 9YF-2200S does require 99HP minimum PTO — if your tractor is below this: the correct solution is reducing forward speed and windrow density with the 9YF-2200 rather than switching models, since running the 9YF-2200S below its minimum HP creates the low-PTO-speed shear bolt problem described in this guide.
Shear Bolt Still Breaking After This Guide?
Tell us how many breaks per session, the break pattern and your crop and windrow conditions and our team will identify the root cause for your 9YF square baler.
アメリカ・エバーパワー・フォレージ・ベーラー・イクイップメント社 · 1401 21st ST STE R, Sacramento, CA 95811
編集者: Cxm