
If the bales coming out of your round baler aren’t right, the problem almost always has a mechanical fingerprint. Soft cores? Check the density gate timing. Kidney-shaped bales? Look at the pickup-to-windrow alignment. Net wrap cutting before the bale is fully covered? The knife engagement cam is probably worn. Every bale quality defect connects back to a specific cause, and most can be diagnosed without removing the baler from the field.
What follows is a structured diagnostic framework based on the symptom visible at the back of the baler. I’ve organized it by what you actually see — not by machine subsystem — because that’s how a field problem presents itself. Read through the symptom that matches yours, work backwards through the cause chain, and you’ll have a specific adjustment target before you pick up a wrench.
The 9 Most Common Bale Quality Symptoms
Click any symptom to jump to the full diagnosis. Each section identifies the root cause, the adjustment procedure, and how to verify the fix.
- Soft core, firm exterior
- Uniform under-density
- Inconsistent bale weight
- Lopsided / heavy on one end
- Kidney-shaped (concave side)
- Hourglass profile
- Wrap not covering ends fully
- Net wrap cutting too early
- Twine breaking mid-bale
Density Problems: Soft Cores and Under-Density
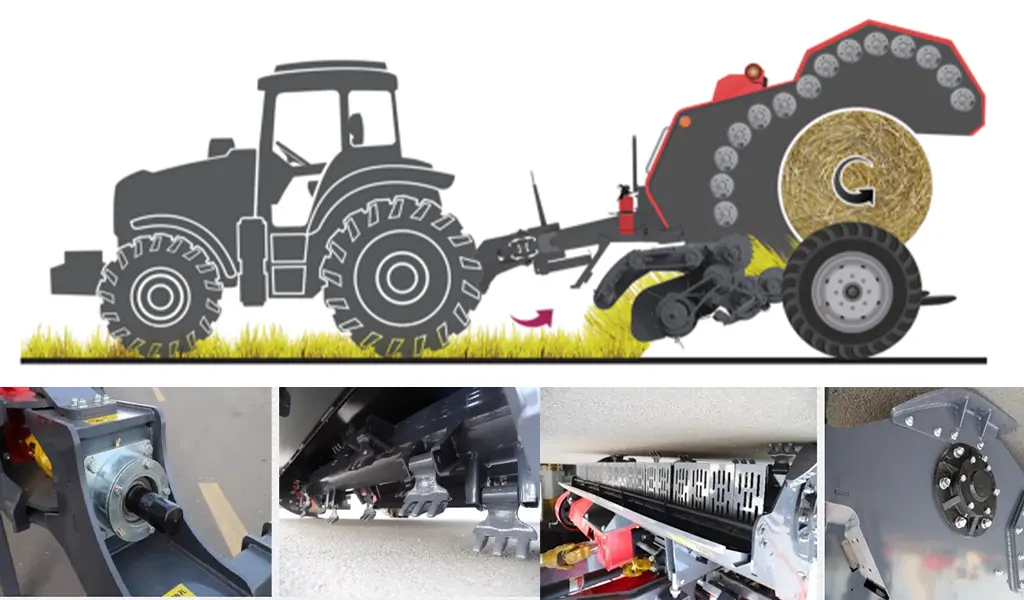
Symptom: Soft Core, Firm Outer Shell
This is the most deceptive bale quality problem because the bale feels solid from the outside and only reveals the soft center when you open it or run it through a processor. The cause is almost always a mismatch between the initial chamber pressure setting and the volume of crop entering during bale start-up.
In a fixed-chamber baler, the chamber geometry forces the first crop charges into a cylindrical form as soon as the core diameter reaches the minimum forming diameter — typically 4 to 6 inches. During this very early formation phase, the belts are slack relative to their tension during later bale growth, and the crop core can rotate and form loosely. If the density gate cracking pressure is set too low, the gate opens prematurely during the first 30 to 50% of bale growth, before the core has had adequate compressive passes to build density.
- Stop baling when a bale is approximately 60% formed.
- Increase the density setting by 1–2 increments on the baler’s density adjustment (or add 1/4 turn to the spring preload bolt if manual).
- Complete that bale and eject. Roll it on hard ground — a well-formed bale resists compression uniformly when you lean your body weight against it.
- If still soft at center, increase density one more increment. Do not exceed the manufacturer’s maximum density setting, as over-tensioned belts accelerate belt and bearing wear.
Symptom: Uniformly Under-Dense Bales
When every bale is lighter than expected — say, 700 lbs where your baler should be producing 950–1,100 lbs 4×5 bales of dry alfalfa — the problem is one of four things: windrow density is too thin, baling speed is too high, crop moisture is lower than expected (dry hay compresses less easily than 18–22% moisture hay), or the belt wear has reached a point where maximum tension is insufficient for full density.
| Root Cause | How to Confirm | Adjustment |
|---|---|---|
| Thin windrow | Weigh windrow material per 100 ft of length | Merge windrows or reduce baling speed |
| Excessive speed | Check GPS or tractor speedometer — over 6 mph in thin conditions | Reduce to 4–5 mph; allow longer chamber fill time |
| Very low moisture (<14%) | Moisture probe reading at baling | Increase density setting; accept lower peak density |
| Worn belts at max tension | Measure belt stretch vs original length; inspect tensioner at end of travel | Replace belt set — see wear parts guide |
Shape Problems: Lopsided, Kidney, and Hourglass Bales
Lopsided Bales: Heavy End Left or Right
A bale that consistently exits with more mass on one side than the other is telling you something specific: the windrow center is not aligned with the baler pickup center, OR one side of the pickup is gathering more material than the other because of a windrow shape issue. The distinction matters because one is a field positioning problem and the other is a raking problem.
To isolate the cause: drive one complete baler pass down the center of a windrow with GPS steering assistance or careful tractor alignment. If the lopsided problem disappears, the windrow centerline is offset from your normal driving line — a common result of operating with the baler displaced from the tractor’s centerline on hillside terrain. If the problem persists with perfect alignment, look at the windrow profile. A windrow with more material on the left side (from an asymmetric rake merge or unequal mower swath overlapping) will produce a consistently left-heavy bale regardless of how well the baler is centered.
Kidney-Shaped Bales
A kidney-shaped bale — with one concave side and one convex — is almost always caused by unequal belt lengths in a fixed-chamber baler. The belt on the concave side is shorter (or tighter) than its neighbors, causing it to pull the bale toward that side as it forms. Measure all belt circumferences when the bale chamber is empty. A difference of more than ½ inch between any two belts in the same set is enough to cause visible kidney forming.
In variable-chamber balers, a kidney bale usually indicates that one side of the bale chamber tensioner system is applying more force than the other — check the tensioner arms for equal spring preload and confirm that both sides are at equal geometry.
Hourglass Bales: Narrow at Center, Full at Ends
An hourglass profile — where the bale is narrower at mid-width than at the outer edges — is the signature of a pickup that is depositing more crop at the outer edges of the bale chamber than at the center. The most common cause is a pickup whose center tines are worn shorter than the outer tines. With uneven tine height, the center of the windrow passes under the pickup rather than being swept into the chamber. The outer portions, where the longer outer tines reach further down, capture more material than the center, creating the characteristic hourglass shape. Inspect tine height uniformly across the full pickup width and replace center tines that are visibly shorter than the outer tines. For the full pickup and tine wear diagnostic process, the baler’s troubleshooting guide covers pickup wear patterns in detail.
Net Wrap Failures: Coverage, Cutting, and Starting Problems
Net wrap problems during or after application are the single most common cause of hay quality loss between field and storage. A bale that sheds net wrap, was under-wrapped, or has wrap pulled off by rodents during storage can lose 15–25% of its DM through surface weathering by the time it’s fed. Getting the wrap system right is as important as density.
Cause: Net width is narrower than bale width, or the wrap start position is offset from center. Check that the net roll width matches the bale chamber width specification. For a 48-inch wide chamber, you need 48-inch (or 51-inch with overlap) net wrap. Using 44-inch net on a 48-inch bale leaves 2 inches on each end unprotected — exactly where shoulder weathering begins.
Fix: Match net width to chamber width. Check centering bar alignment.
Cause: Knife engagement position is set too early in the wrap cycle, or the knife is dull and tearing rather than cutting cleanly at the correct position. The knife should engage at exactly the end of the final wrap revolution — not during it. Check the cam follower adjustment that controls knife timing. A worn cam follower can advance knife engagement by a full quarter revolution.
Fix: Adjust cam follower; inspect and sharpen or replace wrap knife.
The Underlying Cause Most Operators Miss: Belt System Wear
After 3,000–4,000 bales, the root cause of most persistent bale quality problems shifts from settings to wear. Belts stretch unevenly, roller bearings develop play, and the combined effect is that no density or alignment adjustment fully solves the problem because the base geometry of the system has drifted from design specification.
The diagnostic test for wear-dominated problems: after making your best settings adjustment, measure bale weight and shape consistency across 20 consecutive bales from the same windrow at steady speed. If the variation is greater than ±80 lbs between the heaviest and lightest bale, the variation is mechanical, not operational. Refer to the complete wear parts inspection guide for belt measurement, roller runout check, and bearing wear protocols before the next season.
Quick Diagnostic Checklist: What to Check First
When you encounter a bale quality problem in the field, work through this sequence before adjusting any settings. Adjusting the wrong thing — density when the real problem is windrow alignment, for example — wastes time and can make the underlying issue harder to find.
Frequently Asked Questions

Need Help Diagnosing a Specific Bale Quality Problem?
Our technical team can walk through your specific symptom and recommend the correct adjustment or replacement part. Tell us your baler model, symptom, and current settings — we’ll give you a specific fix, not a generic checklist.
Editor: Cxm


