
The Hay Making System: Five Stages, Each With a Decision Point
Hay making is not a sequence of independent operations — it is a system in which the quality entering each stage is the ceiling on the quality exiting it. Hay that was cut at 35% protein-stage alfalfa cannot be improved by superior raking technique. Hay that dried perfectly to 14% moisture cannot recover quality lost to a 3-hour rain event during curing. Each stage has one primary decision point that determines whether quality is preserved or degraded, and understanding those decision points is more valuable than any single piece of equipment upgrade.
The five stages are: (1) cutting and conditioning, where crop quality is locked in; (2) field drying and tedding, where moisture is reduced to baling range; (3) raking, where windrow characteristics are set for baling efficiency; (4) baling, where moisture is confirmed and density is set; and (5) storage, where the quality you baled is either preserved or lost. Each stage has a timing requirement and a moisture or condition threshold that must be met before advancing to the next.
Stage 1: Cutting and Conditioning — Where Quality Is Determined
The quality ceiling for the entire cutting is set at the moment the mower blade contacts the crop. Once cut, quality can only be preserved — never improved. Two variables at this stage determine the starting quality: cutting stage (plant maturity at harvest) and conditioning intensity (how aggressively the conditioner breaks stem cuticle to accelerate drying). Both must be optimized together, because a crop cut at optimal maturity but dried too slowly still loses quality to continued respiration in the swath.
The quality-vs-yield trade-off in alfalfa peaks at first bloom (10% bloom): maximum yield is achieved by waiting until mid-bloom (50%), but RFV drops 8–12 points per day from first bloom to 50% bloom. For dairy or export markets requiring RFV 160+, cutting at bud-to-first-bloom (0–10%) is mandatory — there is no harvesting technique that recovers RFV lost by cutting late.
Conditioning intensity (roll gap for roller conditioners, flail aggressiveness for flail types) directly controls drying rate. A swath dried 20% faster by optimal conditioning loses less quality to field respiration and has a wider weather window before rain threatens — yet many operators leave conditioners at their factory settings indefinitely. Check: does your mowed swath dry stem-to-leaf uniformly, or do the leaves dry 4–6 hours before the stems? If leaves are crisp while stems are still pliable, conditioning intensity needs adjustment.
Stage 2: Field Drying and Tedding — Speed Preserves Quality
Every hour a cut crop spends above 30% moisture in the field is an hour of continued plant cell respiration consuming carbohydrates and producing heat. Research consistently shows that hay dried from cut to baling moisture in 24 hours retains 8–15% more digestible energy than hay taking 48 hours in the same conditions. Tedding is the primary tool for accelerating drying, and the question is not whether to ted — it is when and how intensively.
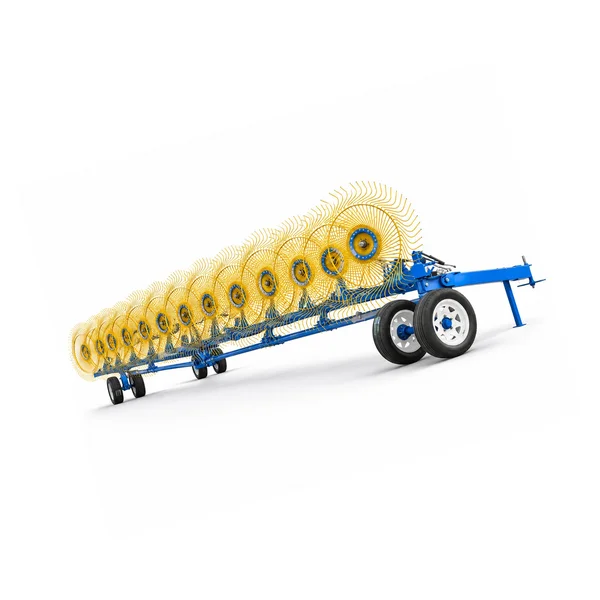
The timing and intensity of tedding depends on the tedder type and its operating parameters. The general rules: ted within 2–4 hours of cutting to disrupt the swath while plant cells are still metabolically active and before the surface layer seals over; do not ted when wind speeds exceed 15 mph — mechanical leaf loss from aggressive tedding in high wind can exceed 8–12% of leaf mass, reducing RFV directly; and ted early in the morning if possible to take advantage of the full drying day rather than late afternoon when you are chasing fading light.
Every field operation from cutting to baling must be bracketed within a weather window free of significant rain. A hay crop that absorbs rain after cutting and before baling loses quality rapidly — the leaching effect of rain on soluble sugars and proteins reduces digestibility by 10–20% per significant rain event. The practical workflow implication: never start cutting unless the weather forecast shows at least 36–48 hours of dry weather with relative humidity below 65% during daylight hours. The cost of waiting one day for a better window is always lower than the quality cost of a rain-event on a cut crop.
Stage 3: Raking — Setting Up the Baler for Efficient Operation
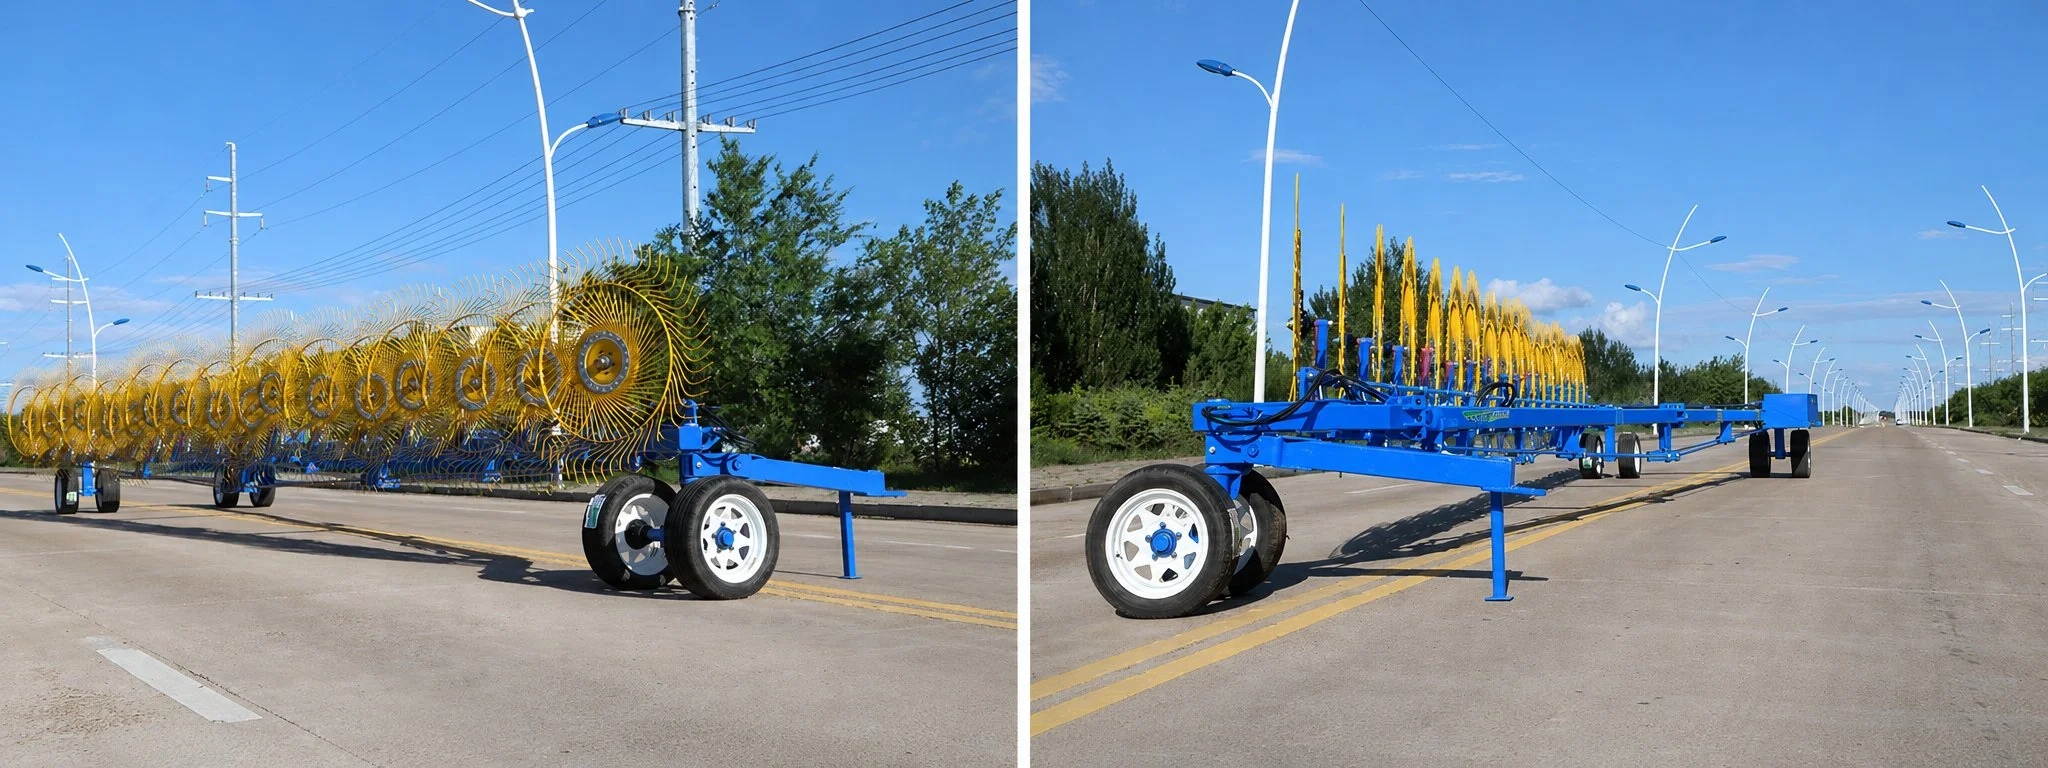
Raking is the interface between the drying operation and the baling operation, and it must satisfy requirements from both sides simultaneously. The drying side requires: raking at the correct moisture (18–22% for most legumes; 15–20% for grass hay) to minimize leaf shatter loss from mechanical impact on brittle dry material. The baling side requires: windrows of consistent density, appropriate width for the baler pickup, and positioned along the longest field dimension for minimum turn frequency. These requirements do not always align — they must be managed as competing constraints.
The choice of rake type — wheel rake (V-rake), rotary bar rake, or horizontal belt rake — affects both shatter loss and windrow quality. The comparison of rake types is covered in the hay rake types comparison guide. At the workflow level, the key raking rules are: avoid raking into the sun during the hottest part of the day when leaves are most brittle; rake to a windrow width that equals approximately 50–60% of the baler pickup width (allows the pickup to cleanly sweep the windrow without leaving edges); and use rake forward speed that fluffs the windrow rather than compressing it — a fluffy windrow allows residual moisture to escape after raking better than a compact windrow.
Stage 4: Baling — Confirming Moisture and Setting Density
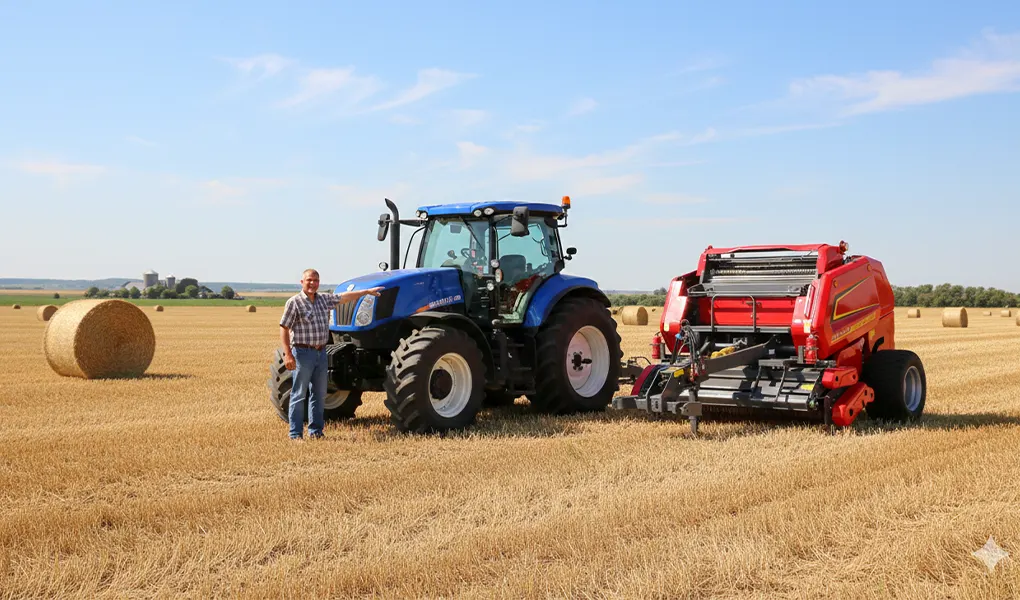
The baling stage has two non-negotiable quality controls: moisture confirmation and density setting. Everything else — baling speed, field efficiency, wrap count — is secondary to getting these two parameters correct on every bale.
Take 5 probe readings at varied positions across the windrow before starting baling. Do not rely on a single reading at the windrow edge — moisture varies laterally across a raked windrow, with the bottom center typically 3–5 percentage points higher than the top edges. Use the average of your 5 readings as your go/no-go decision. Target: below 18% for outdoor-stored round bales; below 20% for barn-stored or immediate-use bales.
Density setting affects transport economics (more tons per load at higher density), storage loss (denser bales have lower surface-to-volume ratio, less weathering per ton), and elevator acceptance (minimum weight requirements in some markets). Set density to meet the minimum elevator weight specification plus a 5–8% buffer for normal day-to-day moisture variation. Bales that just meet minimum weight in good conditions fail the specification on a slightly drier day.
Stage 5: Storage — Preserving What You Harvested
Storage loss is the last point at which quality can be destroyed after all the care invested in stages 1 through 4. Round bales stored outdoors on native soil without cover lose 5–30% of their DM over a 6-month storage period depending on climate, bale density, and ground moisture. The same bales stored on gravel with a quality cover lose 3–6% over the same period. The gap represents invested production cost that is simply discarded.
| Storage method | DM loss range (6 months) | Primary loss mechanism | Best for |
|---|---|---|---|
| Barn / covered building | 2–4% | Normal respiration only; no rain or UV | Premium alfalfa, export hay, dairy quality hay |
| Outdoor on gravel pad, tarped | 4–8% | Condensation cycling under tarp; minimal direct precipitation | Commercial beef or horse hay in dry climates |
| Outdoor on gravel, untarped | 8–15% | Surface spoilage from rain and UV; shoulder zone degradation | Cow hay and bedding quality; humid climates — use covered storage instead |
| Outdoor on soil, no cover | 15–30% | Ground moisture wicking, rain, UV, spoilage all compounding | Not recommended for any hay of commercial or feed value |
The most cost-effective single storage improvement for most operations is elevating bales from direct soil contact — placing them on gravel, crushed rock, used tires, or wooden pallets. Ground contact allows soil moisture to wick upward into the bale base, creating a permanently wet zone at the bale bottom that supports mold and generates heat. University research on round bale storage shows that ground-contact bales lose 4–8% more DM from the base zone than elevated bales in the same outdoor setting — simply by keeping the bale off the soil surface.
Workflow Integration: Managing the Whole System Simultaneously
On a commercial hay operation making multiple cuttings across significant acreage, all five workflow stages may be running simultaneously in different fields — cutting in one location while tedding a previous cut in another, raking a third field while baling a fourth, and hauling and storing bales from a fifth. Managing this multi-stage operation requires explicit tracking of where each field is in the workflow and what the next action threshold is for each.
| Field | Current stage | Hours since last op | Current moisture | Next action / threshold |
|---|---|---|---|---|
| North 40 | Cut / tedded | 6 hrs | ~30% | Re-test at 18 hrs; rake at 20% or below |
| East 60 | Raked | 14 hrs | 18–20% | Bale tomorrow morning when at 15–17%; do not bale today |
| Home 25 | Baling now | — | 15% | Stack and cover immediately after baling today |
A simple whiteboard or notepad version of this tracking system prevents the most common multi-field workflow error: baling a field before it reaches moisture target because the schedule pressure from another field overrides the quality threshold decision.
Hay Making Workflow FAQs
Get Equipment Configured for Your Hay Making System
Tell us your acreage, primary crop, target market, and current equipment. We help you identify the workflow stage with the highest quality loss potential and the equipment configuration that addresses it directly.
Editor: Cxm


