Why Belt Condition Determines Bale Quality Before the Density Gate Does
The belts are the bale-forming mechanism. Every pound of force pressing the crop into a cylinder, every bale rotation that consolidates the material, every moment of sustained chamber pressure that builds density — all of it is delivered through the belt surface. A belt that has stretched unevenly, lost lug height, or developed hot spots from glazing does not transmit force uniformly across the bale width. The result is visible in the bale: one side denser than the other, soft cores from insufficient initial compression, or bales that sit oddly on the flat side because the cylinder has developed an out-of-round formation.
The disconnect is that belt wear accumulates slowly and the bale quality decline is gradual. Operators accustomed to the machine’s output at 2,000 bales may not notice the quality degradation at 3,500 bales because the reference point — what the baler used to produce — has faded. The solution is measurement: objective belt circumference data that tells you where the belt set actually is relative to the replacement threshold, independent of subjective quality assessment.
Belt Lifespan: The Factors That Shorten or Extend Service Life
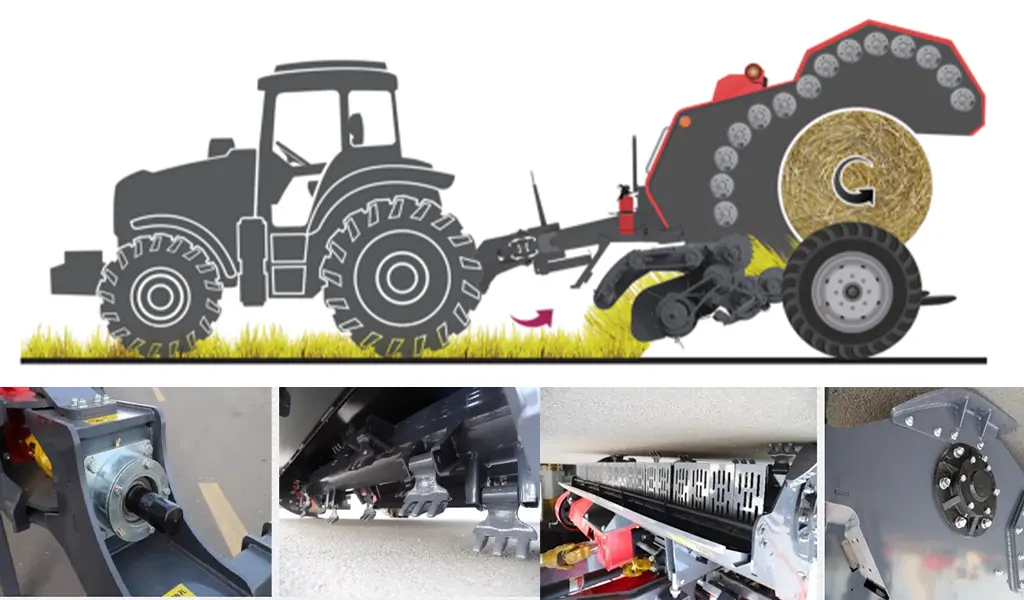
Belt service life on a round baler varies from as few as 1,500 bales in severe conditions to 7,000+ bales in favorable conditions on the same basic belt type. The difference is not primarily belt quality — it is the operational and maintenance factors that determine how quickly the belt accumulates cumulative damage:
EXTENDS service life
- Correct tension (neither too tight nor too slack)
- Dry, clean hay crops (low abrasive loading)
- Consistent windrow density (no slug loading)
- Covered winter storage (no UV degradation)
- Prompt bearing replacement before seized rollers glaze belts
SHORTENS service life
- Over-tensioning (accelerates flex fatigue and roller wear)
- Sandy, abrasive soil contamination in the windrow
- Silage or high-moisture crop (chemical degradation of rubber compounds)
- Outdoor storage in direct sunlight over winter
- Oil or grease contamination from leaking bearings
- Baling at maximum density continuously
Replacement thresholds by operation type
- Dry grass hay: 5,000–7,000 bales typical
- Alfalfa (3 cuttings): 3,500–5,000 bales
- Alfalfa + silage mix: 2,500–3,500 bales
- Sandy soil straw: 2,000–3,000 bales
- Corn stover: 1,500–2,500 bales
The Definitive Belt Replacement Test: Circumference Measurement
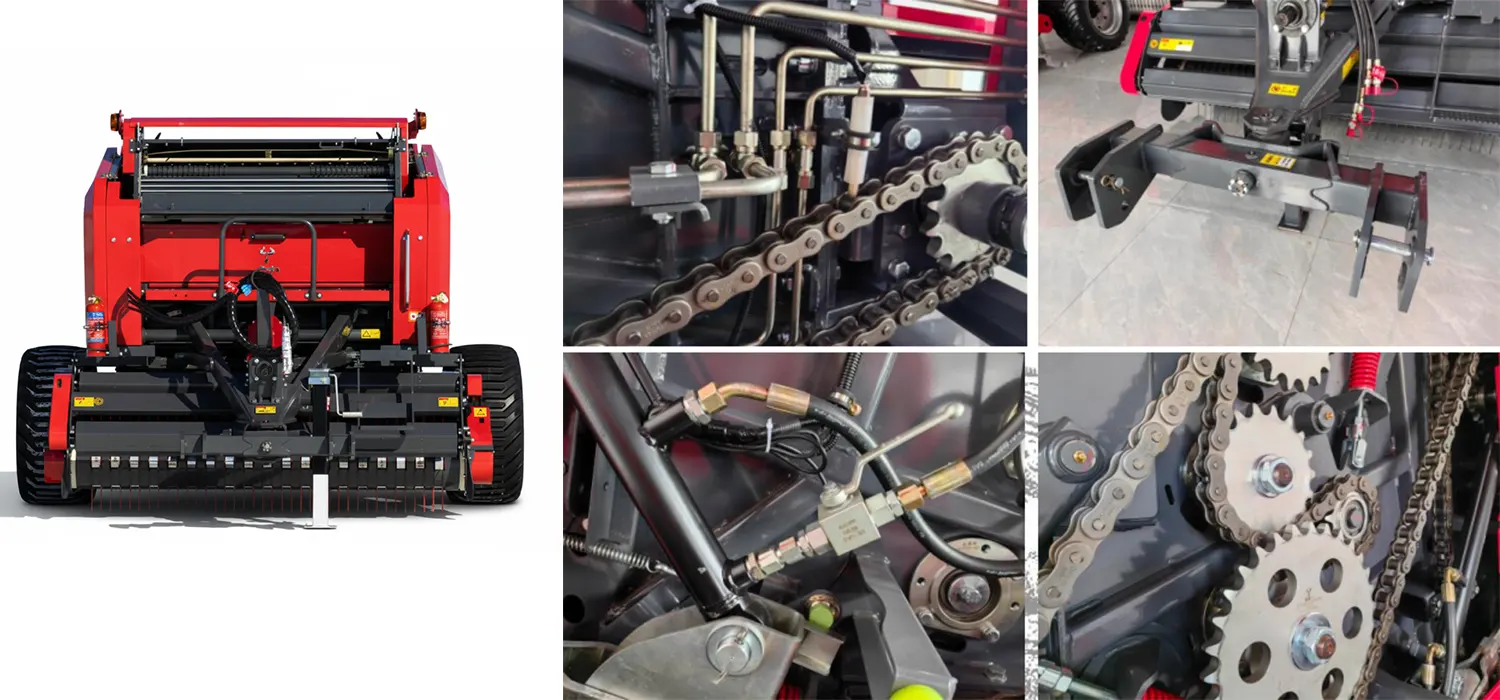
Belt circumference measurement is more useful than visual inspection alone because it quantifies what the visual inspection can only approximate. A belt that “looks OK” but has stretched 3% more than its neighbors is already producing uneven density and quality. The measurement method takes 20 minutes for a full belt set and gives you a precise, objective data point for the replacement decision.
Standard Belt Circumference Measurement Method
1
Remove belt tension completely. Release the belt tensioner on each belt individually. Measure only with zero applied tension — tension stretches the belt and produces artificially large readings that mask the true wear-induced elongation.
2
Let the belt hang or lie flat. A belt measured immediately after operation is still warm and slightly stretched from thermal expansion. Allow 30 minutes of cooling for accurate measurement, or measure at the same ambient temperature as the original belt specification.
3
Measure circumference with a cloth tape measure. Lay the belt flat and measure the inner circumference (the surface that contacts the rollers) by running the tape around the inside of the loop. Record to the nearest 1/4 inch. Measure each belt in the set individually and record all values.
4
Apply the replacement rule: Replace any individual belt that exceeds the new-belt specification by more than 3%. Replace the entire set if the longest belt and shortest belt in the set differ by more than 1/2 inch — set mismatch causes uneven density even if no individual belt exceeds the 3% threshold.
| Baler format |
Typical new-belt circumference |
Replace at (3% elongation) |
Set mismatch limit |
| 4×5 ft (standard) |
Variable — check spec sheet |
Spec × 1.03 |
±1/2 inch max |
| All formats |
Found on new belt label or baler manual |
New length + 3% |
Longest minus shortest <0.5″ |
Note that belt circumference also affects bale density: a belt set where all belts are elongated equally (all at +2.8% for example) will produce softer bales than a new belt set at the same tension setting, because the longer belt has less tension per unit length. This is why belt circumference elongation shows up as a gradual density decrease before any individual belt reaches the replacement threshold. See the bale density and feed quality guide for the relationship between density setting, belt condition, and bale weight at elevator. The full spectrum of baler wear items that interact with belt performance — including roller bearings and chain drives — are covered in the wear parts replacement guide.
Splice Methods: Vulcanized vs. Mechanical — When to Use Each
Every baler belt has exactly one splice — the joint where the two ends meet to form the continuous loop. The splice is always the weakest point in the belt and the most frequent point of failure. Splice method choice determines both the strength of that joint and how quickly it can be made in a field repair scenario.
Option A — Workshop Repair
Vulcanized (Heat-Bonded) Splice
Strength: 90–100% of belt tensile strength. The bonded joint is chemically homogeneous with the belt — no mechanical discontinuity.
Smoothness: No thickness bump at the splice point. The bale receives no impulse at each splice-over-roller event — quiet operation, no vibration spike.
Time: 60–120 minutes including cure time. Requires a vulcanizing press (heated platens, 250–280°F, 30–45 min cure).
Best for: Pre-season belt installation when time allows. The standard for all new OEM belts. Cost-effective when amortized over the belt’s full service life.
Use whenever a vulcanizing press is available and time permits.
Option B — Field Repair
Mechanical Fastener Splice
Strength: 55–75% of belt tensile strength. Metal clip design transfers load through the belt carcass over a wider contact area than a single pin, but remains weaker than vulcanized.
Smoothness: Creates a 1.5–3mm thickness bump at the splice point. Generates a slight impulse at each roller crossing — audible and visible as a small bale vibration.
Time: 8–20 minutes with a hand-held mechanical splicing tool. No heat, no press, no special equipment beyond the tool and fastener clips.
Best for: Field emergency repair when a belt breaks mid-harvest and production cannot stop for proper vulcanizing. Completes the season’s baling; replace with vulcanized splice in the off-season.
Carry mechanical splice kits in the tractor cab for emergency use only.
The hybrid approach: Replace the belt mid-season with a mechanical splice to finish the harvest, then vulcanize properly during the off-season when the machine is in the shop and time allows proper cure. Using a mechanical splice as an emergency measure is standard practice and does not shorten belt life — the mechanical splice may last the remainder of the season’s baling without issue if the belt was not otherwise worn to its replacement threshold.
Tension Setting: The Mid-Span Deflection Method for New and Used Belts
Belt tension is the most frequently mis-adjusted parameter in round baler maintenance — both over-tensioned and under-tensioned belts cause quality problems and accelerate wear, but in opposite directions. Over-tension forces the belt to work against excessive roller bearing load with each revolution, accelerating bearing wear and eventually causing belt carcass fatigue. Under-tension allows the belt to slip on the roller surface during peak loading (high-density bale forming), producing glazing on the roller contact surface and heat-related belt damage.
| Span length (distance between rollers) |
Target deflection at mid-span |
Test force applied |
Notes |
| 12 inches (short span) |
1/4 inch (6mm) |
~10 lbs hand pressure |
Short spans have less inherent sag — smaller deflection target |
| 18 inches (medium span) |
3/8 inch (10mm) |
~10 lbs hand pressure |
Most common span length in standard round baler chamber designs |
| 24 inches (long span) |
1/2 inch (12mm) |
~10 lbs hand pressure |
Longer spans on variable-chamber designs with larger inter-roller distances |
| Formula (any span) |
span × 0.02 (2% of span) |
10 lbs |
General formula for spans not listed above; verify against baler operator manual target |
Where to measure: Always measure on the slack side of the belt run (the span between the last driven roller and the first idler, where the belt has the lowest tension in normal operation). The tight side (drive side) will show less deflection than the formula predicts — that is normal, not an indication of over-tension.
After adjustment: Run the baler empty at PTO speed for 3–5 minutes after any tension adjustment, then re-check. New tension distributes unevenly through the belt run during the first few minutes of operation and settles to a different value than the immediately post-adjustment reading. The 3-minute run-in re-check ensures you are measuring the operating tension, not the just-adjusted tension. For the full assessment of how belt tension interacts with drive components — specifically the PTO shaft and main gearbox torque loads — see the agricultural gearbox and PTO driveline component specifications.
New Belt Break-In: The Critical First 10 Operating Hours
New belts undergo significant stretch during their first 8 to 12 hours of operation — polyester and aramid cord belts typically elongate 0.5 to 1.5% from their as-installed length in this break-in period. This is normal and expected. What is not normal is failing to account for it: a belt set installed and tensioned correctly before break-in will be noticeably under-tensioned after the first day of baling. Under-tensioned belts during this critical period begin glazing their roller contact surfaces immediately.
1
First 50 bales: Run at 80% of target density setting. New belts build tension faster at reduced load. Check tension after every 20 bales during this period.
2
After 50 bales: Re-tension all belts to target deflection. This is the most important single tension check in the belt’s service life — skip it and glazing damage is already done.
3
Bales 50–200: Advance density setting to full target in 10% increments. Check tension after every 50 bales during the break-in phase. Belt elongation stabilizes by approximately bale 150–200.
4
After bale 200: Final tension check and set. The belt set has now broken in and will hold tension consistently for the remainder of its service life with only quarterly checks needed.
Visual Belt Condition Assessment: What You’re Actually Looking For
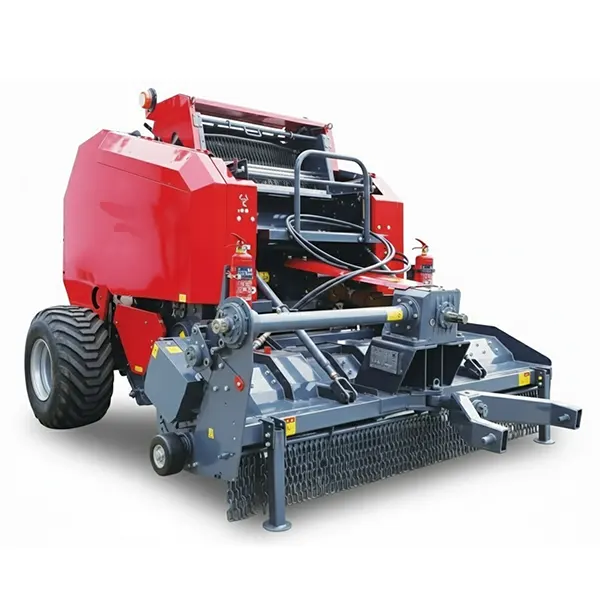
Glazed drive surface
Appearance: Belt drive surface (inner face) has a hard, shiny, slick appearance. Loses tactile grip when rubbed. Cause: Slippage on roller surface, usually from under-tension or oil contamination. Action: Light surface scuffing with 80-grit sandpaper can restore grip temporarily; repeated glazing means the belt needs replacement and the root cause (tension or oil source) must be addressed.
Longitudinal cracking
Appearance: Cracks running along the belt length (parallel to travel direction) in the outer rubber cover. Cause: UV degradation from outdoor storage; age; cold-weather embrittlement. Action: Surface cracks covering less than 10% of belt width — monitor. More than 20% of belt width with visible cord exposure — replace immediately.
Lug wear
Appearance: Cleats or lugs on the drive surface are worn flat. Original lug height should be visible on a new belt by running a finger across the surface — lugs feel like distinct ridges. On a worn belt, the surface feels uniformly smooth. Action: Inspect lug height against a new belt sample. Replace when lug height is reduced to 50% of original.
Edge fraying
Appearance: Belt edges show fuzzing, delamination, or cord exposure at the side margins. Cause: Belt running against frame or guide rail; misalignment. Action: A fraying belt edge that has exposed cord must be replaced immediately — exposed cord picks up moisture and rust, dramatically accelerating carcass failure. Diagnose and correct the alignment issue before installing the replacement belt.
Belt Replacement FAQs
Should I replace belts as a full set or just the ones that have failed?+
Full set replacement is almost always the better choice when any belt in the set reaches the replacement threshold. Mixed-age belt sets — where new belts run alongside belts with 3,000+ bales of accumulated stretch — create the uneven tension distribution that causes the bale quality problems described throughout this guide. A new belt installed alongside worn belts carries a disproportionate share of the chamber load, wears faster than it would in a matched set, and produces the same uneven bale density that the worn belts were causing. The cost of a full set replacement is proportionally very low compared to the quality and density improvement it delivers — and a properly matched set from the same production run eliminates the circumference mismatch problem permanently until the next replacement interval.
My belts track off to one side even with new belts installed. What causes persistent tracking problems?+
Persistent tracking problems that appear even after a full belt set replacement are almost always caused by roller misalignment, not belt defects. The rollers must be parallel to each other — any roller that is not square to the machine’s longitudinal axis causes a lateral force on the belt at each revolution. To check: with the machine stationary and belts removed, measure the distance between two reference rollers at both ends of each roller shaft. The left-side distance and right-side distance between any two rollers should be equal within 1/16 inch. A roller that is off-parallel by even 1/8 inch at its shaft ends creates a tracking drift that no belt replacement can correct. On older machines that have been repaired after a collision or impact, frame distortion may have shifted roller positions from original geometry — this requires frame straightening or shimming at the roller mounting brackets.
Can I use aftermarket belts instead of OEM, and how do I verify they’re equivalent?+
Aftermarket belts are widely used and often priced 20–40% below OEM. Quality varies significantly between aftermarket suppliers. When evaluating an aftermarket option, verify five parameters against the OEM belt specification: (1) belt width in inches — must match within 1/16 inch for proper end coverage; (2) lug height and pattern — must match OEM profile for proper crop engagement and bale density consistency; (3) carcass tension rating (often listed as elongation-at-load in lbs/inch-width) — should equal or exceed OEM; (4) operating temperature range — particularly important for silage baling where heat buildup is higher; (5) circumference at the same production run lot — request confirmation that belts are produced from the same specification lot for matched sets. Any reputable aftermarket supplier can provide these data points. An aftermarket belt that meets these specifications will perform equivalently to OEM; a belt that cannot provide these specifications should not be purchased for critical baler use.
A belt broke mid-harvest and I repaired it with a mechanical splice. How long can I run with that splice?+
A correctly installed mechanical splice on a belt that is otherwise in good condition (not at or near the 3% elongation threshold) can last the remainder of the current baling season without failure — typically 300 to 1,000 additional bales depending on conditions. The splice should be checked visually after every 100 bales to confirm the clip prongs are fully seated and the belt material at the splice edge is not tearing. If the belt was already approaching the replacement threshold when it broke, the break itself was likely a fatigue event — replace the full set rather than splicing and continuing. A mechanical splice on a belt that has been operated without re-vulcanizing for more than one full season is approaching the end of its reliable service life; plan for full set replacement before the following season even if the splice appears intact.
Does baling silage (haylage) at 45–55% moisture damage belts faster than dry hay?+
Yes — baling at 45–55% moisture for silage production significantly accelerates belt wear and degradation compared to dry hay baling. The mechanisms: (1) wet, heavy crop material creates higher belt-to-roller contact pressure per bale cycle, which accelerates surface wear on both the belt lug faces and the roller surfaces; (2) the organic acids produced during early fermentation in wet material left on the belt surface attack rubber compound chemistry over time, particularly if belts are not cleaned between silage and dry hay baling sessions; (3) the higher bale mass at silage moisture creates higher tensioner loads throughout the forming cycle, contributing to faster carcass stretch. Operations that bale both dry hay and silage on the same machine should expect 30–40% shorter belt life than pure dry hay operations and should include the silage baling proportion when estimating replacement intervals.
How should I store belts over winter if I purchase a spare set mid-season?+
Spare belts stored correctly hold their specification for 2 to 3 years; stored incorrectly, they may crack and degrade before they ever see a baler. The key storage rules: store coiled at their natural relaxed radius (not folded in half or bent at sharp angles — these create creases in the carcass that concentrate stress during operation); store horizontally on a shelf or hanging on a large-diameter peg, not in a pile where lower belts are compressed by the weight above; keep them away from ozone sources (electric motors, welding equipment, fluorescent lights — all emit ozone that degrades rubber); store in a dark, cool, dry location away from direct sunlight; and keep them away from petroleum products, fuels, and solvents that attack rubber compounds. Belts stored properly in a barn interior typically arrive at installation with near-new specification after a full winter storage period.
Editor: Cxm