
What the Baler Gearbox Does and Where the Three Locations Are
Most round balers contain not one but three distinct gearbox or speed-change units, each handling a different portion of the drive system and each having different service requirements, failure modes, and failure consequences. Treating all three as equivalent — or assuming the operator manual’s single oil change interval covers all of them — is the most common maintenance error in baler drive system service.
The primary gearbox, typically mounted at the PTO input or main frame, that receives power from the tractor and distributes it to the belt drive system and pickup drive. This is the highest-load, highest-heat gearbox in the system. It operates continuously while baling and contains the most critical gearing arrangement. Oil contamination, seal failure, and gear wear at this location produce the most expensive repairs. Service interval: typically 50–100 hours of baling operation or annually per manufacturer specification.
A smaller right-angle or offset gearbox that drives the pickup tine reel from the main drive shaft. This gearbox operates at lower torque than the main gearbox but at higher RPM relative to its size — and it experiences shock loads from pickup tine contact with rocks, soil mounds, and heavy windrow material. Seal failure at this location drops oil onto the crop flow path, contaminating hay with gear oil. Service interval: often separate from the main gearbox — check the manual for the specific interval.
On net wrap and film wrap balers, a small gearbox or speed-reduction unit drives the wrapping mechanism and typically the net wrap feeding system. This unit operates intermittently (only during wrapping cycles) but must engage and disengage precisely — intermittent operation at load makes it vulnerable to cold-start wear when lubricant has settled. Service is often overlooked because the unit doesn’t fail catastrophically — it fails gradually, causing inconsistent wrapping that wastes net material and produces poorly wrapped bales before the gear wear becomes apparent.
Gearbox Oil: Type, Interval, and How to Do the Change Correctly
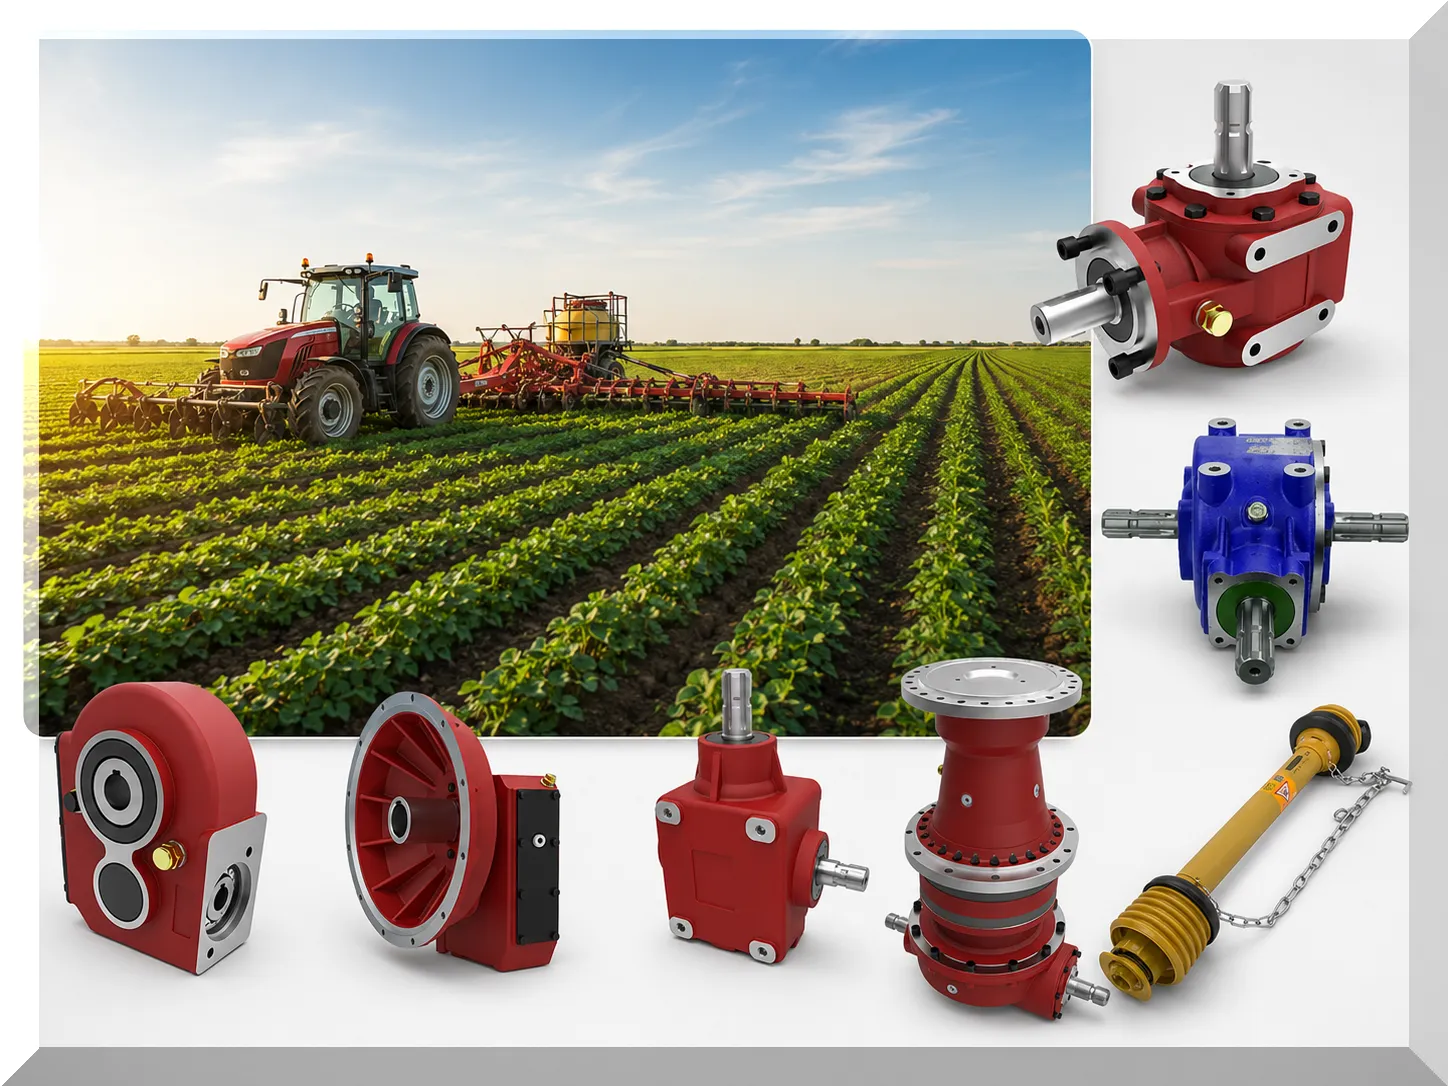
The oil in a round baler gearbox does three things: it lubricates the gear tooth contact surfaces to prevent metal-to-metal wear, it cools the gear mesh by absorbing heat and carrying it to the gearbox housing for radiation, and it suspends and carries wear metal particles to the drain plug (or filter) where they can be removed. An oil that is not changed on schedule fails progressively at all three functions as it accumulates wear particles, oxidizes, and loses its viscosity modifying additives.
Visual and Operational Warning Signs: Catching Problems Before They Cascade
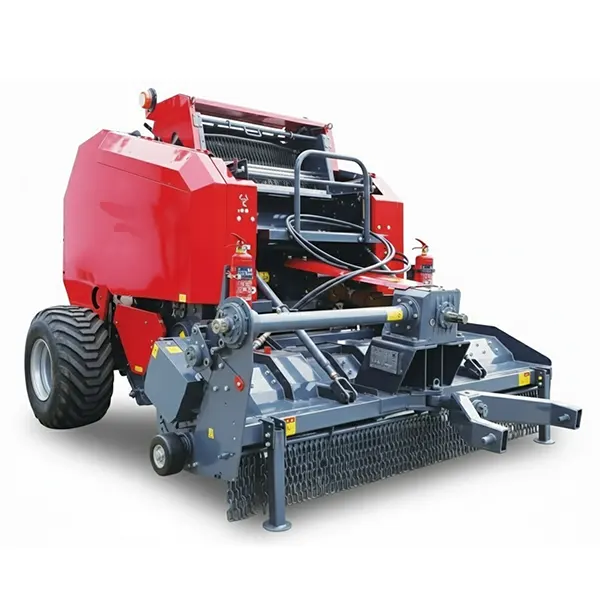
Gearbox failures rarely happen without warning. The warning signs are subtle in the early stages — which is why they are missed — but become progressively more obvious and more expensive to ignore. Operators who inspect their gearbox system during every pre-season service and after every 50 hours of operation identify developing problems when they are still inexpensive to address.
Oil staining around seals without active dripping
A dry oil ring around the input or output shaft seal is the earliest sign of seal weepage — the seal lip has lost some of its sealing pressure and is allowing a small amount of oil to migrate to the outside of the housing. At this stage, the seal is still functioning but will progress to active leaking within one to three seasons. Replace the seal at the next scheduled service or pre-season maintenance window — do not wait for active leaking, which can drain enough oil to cause gear wear before the next inspection.
Gearbox housing noticeably hotter than normal
Touch the gearbox housing 5–10 minutes after a normal baling session. It should be warm (100–140°F) but comfortably touchable for several seconds. A housing that is too hot to hold your hand against for 2 seconds (above 160°F) indicates abnormal internal friction from gear misalignment, worn bearings, insufficient oil, or contaminated oil that has lost its viscosity. Check oil level immediately — if level is correct, the cause is internal and requires further diagnosis.
Increased noise at specific operating speeds or loads
A whining tone that increases with PTO RPM indicates bearing wear or gear backlash that is outside specification. A knock or clunk that occurs at irregular intervals (not synchronized with PTO rotation speed) indicates a cracked or chipped tooth on one or more gears. A cyclic grinding sound that matches PTO shaft rotation indicates a worn or corroded bearing race. Each noise pattern points to a different component and a different urgency level.
Active oil leaking onto the crop flow path
Gear oil contamination of hay is visible as a dark, oily appearance on the hay surface and is detectable by smell. Oil-contaminated hay must not be fed to livestock — gear oil contains metallic wear particles, sulfur-based extreme pressure additives, and oxidation products that are not safe at feeding rates that hay consumption involves. Stop baling immediately when you observe oil on the hay and do not resume until the source is identified and sealed. Active leaking also means the gearbox is operating below full oil level, which compounds internal wear.
PTO Shaft Maintenance: The Upstream Factor That Controls Gearbox Life
More round baler gearbox failures originate from PTO shaft problems than from any other single cause. An improperly maintained PTO shaft — with worn universal joints, insufficient telescoping overlap, or inadequate angles — transmits vibration and cyclic torsional variation into the gearbox input that progressively loosens gear mesh, wears input shaft bearings, and fatigues the input seal. None of these failure modes show up on a gearbox inspection because the damage is being done by the drive shaft upstream of the gearbox.
With PTO disconnected and the tractor off, grip the shaft firmly and attempt to move it in all directions at the universal joints. Any detectable looseness (movement of more than 0.5mm in any direction) indicates worn U-joint bearing cups that need replacement. A stiff or rough feeling when rotating the joint by hand (not connected to either machine) indicates rust or worn bearing surfaces — replace before the season.
The PTO shaft must maintain at least 1/3 of the telescoping tube length in overlap at both the fully compressed and fully extended positions that occur through the baler’s full operating range. Too little overlap at extension allows separation; too much compression at full articulation causes the shaft to bottom out, transmitting the full shock load into the gearbox input rather than through the telescoping tube. Mark the shaft at full extension and compression and verify adequate overlap range before the first season and after any change to tractor drawbar height.
The PTO shaft should operate at an angle between the tractor PTO stub and the baler input gearbox shaft of no more than 15 degrees during normal operation. Angles above 15 degrees cause significant velocity variation at each revolution of the U-joint — the joint does not transmit uniform rotational speed at high angles, and the resulting cyclic speed variation manifests as torsional vibration that is directly transmitted to the gearbox input. PTO-to-baler height mismatch is the most common cause of excessive operating angle.
Grease the U-joint bearing cups every 8 hours of PTO operation (or daily during sustained baling) with NLGI Grade 2 lithium-complex grease rated for universal joint application. The grease zerk is located on the cross-pin body — pump grease until fresh grease appears at each bearing cup seal. Do not over-pump: excess pressure can unseat the bearing cup seals, pushing them out of the yoke. Each joint typically accepts 1–3 pumps from a standard grease gun. Detailed PTO shaft specifications and gearbox compatibility are in agricultural gearbox and PTO driveline component specifications.
Diagnosing Gearbox Noise: What Each Pattern Indicates
| Noise pattern | When it occurs | Most likely cause | Urgency |
|---|---|---|---|
| High-pitched whine | Increases with PTO RPM | Gear backlash beyond specification, or bearing radial play | Medium |
| Cyclic grinding | One cycle per shaft revolution | Worn or pitted bearing race — one high spot per revolution | High |
| Irregular knock or clunk | Variable frequency, not RPM-synced | Chipped or cracked gear tooth contacting at random mesh points | High |
| Rumble that worsens under load | Increases when forming bale, quieter empty | Tapered roller bearing with reduced preload — fails under thrust load | High |
| Rattling at low idle, disappears at speed | Below 400 PTO RPM only | Excessive gear backlash from worn gear tooth flanks | Medium |
| Occasional squeal at PTO engagement | First engagement only, then goes away | Cold-start oil film on clutch or seal — typically not a gearbox problem | Low |
The diagnostic steps for each noise pattern — including the procedure for isolating noise to the main gearbox vs the pickup drive vs the belt system — are covered in the round baler troubleshooting guide.
Input and Output Seal Replacement: The Most Common Service Outside Oil Changes
Shaft seals (lip seals or radial seals) are the rubber rings that prevent gear oil from leaking out along the rotating input and output shafts. They fail from age (rubber hardens and loses sealing pressure after 5–10 years regardless of use), from shaft surface wear (the shaft groove worn by the seal lip allows oil past the lip), and from misalignment (shaft runout from worn bearings causes the seal to move eccentrically and fail its seating). Seal replacement is a moderate-complexity task that requires shaft removal but not gearbox disassembly in most configurations.
Confirm seal replacement will fix the problem: If the shaft surface shows a visible wear groove at the seal contact point, a new seal will only delay the next leak — the seal lip will follow the groove and fail again within 1–2 seasons. The long-term repair in this case is a Speedi-Sleeve (a thin stainless steel repair sleeve pressed over the worn area) plus a new seal, not just the seal alone.
Remove shaft and old seal: Seal removal without damaging the housing bore requires a seal puller or a carefully angled flat-blade approach. Do not chisel or pry aggressively — a damaged housing bore will not properly seat the new seal, and the resulting misalignment will cause the new seal to fail rapidly.
Install new seal square to the bore: Apply a thin film of gear oil to the seal lip and a thin coat of sealant to the outer diameter of the seal. Press the seal into the housing bore with a seal driver (same OD as the seal, smaller OD than the housing bore) to ensure it seats flat and parallel — a cocked seal will leak at the high side regardless of how it otherwise looks.
Run verification: After reassembly, run the baler at idle PTO for 10 minutes and inspect the seal area for any seepage. New seals may show a very light surface film on the shaft during the first few hours of operation — this is normal and typically stops as the seal lip wears to its contact pattern. Active dripping from a new seal indicates incorrect installation.
Gearbox service is part of the broader seasonal maintenance schedule — including belt inspection, bearing greasing, and pre-season verification — covered in the round baler seasonal maintenance checklist. Bearing condition assessment for the rollers and drive shafts downstream of the gearbox is in the round baler roller bearing maintenance guide.
Rebuild vs Replace: The Cost Decision Framework
The gearbox housing is intact and undamaged. The failure is isolated to bearings and seals (not gear tooth damage). OEM or quality aftermarket rebuild kits are available for the specific model. Total rebuild cost (kit + labor or your time) is below 50% of replacement gearbox cost. The baler itself has remaining productive life that justifies the investment — a complete rebuild on a gearbox that will go on a 25-year-old baler with 30,000+ bales and multiple other worn systems may not be the most rational expenditure.
Gear teeth are broken, spalled, or significantly worn on multiple gear pairs — the gearbox internals need complete replacement regardless of bearing condition. The housing is cracked, warped, or has damaged bearing bores. The gearbox model is discontinued and rebuild kits are unavailable. The failure was catastrophic from oil starvation and internal scoring is present on all contact surfaces. In these cases, a new or quality remanufactured gearbox provides known-good performance, a warranty, and predictable life expectancy that a rebuilt severely-damaged gearbox cannot provide.
Round Baler Gearbox FAQs
Get Gearbox Specifications and Service Intervals for Your Baler Model
Tell us your baler model and the gearbox problem you are diagnosing or the service you need to perform. We provide the correct oil specification, gearbox location, drain and fill procedure, and service interval for your configuration.
Editor: Cxm


