
Poor silage quality is the most expensive mistake a livestock farm can make — and unlike a bad equipment purchase, its cost does not show up as a line item. It shows up as lower milk production, slower gain rates, increased purchased feed bills, and animal health problems that trace back to butyric fermentation, mold contamination, or excessive dry matter loss during storage. The difference between a 15% dry matter loss and a 5% loss on 300 wrapped bales at $80 per bale is $2,400 per season — and that assumes no quality downgrade, just quantity. This guide covers every step where that difference is made or lost.
The Fermentation Science Every Silage Producer Needs to Understand
Silage preservation works by creating an anaerobic (oxygen-free) environment that allows lactic acid bacteria — naturally present on crop surfaces — to ferment soluble sugars into lactic acid. As lactic acid accumulates, the pH drops from approximately 6.0 to 6.5 at harvest to a stable 4.0 to 4.5. Below pH 4.2, most spoilage organisms (yeasts, molds, Clostridium bacteria) cannot grow. Above 4.5, preservation is incomplete and the bale continues to degrade.
The critical insight is that this entire process can be derailed at any of four points: the wrong crop moisture at baling (either too wet or too dry), oxygen infiltrating the bale during or after wrapping, insufficient film coverage, or bale damage in storage. Each of these failure points is preventable. The five-step guide below addresses each one specifically.
Target Moisture by Crop: The Number That Determines Everything Downstream
Baling silage at the wrong moisture is the most common cause of the two worst fermentation failures: butyric silage (too wet — Clostridium bacteria outcompete lactic acid bacteria) and mold/yeast spoilage (too dry — insufficient sugar for complete fermentation). Each crop has a specific target range:
Cutting at the Right Stage: Maximizing Sugar for Fermentation
The sugar content of the crop at cutting determines the fermentation fuel available to lactic acid bacteria. Low-sugar crops — legumes cut past peak bloom, overripe grasses — ferment more slowly, may fail to reach the target pH, and are far more susceptible to butyric fermentation from Clostridium bacteria that thrive at higher pH levels. Cutting at the right growth stage is not primarily about yield — it is about ensuring the fermentation substrate is adequate for complete, fast acidification.
Grass silage: Cut at boot stage (the flag leaf fully emerged, the seed head not yet visible). Water-soluble carbohydrate (WSC) content peaks at boot stage and falls rapidly once heading begins. Ryegrass cut at boot stage consistently hits 15 to 25% WSC on a dry matter basis — more than adequate for lactic fermentation. Ryegrass cut post-heading may be 8 to 12% WSC — marginal, particularly in cool or wet conditions that further reduce sugar content.
Alfalfa haylage: Cut at 10% bud — when the first flower buds are visible but no open flowers are present. This maximizes the balance between crude protein content (declines rapidly after initial bloom) and digestibility. Alfalfa has a naturally high buffering capacity, meaning it resists the pH drop that drives fermentation — cutting at peak sugar stage partially offsets this resistance.
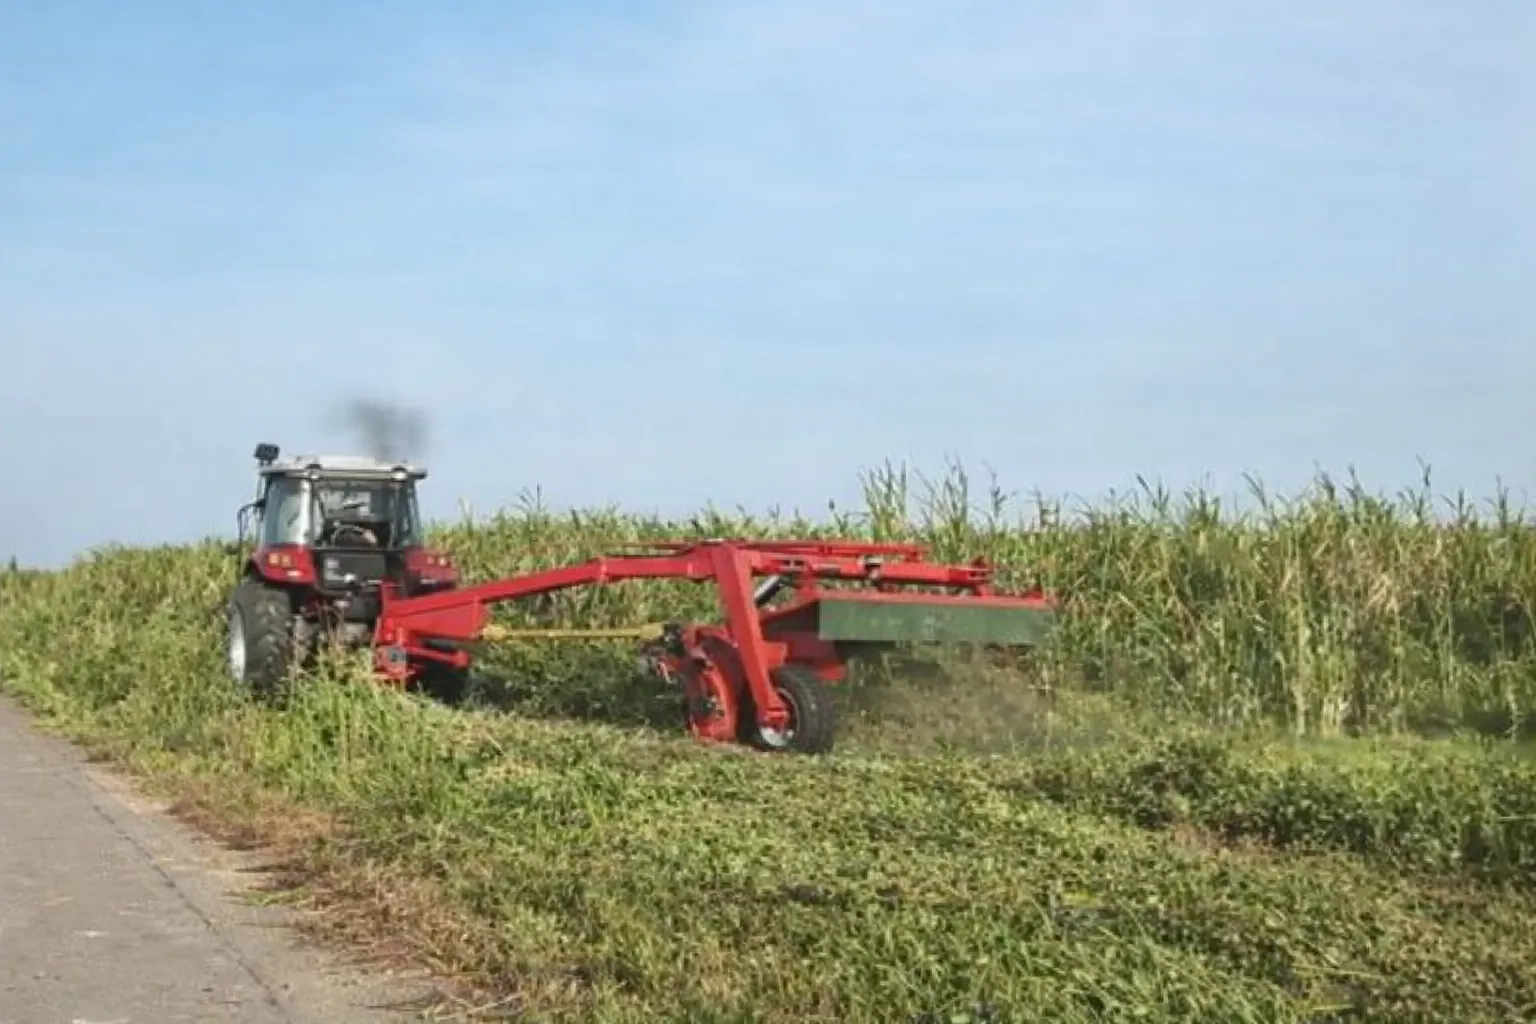
Use the maai-apparatuur that suits your crop and field scale. Conditioned cutting — mowing with a crimper roller — accelerates wilting by fracturing the stem surface, reducing wilt time by 20 to 30% compared to a straight cut. For silage crops with a narrow harvest window, that time savings can mean the difference between baling at optimal moisture and baling too wet after a day’s rain delay.
Windrow Formation: Getting the Density Right for Your Baler
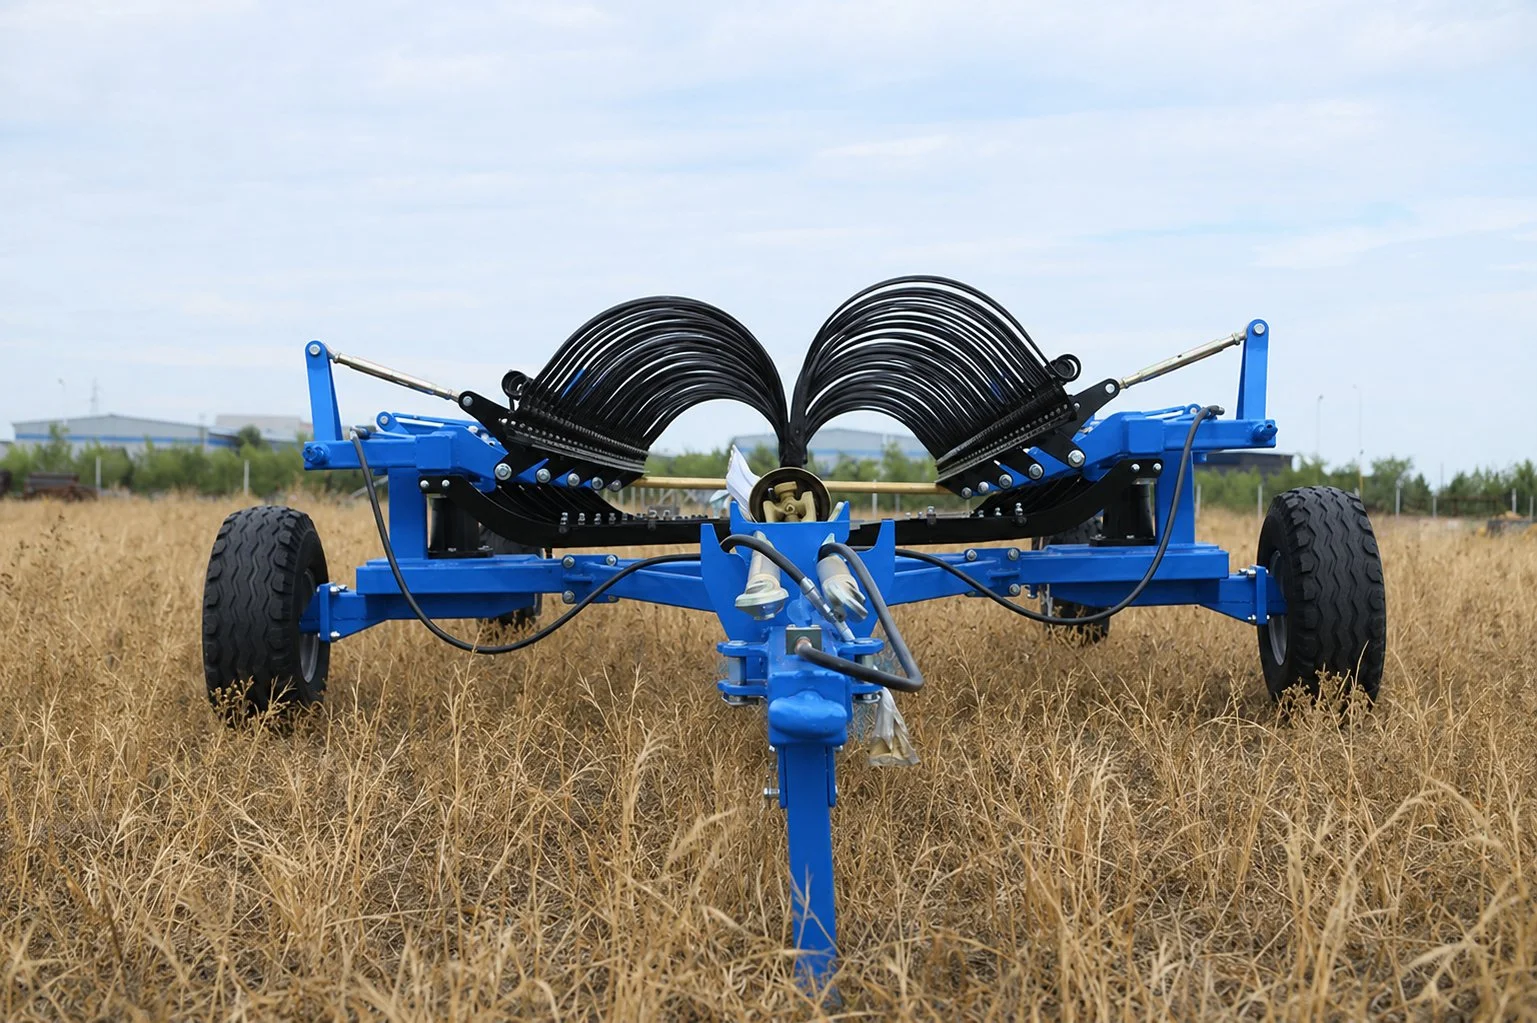
Silage baling is more dependent on windrow quality than dry hay baling — because silage crop at 60 to 75% moisture weighs substantially more per cubic meter, and density variation in the windrow produces more pronounced surge-and-gap loading on the bale chamber. A poorly formed windrow that forces the baler operator to slow down and speed up throughout the field creates bales with inconsistent density profiles that compromise oxygen exclusion at low-density zones.
Match windrow width to your baler’s pickup header width. As a rule: the windrow should fill 70 to 90% of the pickup header width without overloading the center. An undersized windrow creates density voids along the bale outer diameter at the pickup sides; an oversized windrow bridges on the pickup auger and causes surge-loading that produces variable density across the bale cross-section. Our hooiharkuitrusting includes both towed horizontal and finger wheel V-rake models with working widths from 6 to 12 meters to suit any mowing layout and field size.
For silage crops, rake when the crop has wilted to the target moisture range but before a rain event complicates the moisture management. A windrow that gets rained on after raking but before baling picks up surface moisture unevenly — outer windrow layers may be at 75 to 80% while the center remains at the pre-rain target moisture. Baling a rained-on windrow without additional wilting time risks producing bales with a moisture gradient from surface to core that prevents uniform fermentation across the bale cross-section.
Baling for Maximum Density: Speed, Chamber Fill, and Net Wrap Timing
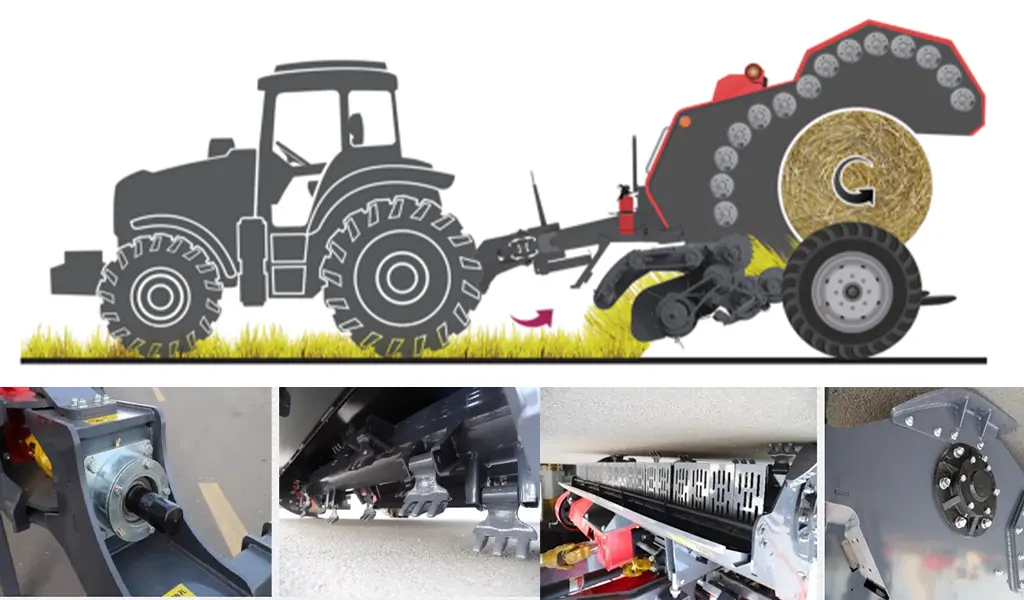
Bale density is the most directly controllable variable in silage quality, and it is controlled almost entirely by ground speed. The relationship is inverse and non-linear: running 10% faster does not reduce density by 10% — it reduces density disproportionately because the bale chamber does not fully fill before the net wrap trigger fires. The practical rule is to run the slowest ground speed that keeps the baler operating continuously without the bale chamber surging. For most mid-range ronde balenpersmodellen, that speed ranges from 5 to 8 km/h in silage-density grass crop.
The bale completion signal — the point at which the net wrap cycle begins — should be set to trigger at the maximum diameter the chamber can produce, not at a reduced diameter to speed cycle time. A fully filled chamber compresses the bale radially from all directions simultaneously before the net wrap secures it. A partially filled chamber leaves the bale with a soft interior that contains residual oxygen voids — trapped air pockets that prolong the aerobic respiration phase after wrapping and consume the soluble sugars that should fuel lactic fermentation.
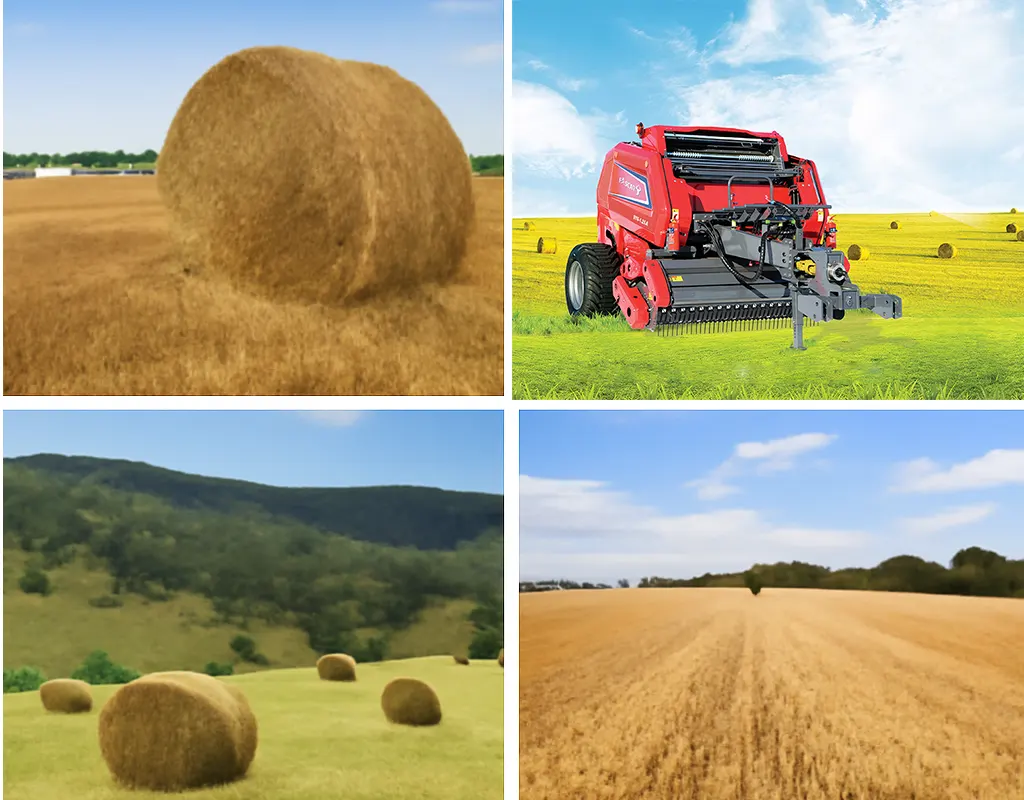
Before leaving any field for the wrapping station, press your fist firmly against multiple points on the lateral surface of each completed bale. A correctly dense silage bale should give no more than 2 to 3 cm under firm hand pressure. A bale that yields 5 cm or more is too loose — it contains enough air volume to sustain 12 to 18 hours of aerobic respiration after wrapping, which delays pH drop and increases the risk of yeast and early mold activity before the fermentation acidifies the bale interior.
Wrapping: The 30-Minute Rule, Film Layers, and Why Both Matter
Film Layer Guide: Minimum Layers by Crop, Moisture, and Storage Duration
Modern LLDPE (linear low-density polyethylene) stretch film has an oxygen diffusion coefficient of approximately 50 to 80 cm³/m²/day at standard atmospheric conditions. Each film layer adds an additional barrier to oxygen ingress. The following table specifies minimum film layer counts for different silage scenarios — these are starting points, not maximums:
| Crop / Moisture | Storage < 3 months | Storage 3–6 months | Storage 6–12 months | Notities |
|---|---|---|---|---|
| Grass (65–75%) | 4 layers min. | 6 lagen | 8 lagen | High moisture crops produce more effluent pressure at the bale base — apply extra layers to bottom hemisphere |
| Alfalfa haylage (55–65%) | 4 layers min. | 6 lagen | 6–8 layers | Alfalfa stems are sharp — apply an additional overlap pass at the bale ends where stem puncture risk is highest |
| Corn/Sorghum silage (60–68%) | 4 layers min. | 6 lagen | 8 lagen | Corn stalk stubble ends puncture film — apply 8 layers as standard on corn silage regardless of storage duration |
| Any crop — outdoor storage, UV-exposed | +2 layers vs above | +2 layers | +2 layers | UV degradation of film begins within 6–8 weeks in full summer sunlight — add layers or use UV-stabilized film for outdoor storage beyond one season |
Film overlap between passes should be 50% minimum (the standard on most table wrappers) and 55% to 60% for long-term storage or UV-exposed situations. A 50% overlap means each actual bale surface point is covered by two layers per pass; two full passes at 50% overlap delivers the minimum four-layer count.
For operations running a baler and wrapper as separate machines, the baler-wrapper PTO gearbox on your wrapping unit takes the same sustained torque input as the baler — ensure the driveline is serviced to the same specification, because a wrapper gearbox failure mid-field creates exactly the wrapping delay that the 30-minute rule is designed to prevent.
Storage and Monitoring: Protecting the Investment After Wrapping
A correctly fermented bale can still be damaged in storage — by wildlife, UV degradation, physical handling, or mechanical damage from equipment. The storage phase requires active management, not passive waiting.
Site selection: Bales should sit on a firm, well-drained surface — gravel or compacted aggregate preferred over bare soil. Wet, soft ground allows the bale base to settle unevenly, stressing the film at the contact edge and creating micro-tears that allow oxygen entry directly into the bottom hemisphere of the bale. Maintain at least 30 cm clearance between adjacent bales to allow visual inspection of all film surfaces without moving equipment.
Monthly film inspection: Walk the entire bale storage site monthly during the active storage period. Any film damage — no matter how small — should be patched with repair tape within 24 hours of discovery. A 2 cm film puncture allows enough daily oxygen ingress to support active aerobic spoilage within 3 to 5 days at the site of the hole, creating a spoilage zone that typically extends 15 to 25 cm in all directions from the puncture by the time it is discovered visually.
Managing bird and rodent damage: Bird pecking and rodent chewing are the most common film damage sources on outdoor stored silage bales in the U.S. Reflective tape or predator decoys near the bale stack help deter birds. For rodent pressure, ensure no loose grain or feed residue is present near the storage site that would attract them. Consider a secondary mesh or netting barrier over the entire bale stack in high-pressure areas.
Opening and feed-out: Begin feeding bales from the most recently made first if there are inventory constraints — but allow new bales at least 3 weeks of fermentation time before opening. Early-opened bales at pH above 4.8 will aerobically spoil within 24 to 48 hours of cutting the film. When you do open a bale, remove and feed the entire exposed face within one feeding cycle — do not reapply film to a partially used bale and expect stable storage at the exposed surface.
Silage Quality Problem Solver: Six Common Failures and Their Causes
The most useful part of any silage quality guide is the troubleshooting section — because identifying what went wrong after the fact is how most producers learn to prevent it next season. The table below maps observable silage quality problems back to their process-stage cause.
| What You Observe | Meest waarschijnlijke oorzaak | Process Stage Where It Occurred | Prevention Next Season |
|---|---|---|---|
| Butyric smell (rancid butter), slimy texture | Baled above 75% moisture; Clostridium outcompeted LAB | Cutting (wilted too briefly) or baling (too wet) | Measure moisture with a Koster tester before baling; target ≤70% for grass |
| Surface mold (white, green, or black patches) on outer bale layers | Film damage allowing oxygen entry, or insufficient film layers for bale density | Wrapping (too few layers, overlap below 50%) or storage (film puncture) | Increase to 6 layers minimum; monthly film inspection in storage |
| Effluent leaking from bale base | Moisture above 75% — free water has no binding capacity | Baling too wet; insufficient wilting | Allow additional wilting time; verify field moisture with hand-squeeze test before baling |
| Bale hot to the touch when opened; sweetish smell | Aerobic heating from yeasts and molds before fermentation established; oxygen entrapment | Bale density too low OR wrapping delayed beyond 30–60 minutes | Reduce ground speed to increase density; wrap within 30 minutes; no film delays |
| Low DMD (dry matter digestibility) on feed analysis | Crop cut past optimal stage; excessive heating during fermentation | Cutting (too late — post-heading or post-bloom) | Establish firm cutting date triggers by growth stage; do not cut by calendar alone |
| High ammonia-N (>15% of total N) on wet chemistry | Protein breakdown from Clostridium activity (butyric fermentation pathway) | Baling too wet on alfalfa; extended wilt period with rain contamination | Target 55–62% moisture on alfalfa; never bale rained-on wilted crop without re-drying |
Wet chemistry analysis from a certified forage testing laboratory is the definitive way to diagnose fermentation quality problems. Send samples from suspect bales before large-scale feeding — the analysis cost is minor compared to the feed value at stake.
Frequently Asked Questions: Making Round Bale Silage
Need Equipment for Your Silage Program?
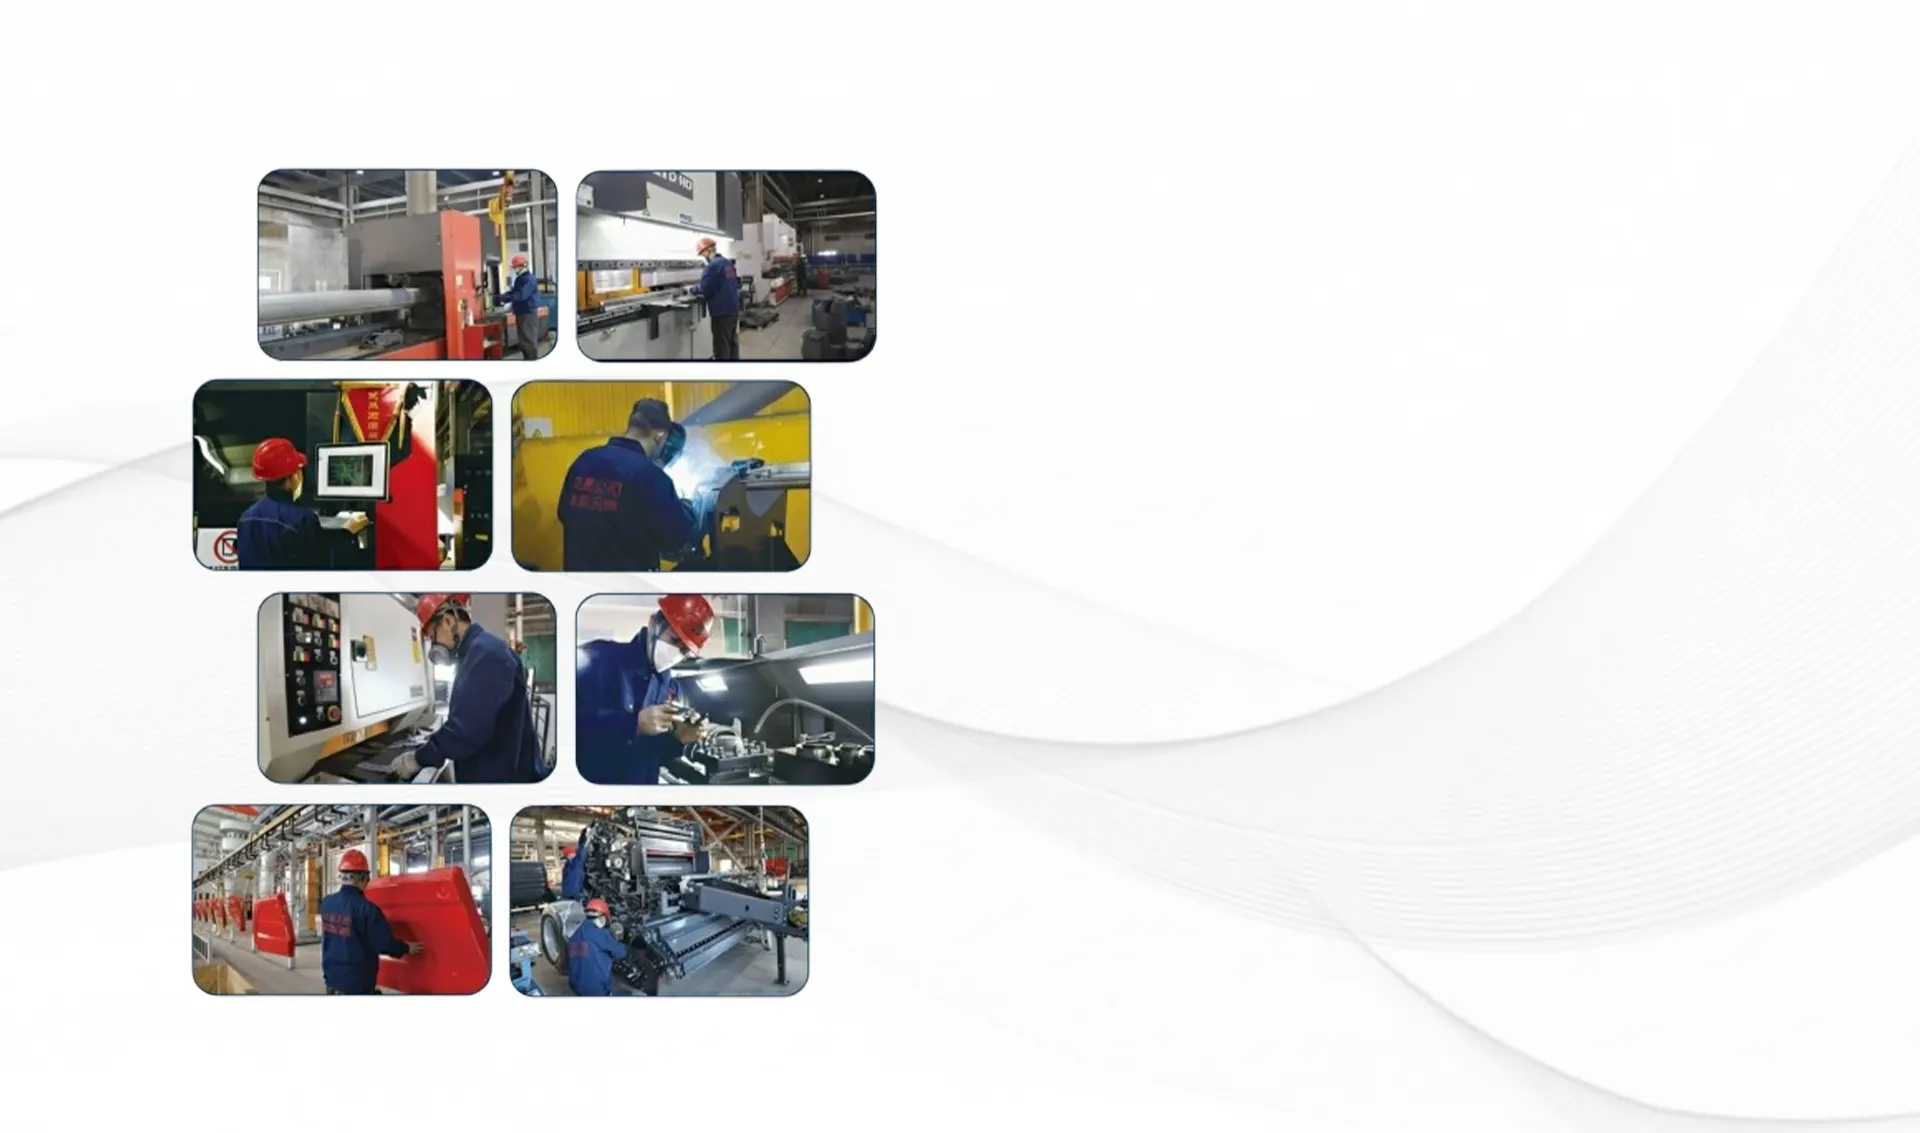
Mowing Equipment, Hay Rakes, and Round Balers from One U.S. Warehouse
Our California-based team advises on the right baler configuration for silage-plus-hay programs, confirms tractor compatibility before any order ships, and dispatches replacement parts same-day during harvest season. All equipment ships from U.S. warehouse stock.
For silage + dry hay programs
6 m to 12 m finger-wheel V-rakes
Conditioner and disc mower options
America Ever-Power Forage Baler Equipment INC. | 1401 21st ST STE R, Sacramento, CA 95811
Redacteur: Cxm


